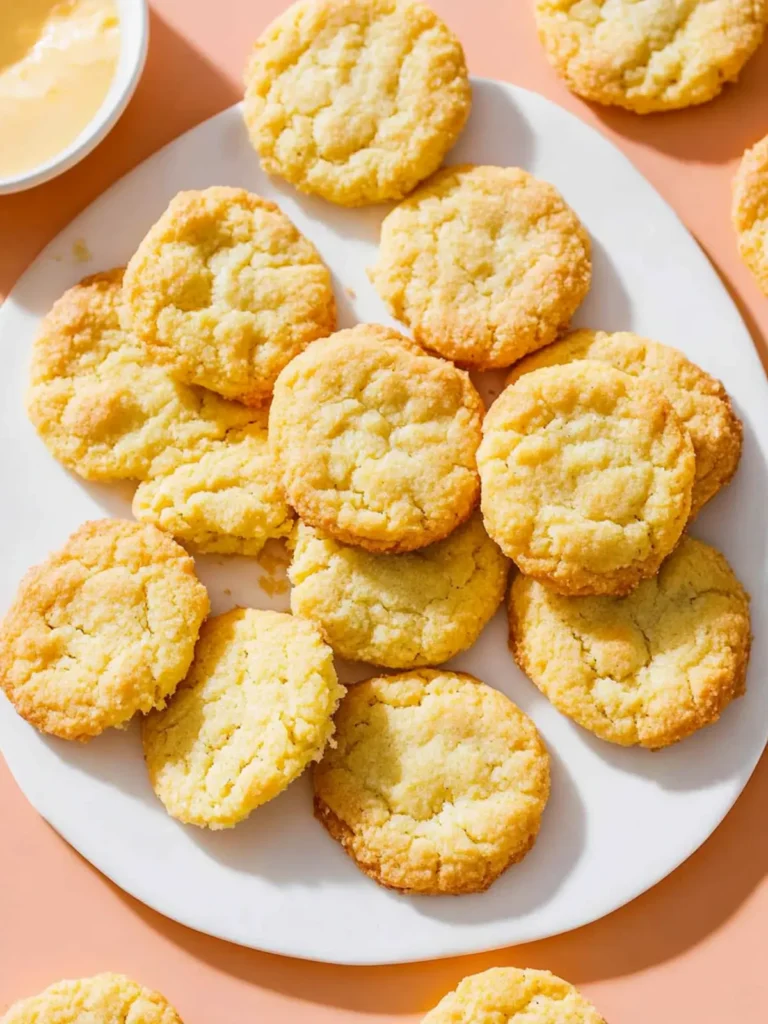
There’s something delightful about the first bite of a perfectly baked butter cookie—its crisp exterior yielding to a melt-in-your-mouth buttery center. I stumbled upon this classic recipe during a rainy afternoon, and it quickly became a cherished tradition in my home. These cookies are not just a treat; they embody comfort, nostalgia, and the art of simple baking.
Whether you’re looking to impress guests or simply want to indulge in a sweet escape from the daily hustle, these butter cookies fit the bill perfectly. They’re incredibly versatile, allowing for creative additions like chocolate chips or a hint of citrus zest to jazz them up. Plus, they come together easily with ingredients you likely already have in your pantry. Join me in stirring up this batch of buttery goodness that promises to turn any moment—big or small—into a celebration!

Why are Butter Cookies so irresistible?
Delightful Texture: Each bite offers a perfect balance of crispy edges and a soft, buttery center that melts in your mouth.
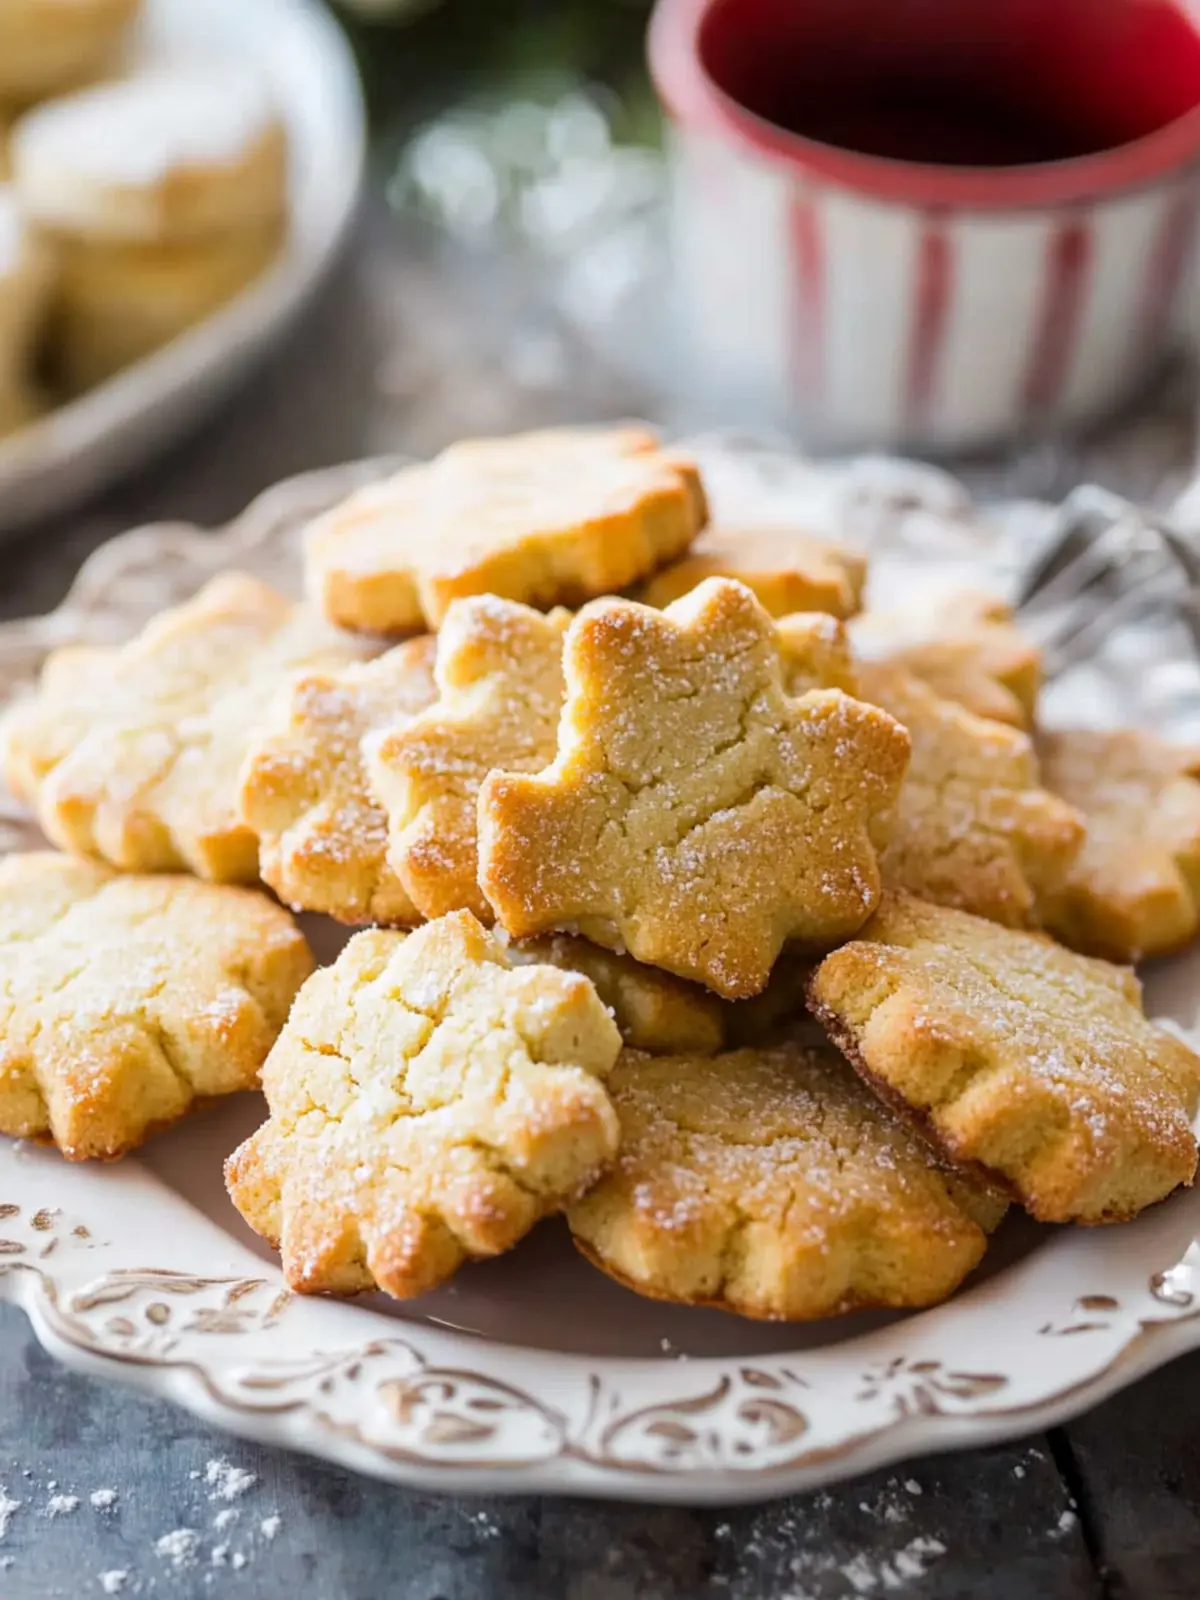
Nostalgic Charm: These cookies evoke warm memories of baking sessions, making them a beloved addition to any gathering.
Endless Customization: Feel free to add chocolate chips, nuts, or zest for a unique twist that reflects your taste.
Quick and Easy: With just a handful of pantry staples, you can whip up a batch in no time—perfect for spontaneous cravings!
Crowd-Pleasing Treat: Whether for parties or cozy evenings, these butter cookies win hearts and satisfy sweet tooths alike.
Perfect for Gifting: Packaged beautifully, they make thoughtful, homemade gifts or tokens of appreciation. Indulge in these heavenly treats and explore the magic they bring to your kitchen!
Butter Cookies Ingredients
For the Cookie Dough
• Unsalted Butter – Use room temperature butter for a smooth, creamy dough that captures that irresistible buttery flavor.
• Granulated Sugar – Adds sweetness and helps create a crisp exterior; feel free to experiment with brown sugar for added depth.
• All-Purpose Flour – The base of the cookies, providing structure; be sure to measure accurately for best results.
• Baking Powder – Helps the cookies rise slightly, contributing to their tender texture; don’t skip this ingredient!
• Salt – Enhances the sweetness; a small pinch balances out the flavors beautifully.
• Vanilla Extract – Adds a warm, inviting aroma that enhances the overall flavor; using pure vanilla extract is recommended for the best taste.
• Egg Yolk – Creates a rich texture and helps bind ingredients together; for a vegan option, you can experiment with a flax egg.
For Optional Add-Ins
• Chocolate Chips – Infuse some sweetness and texture; dark chocolate is a wonderful choice for a sophisticated twist.
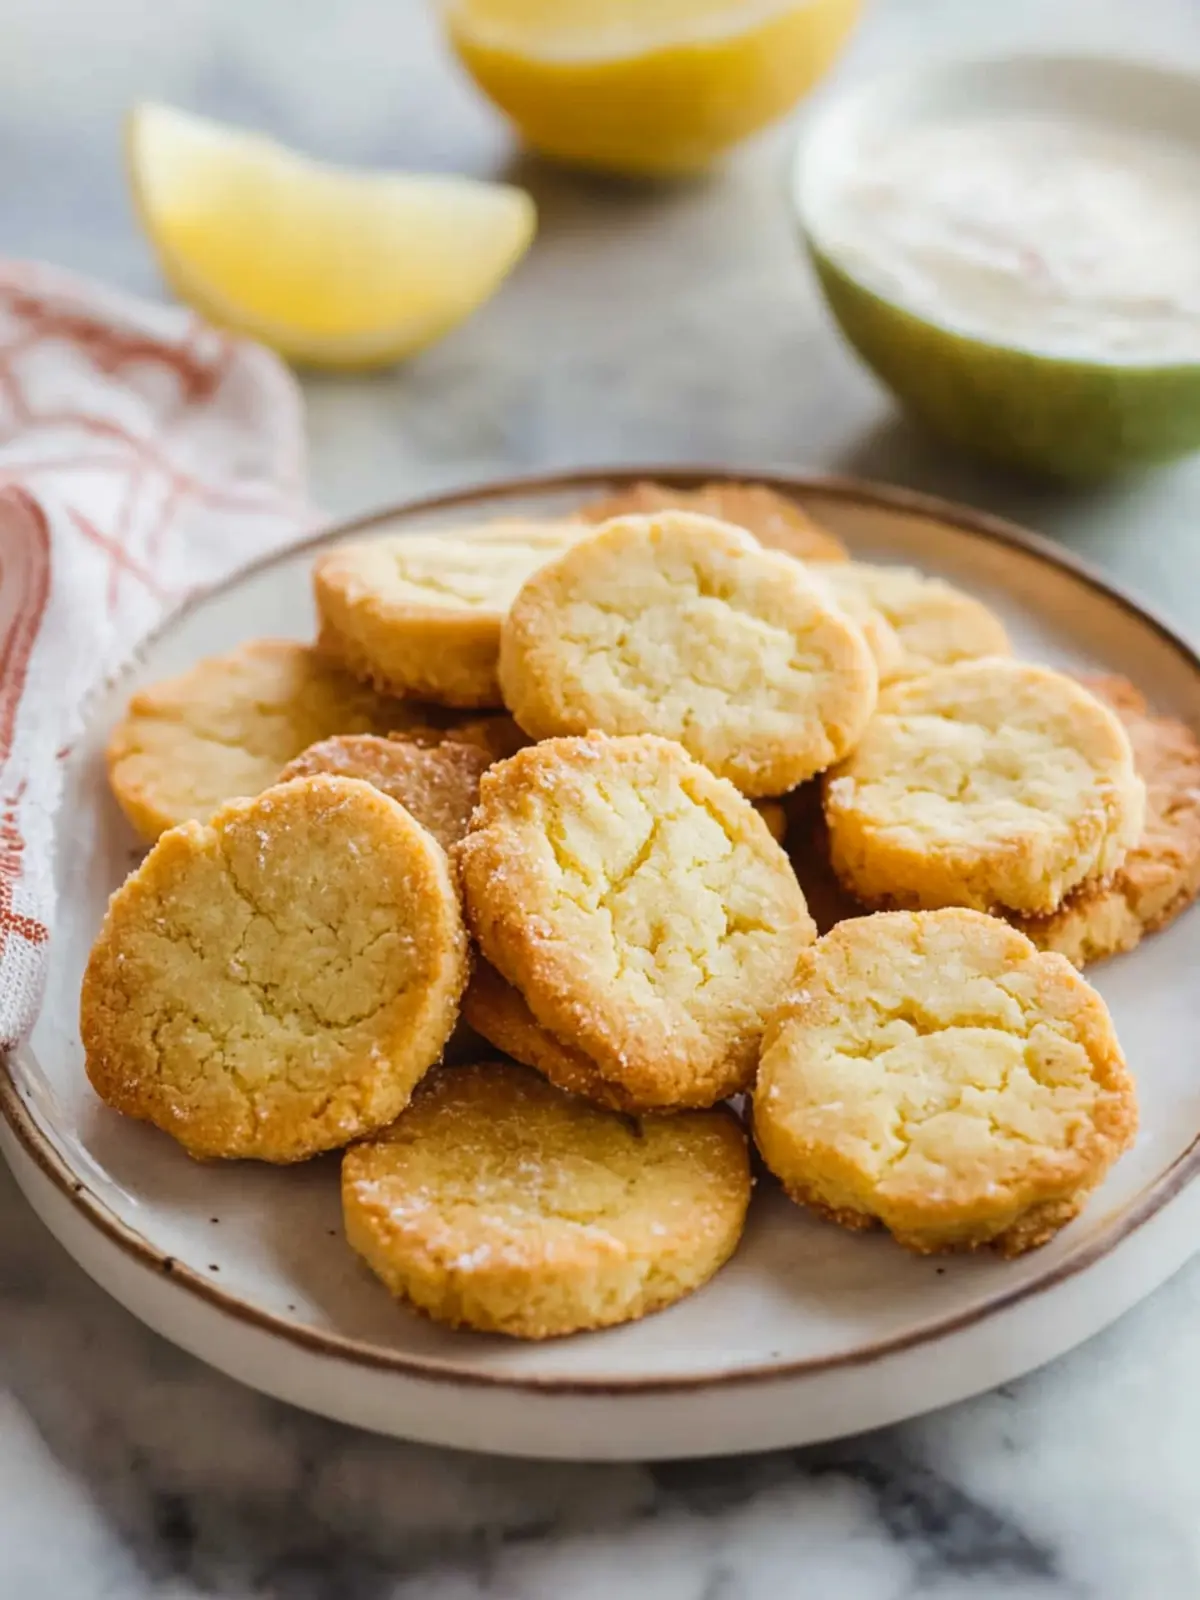
• Citrus Zest – A hint of lemon or orange zest can brighten your cookies, making them even more irresistible.
• Nuts – Chopped walnuts or pecans add crunch and nutty flavors; toast them lightly for extra depth.
Dive into the world of butter cookies with these simple ingredients that make every bite a moment of bliss!
How to Make Butter Cookies
-
Cream Butter and Sugar: In a mixing bowl, beat together your room temperature unsalted butter and granulated sugar until light and fluffy, approximately 2-3 minutes. This step is crucial for achieving that melt-in-your-mouth texture.
-
Add Egg Yolk and Vanilla: Mix in the egg yolk and vanilla extract, blending until smooth. This adds richness and depth of flavor to your cookie dough.
-
Combine Dry Ingredients: In a separate bowl, whisk together the all-purpose flour, baking powder, and salt. Gradually add this dry mixture to the creamed butter, stirring until just combined. Avoid overmixing to keep your cookies tender.
-
Chill Dough (Optional): For better texture, chill the dough for 30 minutes. This helps the cookies maintain their shape while baking and enhances their flavor.
-
Shape Cookies: Preheat your oven to 350°F (175°C). Scoop the chilled dough into tablespoon-sized portions and roll them into balls. Place them on a baking sheet lined with parchment paper, giving each cookie space to spread.
-
Bake: Bake in the preheated oven for 12-15 minutes or until the edges are lightly golden. Remove from the oven and let them cool on the baking sheet for a few minutes before transferring to a wire rack.
-
Enjoy: Once cooled, indulge in these delightful butter cookies with a cup of tea or coffee; clear your schedule, because they’re absolutely irresistible!
Optional: Add chocolate chips or citrus zest to elevate your butter cookies.
Exact quantities are listed in the recipe card below.
Storage Tips for Butter Cookies
Room Temperature: Store your cooled butter cookies in an airtight container at room temperature for up to 1 week to maintain their delightful texture and flavor.
Fridge: If you prefer extra crispness, you can refrigerate them for up to 2 weeks, but be sure to let them come to room temperature before serving.
Freezer: For longer storage, freeze the cookies in an airtight container or freezer bag for up to 3 months. Thaw at room temperature or warm them briefly in the oven before enjoying.
Reheating: To restore the fresh-baked taste, reheat cookies in a preheated oven at 300°F (150°C) for about 5-7 minutes. This enhances their buttery goodness before indulging!
Expert Tips for Butter Cookies
- Room Temperature Butter: Ensure your unsalted butter is at room temperature for easy creaming; this helps achieve that tender, melt-in-your-mouth texture.
- Don’t Overmix: Mix the dough until just combined to keep your cookies light and tender; overmixing can lead to tough cookies.
- Chill for Perfection: Chilling the cookie dough for 30 minutes enhances the flavor and helps cookies hold their shape while baking.
- Watch the Baking Time: Keep a close eye on the cookies as they bake; aim for lightly golden edges for that perfect buttery bliss!
- Experiment with Add-Ins: Feel free to add chocolate chips or nuts; these additions can elevate your butter cookies to a whole new level of deliciousness.
- Store Properly: Keep cooled cookies in an airtight container to maintain their freshness; they can last up to a week (if they last that long!).
What to Serve with Kid-Friendly Chickpea Veggie Nuggets?
Transform your meal with delicious sides that perfectly pair with these nuggets!
- Creamy Hummus: This delicious dip adds a layer of creaminess that beautifully complements the savory nuggets. A win-win for taste and nutrition!
- Crisp Salad: A fresh salad of mixed greens, cherry tomatoes, and cucumbers brings a crunch and lightness that balances the richness of the nuggets beautifully.
- Sweet Potato Fries: Baked or fried, their natural sweetness and crispy texture make these fries a delightful contrast to the savory nuggets.
- Homemade Ranch Dressing: Serve with a tangy ranch for dipping that will excite everyone’s palate and elevate the nugget experience!
- Roasted Veggies: Colorful veggies like bell peppers, zucchini, and carrots add vibrant flavor and nutrients, creating a wholesome and satisfying meal.
- Fruit Skewers: A fruity side of slices of pineapple, strawberries, and melons offers a refreshing, sweet note that brightens the entire meal.
- Quinoa Pilaf: Nutty quinoa with herbs provides additional protein and is a great way to introduce more grain into your meals while keeping flavors in harmony.
- Sparkling Water: A refreshing sparkling water with a splash of lemon or lime is the perfect drink to cleanse your palate and enhance the meal!
Make Ahead Options
These Kid-Friendly Chickpea Veggie Nuggets are perfect for meal prep enthusiasts looking to simplify their busy weeknights! You can prepare the veggie nugget mixture up to 24 hours in advance. Simply drain and rinse the chickpeas, then grate your zucchini and carrots, squeezing out excess moisture. Combine all ingredients in your food processor and store the mixture in an airtight container in the fridge. When you’re ready to cook, scoop and shape the nuggets, then fry or bake as directed. This way, you’ll have delicious, nutritious bites on the table with minimal effort and just as great flavor!
Butter Cookies Variations
There’s no better way to make these delightful cookies truly yours than by sprinkling in some creative twists!
-
Chocolate Chip Delight: Add your favorite chocolate chips to the dough for a deliciously sweet surprise in every bite.
-
Nutty Crunch: Incorporate chopped walnuts or pecans for a delightful crunch and a nutty flavor boost that complements the buttery goodness.
-
Citrus Zest Burst: Grate in some lemon or orange zest to brighten the cookies, adding a refreshing and aromatic twist.
-
Spiced Warmth: Mix in a pinch of cinnamon or nutmeg for a cozy flavor that warms the heart, especially during the colder months.
-
Caramel Swirls: Fold in some caramel bits for a gooey, sweet addition that brings a unique texture and indulgence to your cookies.
-
Coconut Flake Surprise: Toss in unsweetened shredded coconut for a tropical twist that adds chewiness and exotic flavor to your buttery cookies.
-
Almond Joy: Replace vanilla extract with almond extract for an enchanting, nutty aroma and taste that elevates your butter cookies.
-
Savory Touch: For a surprising shift, blend in some grated cheese (like parmesan) for a savory variation that pairs beautifully with a glass of wine.
Let your imagination run wild and enjoy creating your own signature batch of butter cookies!
Butter Cookies Recipe FAQs
What type of butter should I use for the best butter cookies?
Absolutely! It’s best to use unsalted butter at room temperature. This ensures that the butter creams nicely with the sugar, creating the light and fluffy texture that’s essential for melt-in-your-mouth cookies. I often recommend using high-quality butter for the richest flavor.
How can I tell if my butter cookies are properly baked?
Look for a lightly golden edge and a pale center when you pull them from the oven. They will continue to firm up slightly as they cool. If they are golden all over, they may be overcooked and could lose that delicate tenderness. Aim for 12-15 minutes at 350°F (175°C).
How should I store leftover butter cookies?
To maintain their delightful texture and flavor, store your cooled cookies in an airtight container at room temperature for up to 1 week. If you want them to last longer, you can refrigerate them for up to 2 weeks, but allow them to come to room temperature before enjoying.
Can I freeze butter cookies for later use?
Absolutely! For longer storage, butter cookies can be frozen in an airtight container or freezer bag for up to 3 months. When you’re ready to enjoy them, simply thaw at room temperature or warm them briefly in a preheated oven at 300°F (150°C) for about 5-7 minutes to restore their fresh-baked flavor.
What additives can I include to customize my butter cookies?
Oh, the possibilities are endless! You can add chocolate chips, nuts, or a hint of citrus zest like lemon or orange. Each of these additions can bring a delightful twist to the classic butter cookie, making them unique to your taste buds. Don’t be afraid to get creative!
What do I do if my cookie dough is too soft?
If you find your dough is a bit too soft to shape, chilling it for 30 minutes can work wonders. Place the dough in the fridge; this will help it firm up, allowing for easier shaping and preventing the cookies from spreading too much while baking. Keeping the balance is key to that perfect cookie!

Buttery Bliss: Irresistible Butter Cookies You'll Love
Ingredients
Equipment
Method
- In a mixing bowl, beat together your room temperature unsalted butter and granulated sugar until light and fluffy, approximately 2-3 minutes.
- Mix in the egg yolk and vanilla extract, blending until smooth.
- In a separate bowl, whisk together the all-purpose flour, baking powder, and salt. Gradually add this to the creamed butter, stirring until just combined.
- For better texture, chill the dough for 30 minutes.
- Preheat your oven to 350°F (175°C). Scoop the dough into tablespoon-sized portions and roll into balls.
- Bake in the preheated oven for 12-15 minutes or until the edges are lightly golden.
- Once cooled, enjoy your delicious butter cookies!