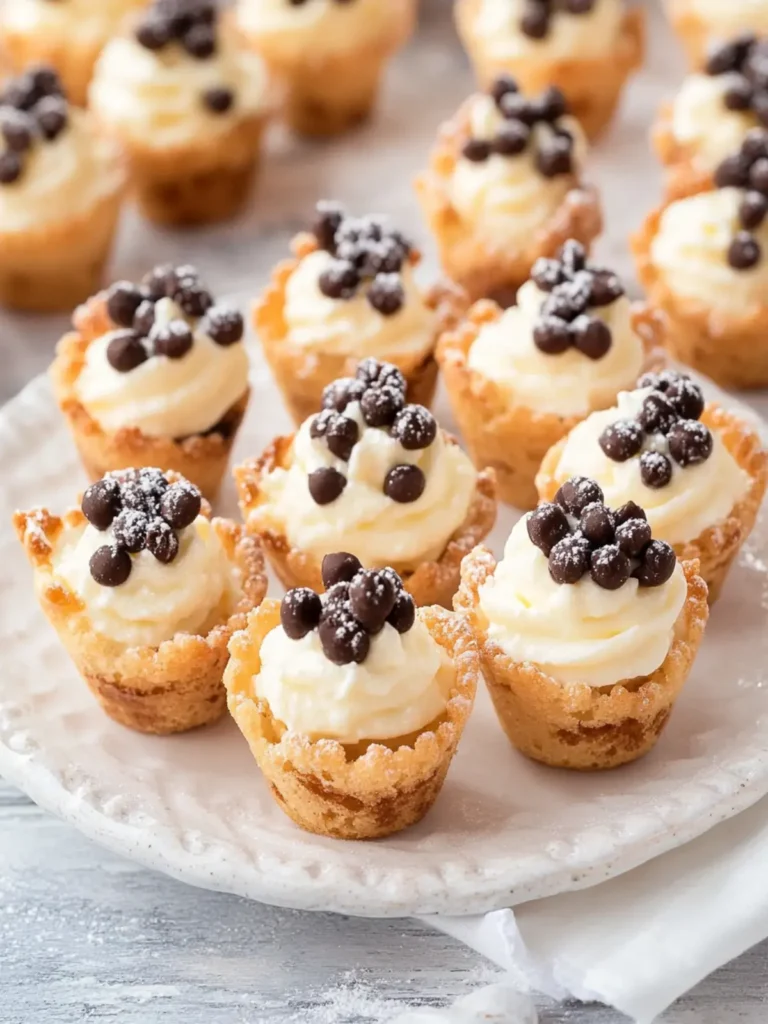
There’s a delightful charm in transforming classic indulgences into bite-sized treats, and that’s exactly what these Mini Cannoli Cups deliver. Picture this: the crispy, caramelized shell giving way to a luscious ricotta filling, perfectly sweetened and infused with zesty notes of citrus. After a long week, I wanted to create something that not only satisfied my sweet tooth but also offered that warm, cozy feeling reminiscent of my favorite Italian bakery.
When inspiration struck, I reached for my pantry staples, and within a short burst of creativity, these adorable cannoli cups came to life. What I love most is how simple they are to whip up – you’ll be amazed at how quickly you can impress your guests or brighten up your afternoon coffee break. With just a handful of ingredients and a mere ten minutes of baking time, this no-fuss recipe is as versatile as it is crowd-pleasing. Whether you’re hosting a festive gathering or just looking to treat yourself, these Mini Cannoli Cups are destined to become a staple in your kitchen. Let’s get started!

Why are Mini Cannoli Cups so irresistible?
Delightful in every bite, these Mini Cannoli Cups perfectly balance crispy, caramelized shells with a creamy, zesty filling. Effortless to make, you can whip them up in under 30 minutes, making them an ideal choice for unexpected guests or cozy nights in. Customizable with your favorite toppings—think mini chocolate chips or chopped pistachios—this recipe is designed to impress without the stress. Crowd-pleaser alert! They’re the perfect sweet addition to any gathering, as they vanish faster than you can say “cannoli.” Whether you’re planning a festive party or an indulgent movie night, these cups will elevate your dessert game effortlessly.
Mini Cannoli Cups Ingredients
For the Filling
- Whole-milk ricotta cheese – drains well for a creamy filling texture.
- Powdered sugar – adds sweetness and a smooth finish to the filling.
- Granulated sugar – balances the sweetness and improves texture.
- Finely grated orange or lemon zest – infuses delightful citrus notes, elevating the cannoli flavor.
- Vanilla extract – enhances the overall taste, giving depth to the filling.
For the Cups
- Refrigerated pie crusts – provide a quick, flaky base, perfect for mini cannoli cups.
- Turbinado sugar – adds a lovely crunch and caramel flavor to the crust.
- Ground cinnamon – brings warmth and subtle spice to the cups.
For the Toppings
- Miniature semisweet chocolate chips or chopped pistachios – both add delicious texture and contrasting flavors.
- Additional powdered sugar – for a sweet, elegant dusting before serving.
How to Make Mini Cannoli Cups
-
Preheat your oven to 425°F. This ensures a perfectly baked crust that’s golden brown and crisp.
-
Prepare your workspace by lightly flouring it and unrolling the pie crusts. Sprinkle both crusts with a blend of turbinado sugar and cinnamon, then gently roll a rolling pin over the top to incorporate the mixture.
-
Cut out pastry rounds using a 2½-inch cookie cutter. Press each round into ungreased mini muffin cups. Roll and cut more circles as needed until you have 48.
-
Bake the crusts for about 10 minutes, until they turn golden brown. Let the cannoli cups cool completely in the pans for around 15 minutes before transferring them to a wire rack to cool thoroughly.
-
Create the filling by beating all filling ingredients in a large mixing bowl with an electric mixer on medium speed until creamy and smooth.
-
Transfer the filling to a 1-gallon zip-top resealable bag. Seal the bag and refrigerate until you’re ready to fill the cups.
-
Pipe the filling into the cooled pastry cups just before serving by snipping a corner off the bag and squeezing in about 1 tablespoon of filling. Top it all off with mini chocolate chips or chopped pistachios and a dusting of powdered sugar.
-
Serve immediately for the best texture and flavor!
Optional: Garnish with a sprig of mint for a fresh touch.
Exact quantities are listed in the recipe card below.
What to Serve with Mini Cannoli Cups?
Treat your guests to an unforgettable meal by pairing these delights with crowd-pleasing accompaniments that enhance their irresistible charm.
-
Rich Espresso: The bold coffee notes perfectly complement the sweetness of the cannoli cups, creating a delightful balance for dessert.
-
Fruity Salad: A refreshing blend of mixed greens, berries, and citrus adds brightness, cutting through the richness of the creamy filling.
-
Chocolate Fondue: Dip fresh fruits and cake pieces in warm chocolate for a decadent experience that pairs beautifully with the cannoli’s textures.
-
Italian Prosecco: Sparkling wine’s light, bubbly quality pairs wonderfully with the creamy cannoli flavor, elevating your dessert experience to new heights.
-
Pastry Cream Puffs: Slightly sweet, airy puffs bring an elegant touch to your dessert table, providing a delightful contrast to the Mini Cannoli Cups.
-
Zesty Lemon Bars: The tartness of lemon bars complements the creamy sweetness of the cannoli, offering a delightful contrast of flavors on one plate.
Not only do these pairings tempt your taste buds, but they also create a show-stopping spread that your guests will remember long after the last bite!
Mini Cannoli Cups Variations
Feel free to let your creativity shine while preparing these delightful mini treats; customization is just part of the fun!
-
Dairy-Free: Swap whole-milk ricotta with a plant-based cream cheese for a tasty vegan version.
-
Sugar-Free: Use a sugar substitute in equal measure to the powdered sugar for a guilt-free indulgence. Your sweet tooth will thank you!
-
Lemon-Lavender Twist: Incorporate dried lavender and lemon zest into the filling for a uniquely fragrant flavor experience. It’s a delightful twist that surprises the taste buds!
-
Chocolate Dipped: After filling the cups, dip the tops in melted chocolate and let them set for an extra-rich touch that chocolate lovers will adore.
-
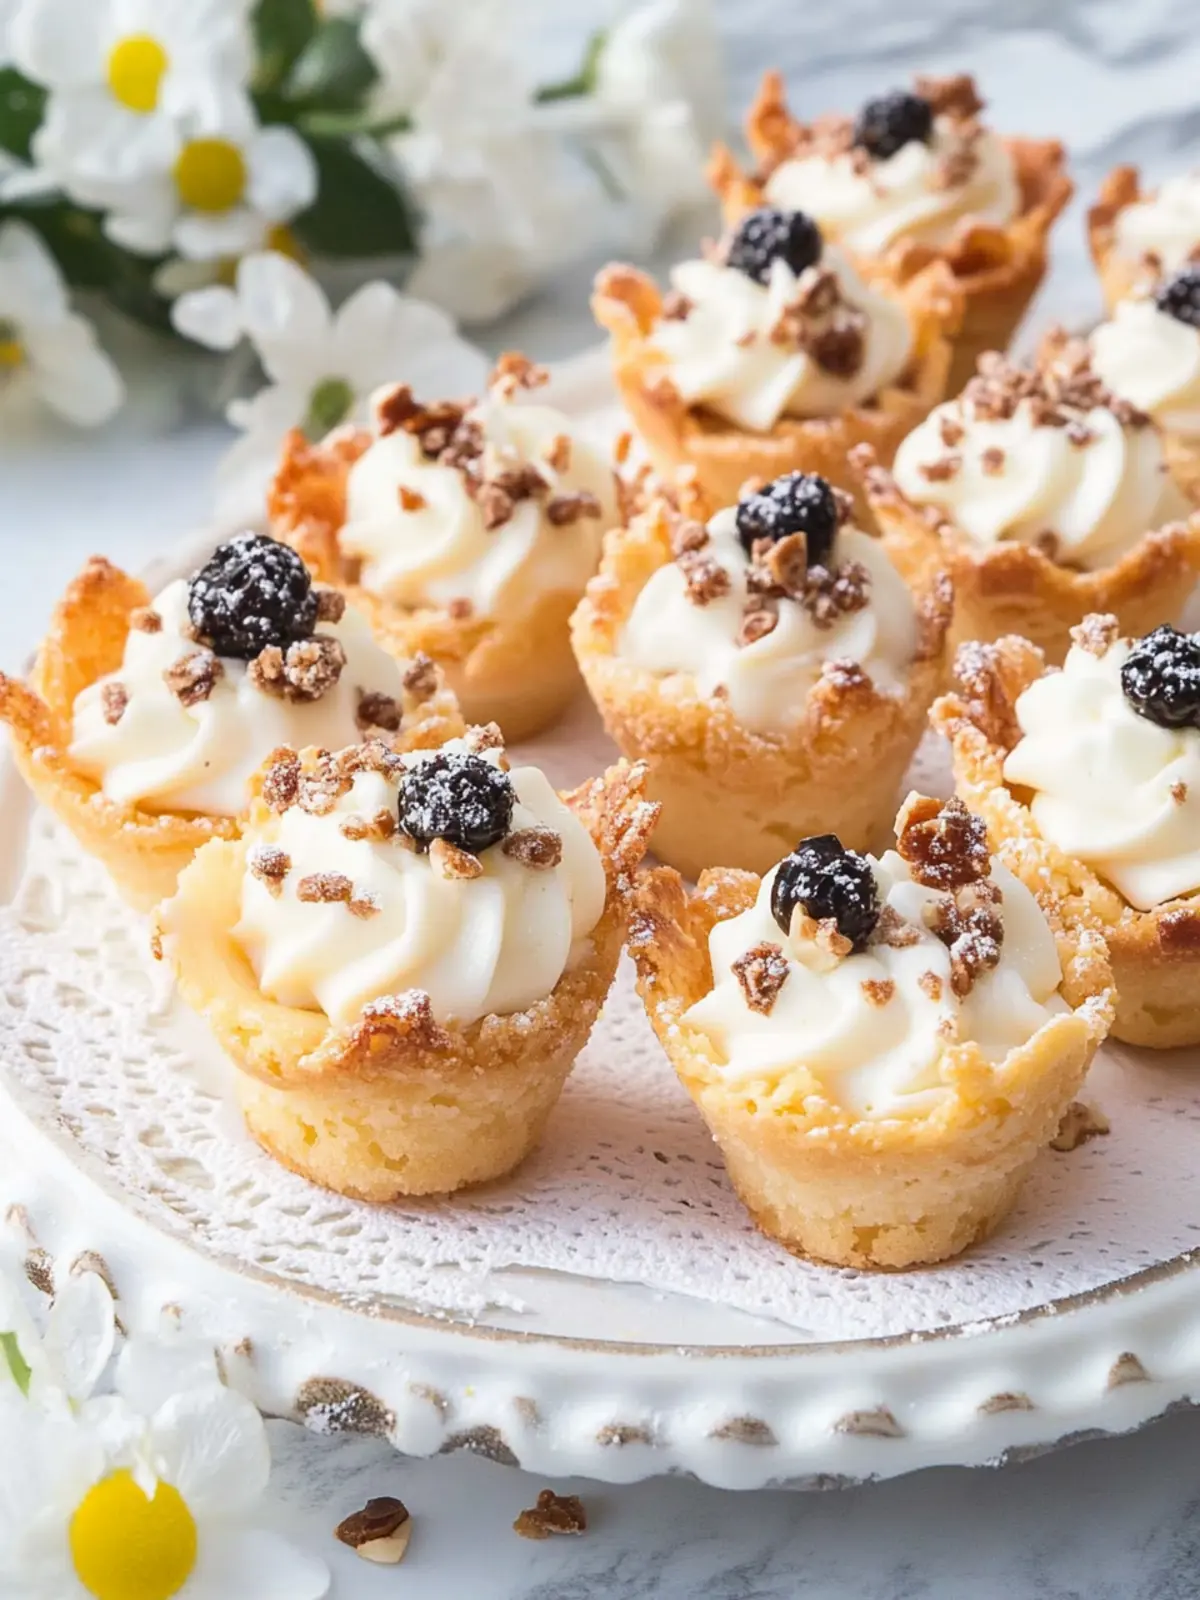
Nutty Delight: Add finely chopped almonds or hazelnuts to the filling for a crunchy texture that beautifully contrasts with the creamy center.
-
Spicy Kick: Mix a tiny pinch of crushed red pepper flakes into the filling for an unexpected, exciting kick that elevates the dessert.
-
Seasonal Flavors: Experiment with different seasonal flavors—like pumpkin spice in the fall or peppermint extract in winter—for a festive twist that captures the spirit of the holidays.
-
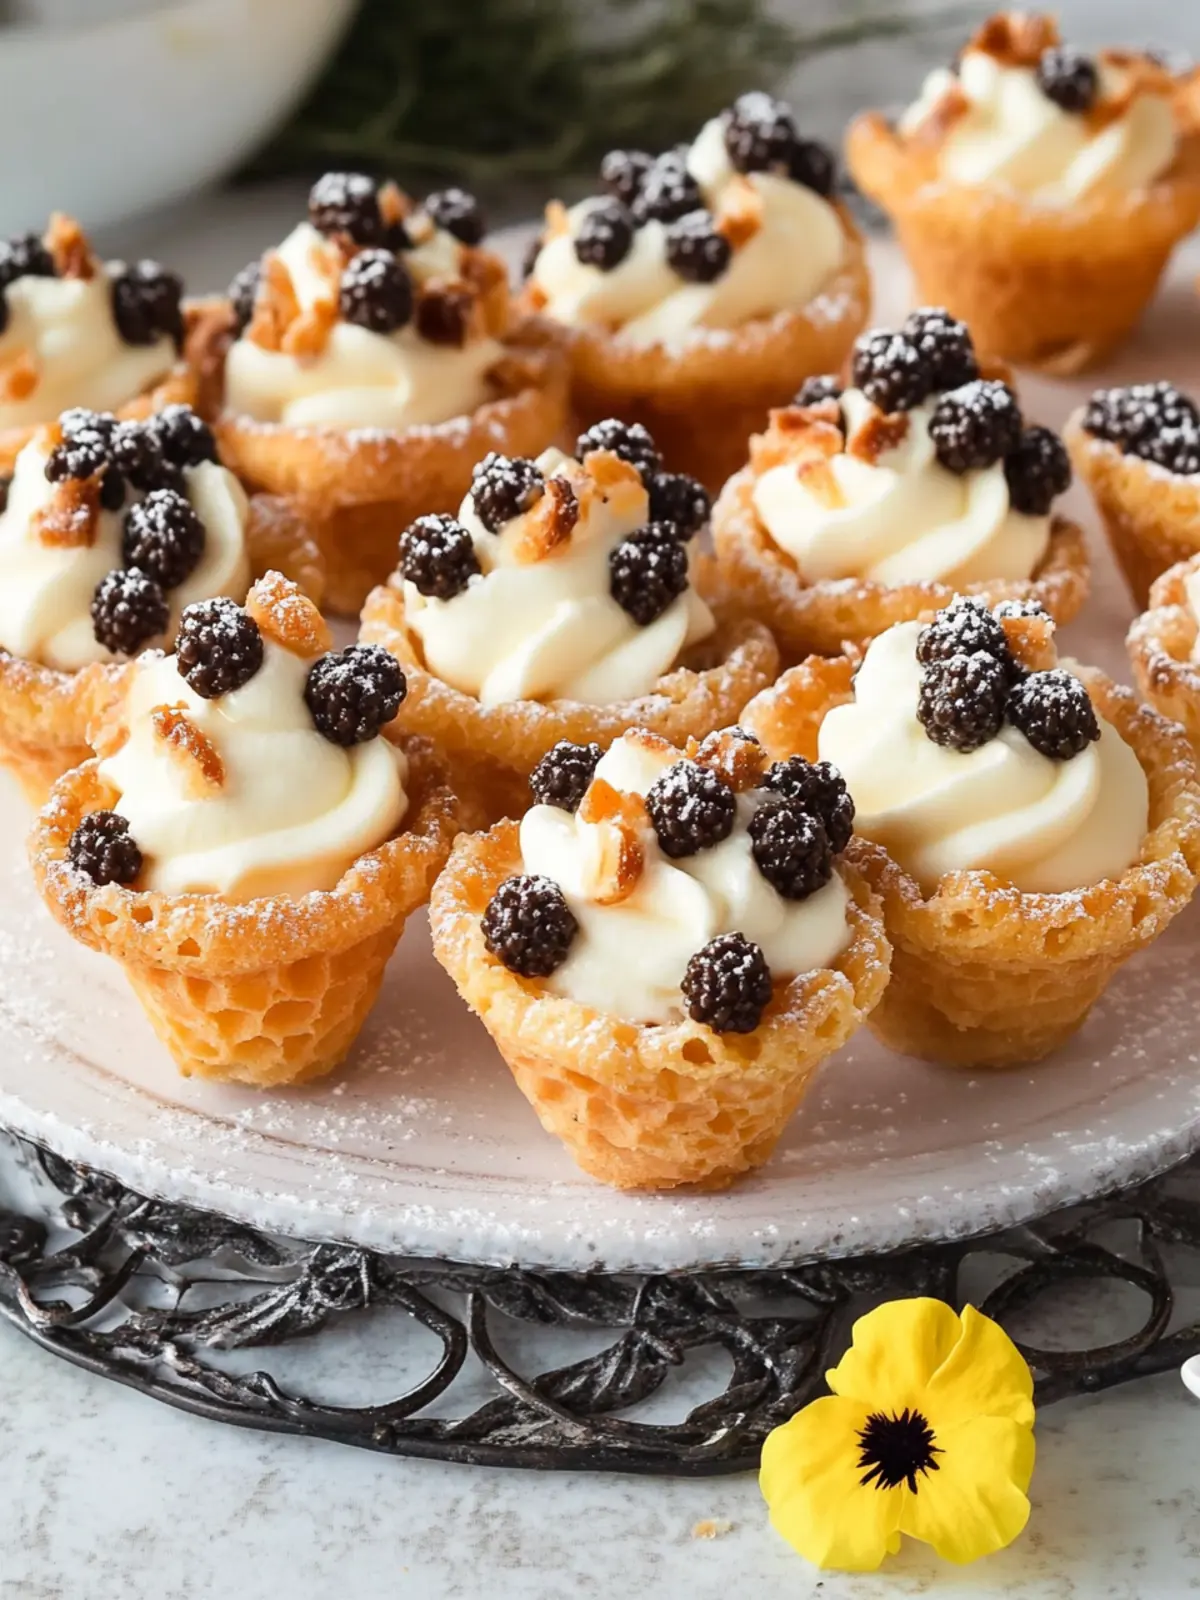
Mini Fruit Cups: Top the filled cups with fresh berries, like raspberries or strawberries, for a burst of fruity freshness that lightens the dessert.
Each variation lets you express your tastes and turn these Mini Cannoli Cups into your personal masterpiece! Enjoy the delicious journey.
Expert Tips for Mini Cannoli Cups
-
Perfect Texture: Ensure your ricotta cheese is well-drained to avoid a watery filling. This keeps the mini cannoli cups from getting soggy.
-
Crust Care: Don’t skip chilling the baked cups before filling! This allows them to firm up, maintaining their crispiness when served.
-
Custom Toppings: Get creative with your toppings! Consider using crushed Oreo cookies or fresh fruit for a twist that will make your Mini Cannoli Cups unique.
-
Watch the Bake: Keep an eye on your crusts – ovens vary! They should be golden brown but not overbaked, or they’ll lose their delightful flakiness.
-
Filling Variety: Feel free to experiment with flavors by adding a splash of almond extract or a pinch of cocoa powder to your filling for an extra layer of taste.
How to Store and Freeze Mini Cannoli Cups
-
Room Temperature: Mini Cannoli Cups are best enjoyed fresh, but they can sit out for up to 2 hours at room temperature if covered to prevent drying out.
-
Fridge: Store filled Mini Cannoli Cups in an airtight container in the fridge for up to 3 days. Keep them covered to maintain crispness.
-
Freezer: For longer storage, freeze unfilled cups in an airtight container for up to 2 months. Thaw in the fridge before filling.
-
Reheating: If you’ve frozen the cups, there’s no need to reheat once filled. Serve chilled for the best flavor and texture!
Make Ahead Options
These Mini Cannoli Cups are a fantastic option for meal prep lovers! You can prepare the filling up to 3 days in advance; simply beat all the filling ingredients and store it in a sealed 1-gallon zip-top bag in the refrigerator. As for the pastry cups, you can bake them up to 24 hours ahead of time—just allow them to cool completely before storing them in an airtight container at room temperature to maintain their crispiness. When you’re ready to serve, pipe the chilled filling into the cups and garnish with your choice of toppings. This way, you’ll have delicious, restaurant-quality Mini Cannoli Cups ready in no time, perfect for entertaining or a sweet treat after a busy day!
Mini Cannoli Cups Recipe FAQs
What type of ricotta cheese should I use for the filling?
Absolutely! For the best results, use whole-milk ricotta cheese. It has a creamier texture that provides a richer, more decadent filling. Make sure to drain the ricotta well before mixing to prevent excess moisture, which keeps the filling light and prevents the cups from becoming soggy.
How should I store leftover Mini Cannoli Cups?
You can store filled Mini Cannoli Cups in an airtight container in the refrigerator for up to 3 days. Be sure to keep them covered to maintain their crispness. If you notice any droplets on the container lid, just wipe them away to keep the cups dry and delicious!
Can I freeze Mini Cannoli Cups?
Certainly! To freeze, store unfilled cannoli cups in an airtight container for up to 2 months. When you’re ready to enjoy them, simply thaw in the fridge overnight. Fill them with the creamy ricotta mixture just before serving to maintain that delightful crunch.
What should I do if my crusts are getting too brown while baking?
Very! If your crusts are browning too quickly, try covering them loosely with aluminum foil for the last few minutes of baking. This will help prevent over-browning while ensuring the centers bake fully. Also, keep an eye on them after the 8-minute mark, as oven temperatures can vary!
Are there any dietary considerations for Mini Cannoli Cups?
Of course! If you’re making these for guests with dietary restrictions, consider using a dairy-free ricotta to accommodate lactose intolerance or dairy allergies. For nut allergies, avoid using pistachios as toppings and opt for chocolate chips or fresh berries instead. These small adjustments still keep the flavors delightful while being mindful of preferences!

Irresistible Mini Cannoli Cups for Effortless Entertaining
Ingredients
Equipment
Method
- Preheat your oven to 425°F.
- Prepare your workspace by lightly flouring it and unrolling the pie crusts.
- Cut out pastry rounds using a 2½-inch cookie cutter and press them into ungreased mini muffin cups.
- Bake the crusts for about 10 minutes until golden brown.
- Create the filling by beating all filling ingredients in a large mixing bowl until creamy.
- Transfer the filling to a zip-top resealable bag and refrigerate.
- Pipe the filling into the cooled pastry cups just before serving.
- Serve immediately and enjoy!