
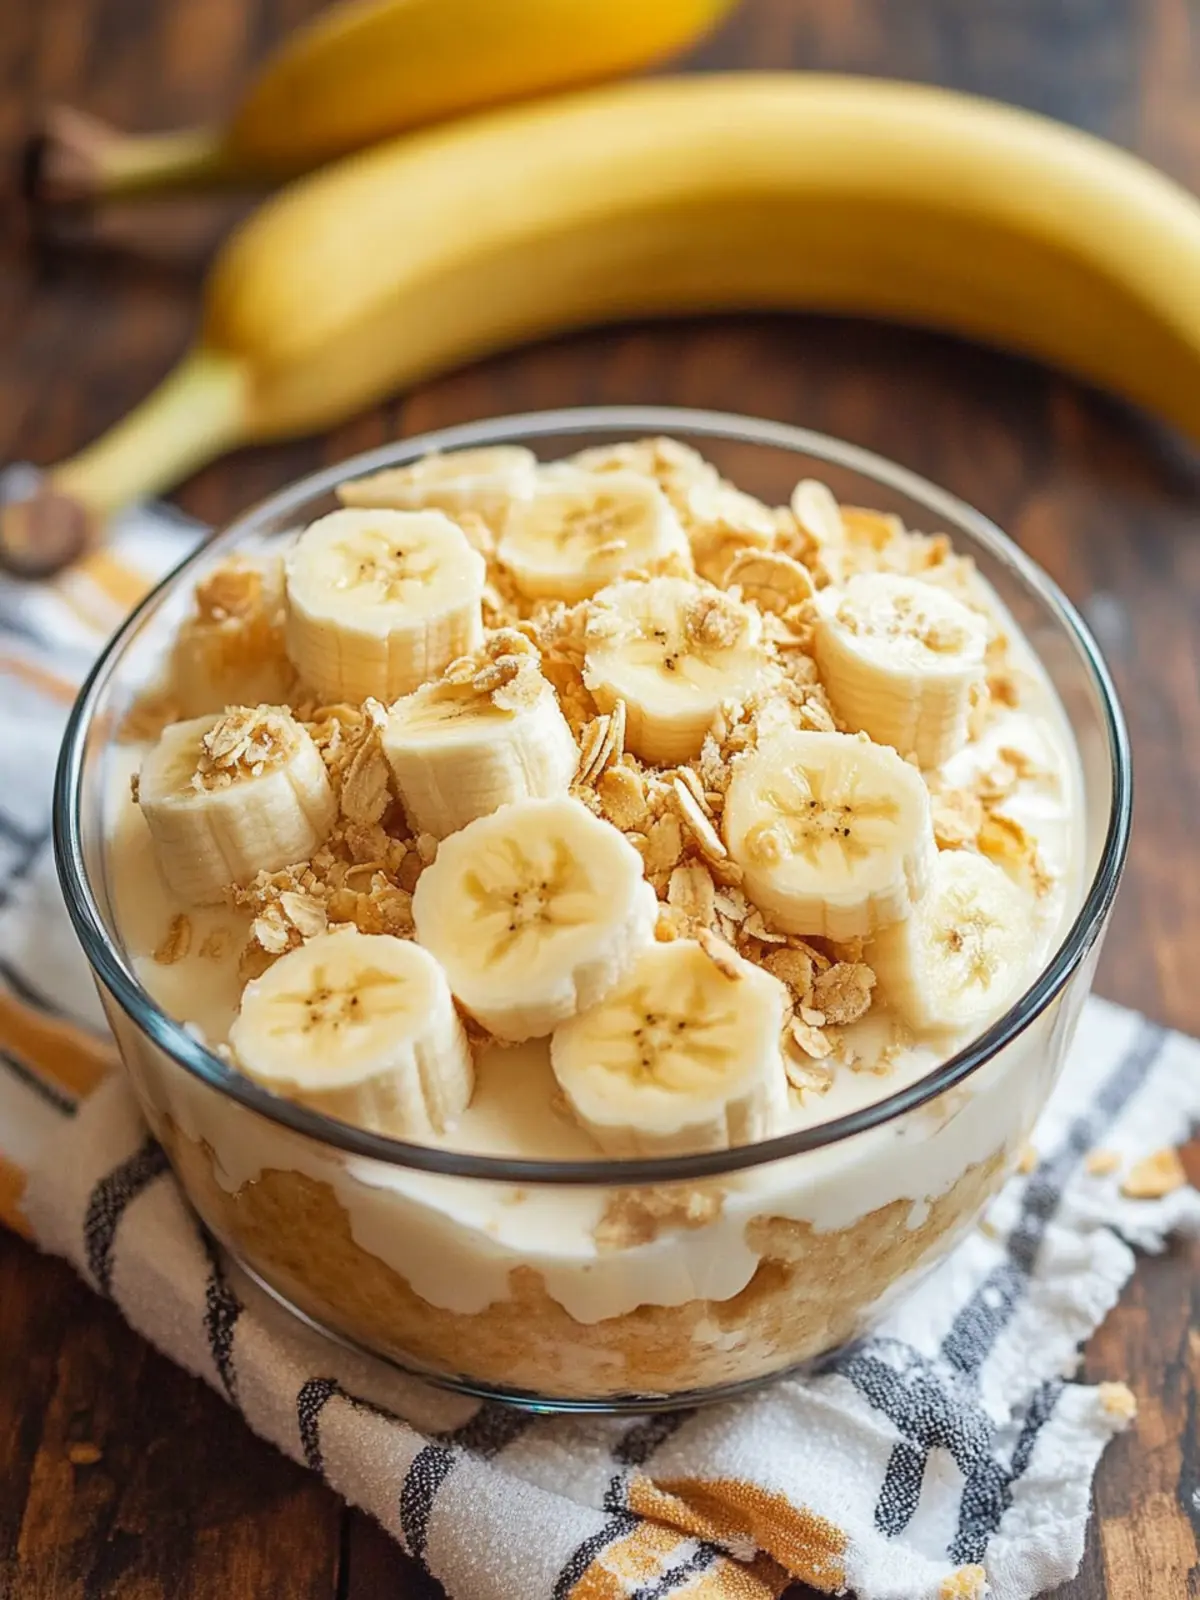
There’s a certain comfort that comes with making your own Old-Fashioned Homemade Banana Pudding. It’s that delightful combination of warm memories and sweet anticipation as you prepare a treat that feels like a hug after a long day. I stumbled upon this recipe while reminiscing about family gatherings, where this creamy, dreamy dessert would always steal the spotlight. The best part? It’s so simple to whip up that you’ll wonder why you ever opted for store-bought alternatives.
As I layer the rich pudding, fresh banana slices, and crunchy vanilla wafers, I’m reminded of the laughter and stories shared around those tables. This dessert might take a bit of patience due to the chilling time, but trust me, the wait is well worth it. Each spoonful offers a nostalgic bite that feels like home, making it the perfect ending to any meal. Plus, it’s a fantastic crowd-pleaser, effortlessly winning hearts young and old alike. Ready to dive into this classic recipe? Let’s make some magic happen in the kitchen!

Why love Old-Fashioned Homemade Banana Pudding?
Irresistible creaminess: This dessert combines velvety pudding with fresh banana slices for a texture that melts in your mouth.
Classic flavors: Nostalgic vanilla and banana create a comforting harmony, transporting you back to simpler times.
Easy to prepare: With just a few ingredients, you can create a show-stopping dessert that doesn’t require professional skills.
Perfect for gatherings: This crowd-pleaser is guaranteed to impress your guests and spark conversation around the table.
Chill out: The hands-off chilling time means you can prepare it ahead of your gathering—an effortless way to treat your loved ones.
When you’re ready for even more deliciousness, be sure to check out my classic pudding for other delightful options!
Old-Fashioned Homemade Banana Pudding Ingredients
Prepare for a delightful and nostalgic dessert experience with these simple ingredients!
For the Pudding
- ¾ cup sugar – Adds the perfect sweetness to balance the flavors.
- ¼ cup flour – Thickens the pudding to achieve that creamy, luscious consistency.
- ¼ teaspoon salt – Enhances the overall flavor, helping to highlight the sweetness.
- 3 cups milk – The base of your pudding; whole milk yields the richest taste.
- 3 eggs – Provides richness and helps thicken the pudding beautifully.
- 2 teaspoons vanilla extract – Infuses aromatic warmth that’s essential in this classic dessert.
For the Layers
- 1 box Vanilla wafers (about 8 oz.) – Offers a crunchy texture that contrasts with the smooth pudding.
- 4 bananas, sliced – Fresh bananas add natural sweetness and a fruity bite to every mouthful.
Embrace the joy of making Old-Fashioned Homemade Banana Pudding with these key ingredients, and prepare for a sweet treat that will whisk you down memory lane!
How to Make Old-Fashioned Homemade Banana Pudding
-
Combine dry ingredients: In a saucepan, mix the sugar, flour, and salt together until well-combined. This mixture sets the foundation for your creamy pudding.
-
Whisk in milk: Gradually whisk in the milk over medium heat. Cook it until the mixture thickens and bubbles, about 10 minutes. Make sure to stir frequently to prevent sticking.
-
Prepare egg mixture: Remove the saucepan from heat. In a small bowl, whisk together the eggs to ensure they’re well-beaten and ready to blend seamlessly into the pudding.
-
Temper the eggs: Add a small amount of the hot pudding mixture to the eggs and mix well. This process warms the eggs, preventing them from curdling when added back to the hot mixture.
-
Combine and heat again: Pour the egg mixture back into the saucepan with the pudding. Return to medium heat and cook until it gently boils, stirring constantly for about 2 minutes until it thickens more.
-
Add vanilla and cool: Stir in the vanilla extract and remove from heat. Allow the pudding to cool for about 15 minutes, stirring now and then to keep it smooth.
-
Layer the wafers: In an ungreased 8-inch square pan, arrange about 25 vanilla wafers across the bottom. Next, add half of the sliced bananas to create that delightful contrast.
-
Pour pudding over layers: Pour half of the slightly cooled pudding mixture over the wafers and bananas. Repeat the layering with the remaining wafers, banana slices, and finish with the last portion of the pudding.
-
Chill in the fridge: Cover the dish with plastic wrap and refrigerate for at least 4 hours, preferably overnight. The chilling time allows the flavors to meld beautifully.
-
Finish before serving: Just prior to serving, crush any remaining vanilla wafers and sprinkle them over the top of the pudding for that extra crunch. Serve cold for a refreshing treat!
Optional: Top with whipped cream for an indulgent touch.
Exact quantities are listed in the recipe card below.
Old-Fashioned Homemade Banana Pudding Variations
Get ready to sprinkle a dash of creativity into your banana pudding masterpiece, allowing you to tailor it perfectly to your tastes!
-
Chocolate Delight: Add cocoa powder to the pudding mixture for a rich, chocolatey twist that pairs beautifully with bananas.
-
Nutty Touch: Incorporate chopped pecans or walnuts between the layers for a delightful crunch and a hint of earthiness.
-
Dairy-Free Option: Substitute almond or oat milk for a dairy-free alternative, and use cornstarch instead of flour for a vegan-friendly pudding.
-
Coconut Cream: Swap out half of the milk for coconut milk for a tropical flair that mingles wonderfully with the bananas.
-
Maple Sweetener: Replace sugar with pure maple syrup for a deeper, more complex sweetness that adds warmth to every bite.
-
Bourbon Infusion: For an adult twist, add a splash of bourbon to the pudding mixture before layering, creating a unique flavor profile that’s rich and smooth.
-
Spicy Cinnamon: Sprinkle in a pinch of cinnamon or nutmeg when cooking the pudding to warm it up and enhance the flavors.
-
S’mores Style: Layer in mini marshmallows and chocolate chips for a fun, campfire-inspired twist on your classic pudding.
Feel free to mix and match these options, creating a personalized version that’s sure to become a family favorite!
Expert Tips for Old-Fashioned Homemade Banana Pudding
-
Use Fresh Bananas: Select ripe but firm bananas for the best flavor and texture. Overripe bananas can become mushy in the pudding.
-
Avoid Lumpy Pudding: Whisk continuously while cooking the pudding to ensure a smooth consistency and prevent lumps from forming.
-
Egg Tempering: When adding eggs to the hot mixture, temper them first to avoid scrambling. This crucial step ensures the silky texture of your Old-Fashioned Homemade Banana Pudding.
-
Chill Time Matters: Giving your pudding ample chilling time (ideally overnight) allows the flavors to meld perfectly, creating that creamy, dreamy finish.
-
Layering Technique: For even distribution of flavors, alternate layers of wafers, bananas, and pudding. This creates a delightful surprise in every spoonful!
How to Store and Freeze Old-Fashioned Homemade Banana Pudding
Fridge: Store leftover banana pudding in an airtight container in the refrigerator for up to 3 days. It’s best enjoyed cold!
Freezer: Freezing is not recommended for this dessert, as the bananas and cream can change texture. Instead, enjoy fresh!
Reheating: For best results, serve cold straight from the fridge. If needed for a warm treat, gently warm the pudding (without the bananas) on the stovetop over low heat, stirring frequently.
Layering reminder: If you’ve made a layered pudding, consider keeping it separate in the fridge to maintain the texture of the wafers.
What to Serve with Old-Fashioned Homemade Banana Pudding?
Create a delightful meal that warms the heart and tantalizes the taste buds.
-
Crispy Fried Chicken: The crunchy exterior and juicy meat pair beautifully with the creaminess of the pudding, offering a savory balance.
-
Classic Coleslaw: A tangy coleslaw adds a refreshing crunch and contrasts the sweet banana flavors, making each bite delightfully balanced.
-
Grilled Pineapple: Grilled fruit complements the richness of the pudding with its caramelized sweetness, enhancing the tropical vibes of the dessert.
-
Sweet Tea: A glass of freshly brewed sweet tea brings a nostalgic Southern touch to your meal, harmonizing perfectly with the flavors of the pudding.
-
Chocolate Chip Cookies: Pairing with warm cookies provides a textural contrast, and the chocolate makes for a delightful sweet duo with the banana pudding.
-
Fruit Salad: A colorful fruit salad brings fresh, juicy bites that lighten the overall meal, making it a refreshing end to your feast.
-
Vanilla Ice Cream: Serve the pudding with a scoop of vanilla ice cream for an extra creamy indulgence that envelops your taste buds in sweetness.
-
Coffee or Espresso: A warm cup of coffee or an espresso offsets the sweetness, providing a sophisticated finish to your comforting dessert experience.
With these delightful pairings, your Old-Fashioned Homemade Banana Pudding will shine as the star of a full meal!
Make Ahead Options
These Old-Fashioned Homemade Banana Pudding are a fantastic choice for busy home cooks looking to save time during the week! You can prepare the pudding base, including the egg mixture, and refrigerate it up to 24 hours in advance. Simply follow the first eight steps, cool the pudding for about 15 minutes, then cover and chill. To prevent the bananas from browning, slice and layer them in the dish right before serving. When you’re ready to enjoy, simply finish by layering the remaining wafers and chilling the entire dish for at least 4 hours, or overnight for the best flavor. Your dessert will be just as delicious, and you’ll appreciate the time saved!

Old-Fashioned Homemade Banana Pudding Recipe FAQs
How do I choose ripe bananas for the pudding?
Absolutely! When selecting bananas, look for ones that are ripe but still firm to the touch. Ideally, they should have a few small brown spots without being overly mushy. This balance ensures they hold their shape in the pudding while providing that natural sweetness we all love.
How should I store leftover banana pudding?
Certainly! You can store any leftover Old-Fashioned Homemade Banana Pudding in an airtight container in the refrigerator for up to 3 days. Just remember, it’s best enjoyed cold. Ensure you cover it with plastic wrap to prevent any unwanted odors from being absorbed!
Can I freeze banana pudding?
Very! However, I recommend against freezing it due to the bananas and cream potentially changing texture when thawed. The best way to enjoy this dessert is fresh! Instead, consider making it on the day you plan to serve it to ensure optimal flavor and texture.
What should I do if my pudding is lumpy?
Don’t worry; we’ve all been there! If your pudding ends up lumpy, one effective method to smooth it out is to strain it through a fine-mesh sieve before pouring it into your dish. This will catch any lumps while allowing the silky pudding to flow through. Additionally, whisking continuously while cooking can help prevent lumps from forming.
Are there any dietary considerations to keep in mind?
Definitely! If you or your guests have dietary restrictions, it’s essential to be cautious. This recipe contains eggs and dairy, so it’s not suitable for vegans. Additionally, if there are nut allergies to consider, always check brands of vanilla wafers to ensure they’re nut-free. Serve with caution and always communicate about potential allergens to your guests.
How does the chilling time affect the pudding?
Fantastic question! Allowing the pudding to chill for at least 4 hours—preferably overnight—lets the flavors meld beautifully, creating that creamy, dreamy texture we adore. This chilling time also firms up the pudding, making it easier to serve and enjoy. Trust me, the wait will be oh-so-worth it!
Old-Fashioned Homemade Banana Pudding That'll Wow Your Guests
Ingredients
Equipment
Method
- In a saucepan, mix the sugar, flour, and salt together until well-combined.
- Gradually whisk in the milk over medium heat. Cook until thickened and bubbling, about 10 minutes.
- Remove from heat and whisk the eggs in a small bowl.
- Add a small amount of hot pudding to the eggs and mix well to temper.
- Pour the egg mixture back into the saucepan and cook over medium heat until it thickens more, about 2 minutes.
- Stir in the vanilla extract and allow to cool for about 15 minutes.
- In an ungreased 8-inch square pan, arrange about 25 vanilla wafers across the bottom and add half of the sliced bananas.
- Pour half of the pudding over the layers and repeat with remaining wafers, bananas, and pudding.
- Cover with plastic wrap and refrigerate for at least 4 hours or overnight.
- Crush remaining vanilla wafers and sprinkle over the top just before serving.