
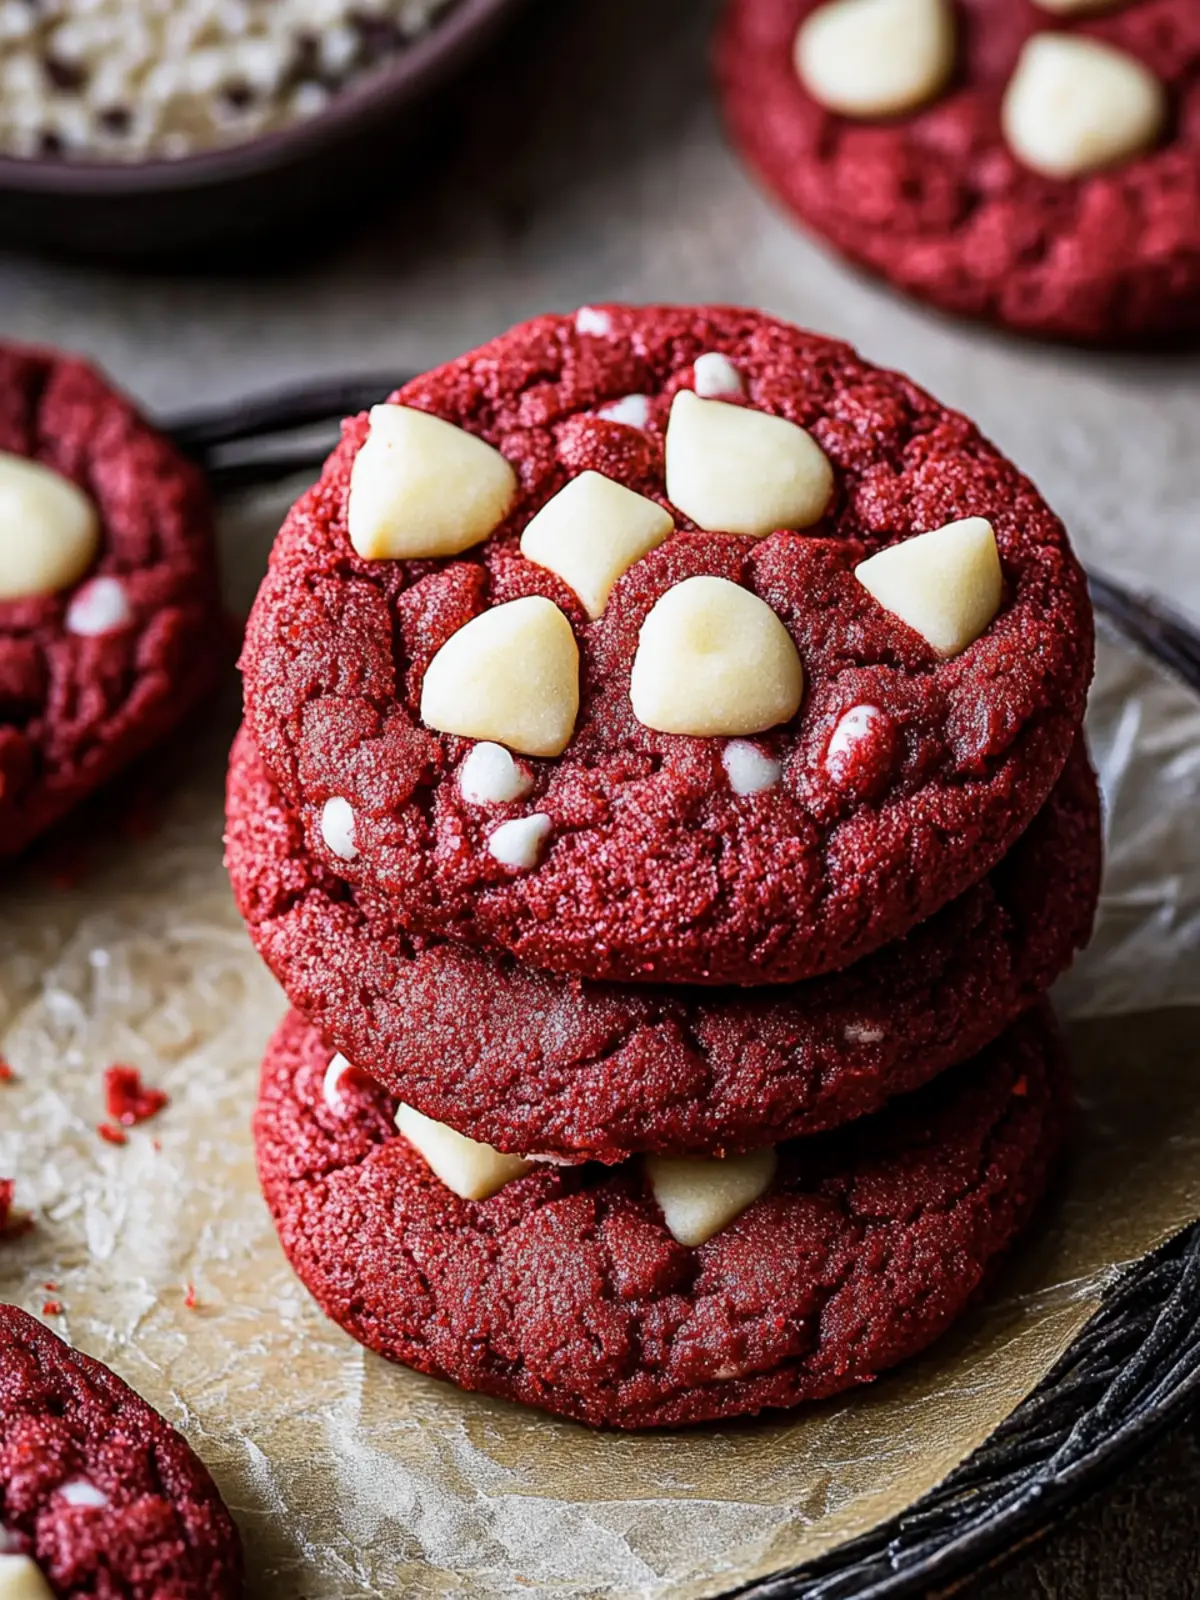
Baking can sometimes feel like a chore, but that changes when you whip up a batch of Red Velvet Chocolate Chip Cookies. The first time I saw this vibrant, ruby-red dough take shape, I couldn’t help but smile. Not only do these cookies look stunning with their rich hue and specks of creamy chocolate, but they also deliver a taste experience that’s simply divine. Imagine biting into a soft, chewy cookie that tastes like a delightful mix of chocolate and cake, with the sweetness of chocolate chips melting in your mouth.
These cookies are the answer to your mid-week slump cravings or those moments when you need a bit of culinary inspiration. Perfect for sharing at gatherings or cozy nights in, their unique flavor profile and eye-catching color will impress family and friends alike. The best part? With simple ingredients and a few effortless steps, you’ll have a delicious treat that feels both special and achievable. So grab your apron and get ready to bake a batch that’ll have everyone begging for the recipe!

Why are Red Velvet Cookies so special?
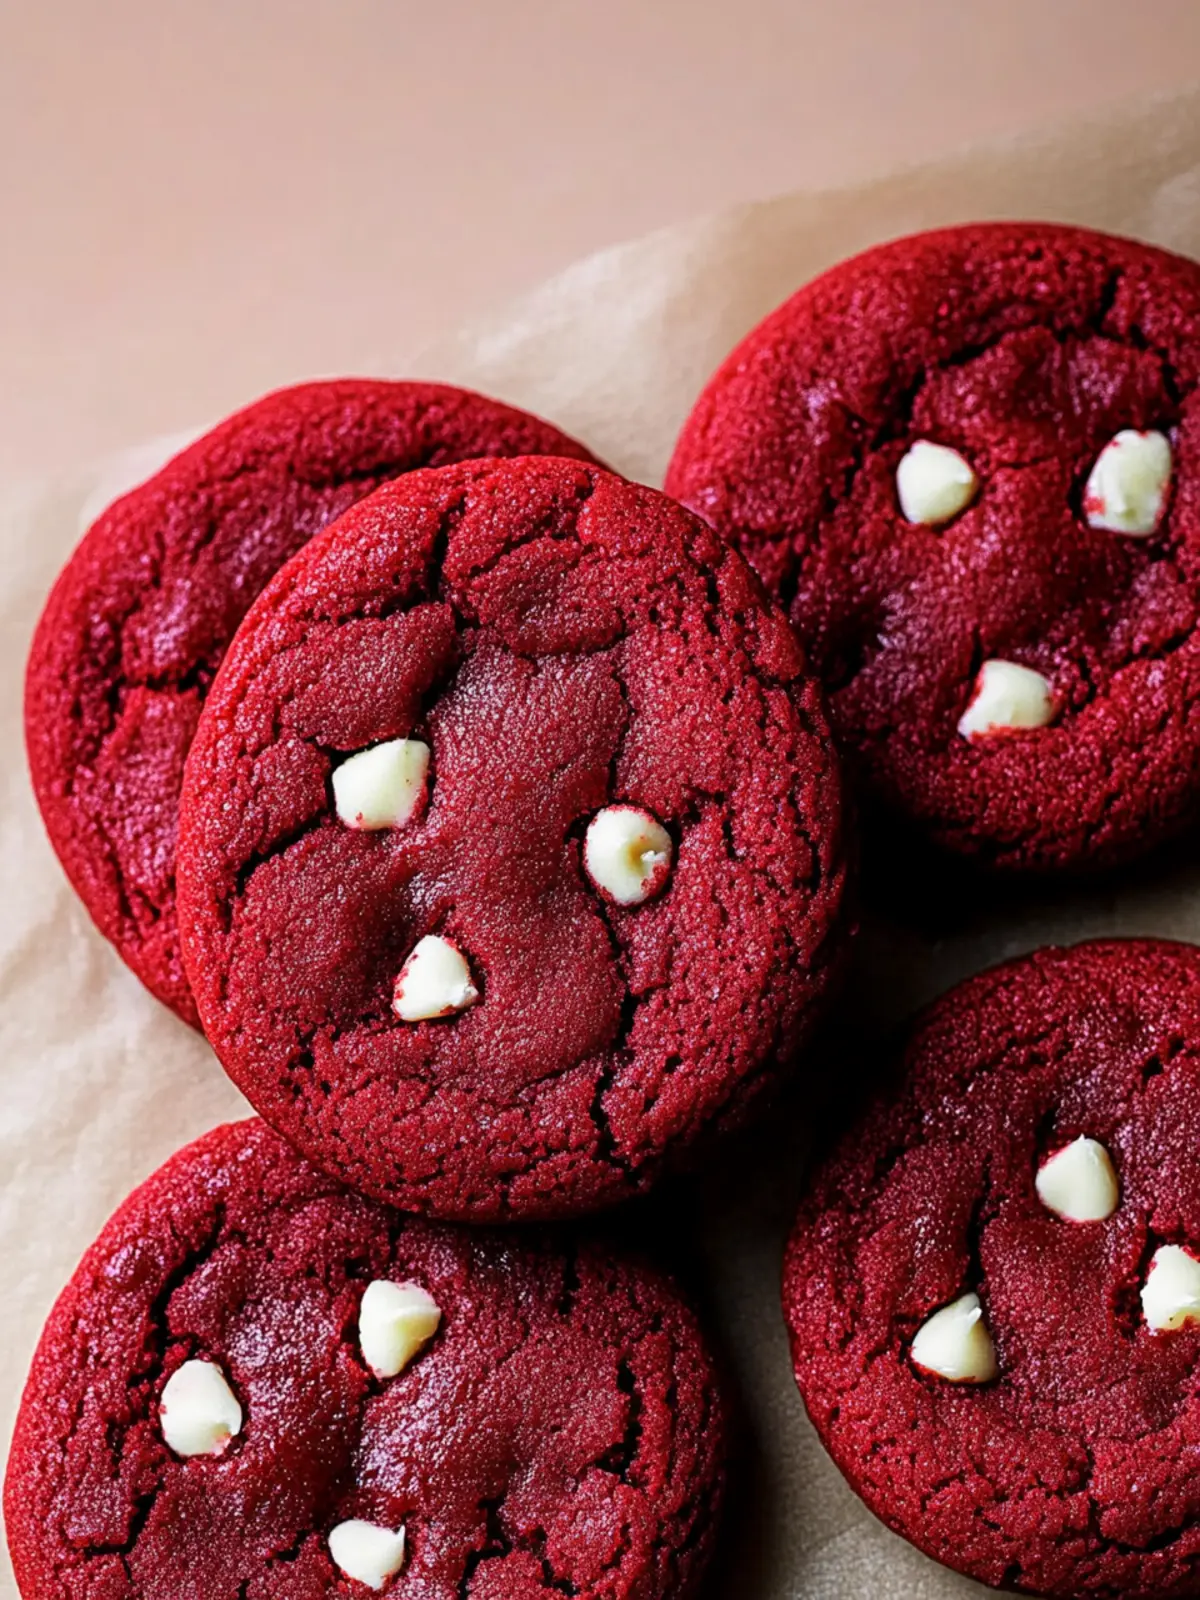
Vibrant Color: The striking ruby hue makes these cookies a feast for the eyes, perfect for any occasion.
Decadent Flavor: Each bite is a delightful harmony of chocolate cake and creamy chocolate chips, offering a taste sensation like no other.
Easy Preparation: With accessible ingredients and straightforward steps, you can whip up these treats in no time—ideal for busy schedules.
Chill Time Bonus: You can prepare the dough ahead of time, allowing you to bake on your schedule while maintaining freshness.
Crowd-Pleasing Treat: Serve them at parties or cozy nights in, and watch everyone’s faces light up with excitement.
Transform your baking routine and impress your loved ones by creating these irresistible cookies—your kitchen will be the go-to spot!
Red Velvet Cookies Ingredients
• Everything you need for delightful treats.
For the Cookie Dough
- All-purpose flour – Essential for structure; spooned & leveled for accuracy.
- Unsweetened natural cocoa powder – Adds a rich chocolate flavor to complement the red velvet.
- Baking soda – Provides necessary lift for a perfectly chewy texture.
- Salt – Enhances flavor and balances the sweetness.
- Unsalted butter – Room temperature butter creates a creamy dough and richer taste.
- Brown sugar – Packed for moisture and a hint of caramel flavor in each bite.
- Granulated sugar – Sweetens while adding nice crispness to the edges.
- Large egg – Binds ingredients together and adds richness.
- Milk (recommended buttermilk) – Moistens the dough and can be swapped for a dairy-free alternative.
- Pure vanilla extract – Adds warmth and enhances the overall flavor profile.
- Gel red food coloring (or alternative) – Essential for that eye-catching red hue; adjust for vibrancy!
For the Chocolate Bliss
- White or semi-sweet chocolate chips – Melts perfectly into the cookie for a sweet, creamy surprise; plus a few extra for that finished look.
These Red Velvet Cookies are not just a visual treat but also a flavor-packed delight that will bring smiles around the table!
How to Make Red Velvet Cookies
-
Whisk Together: In a medium bowl, whisk the flour, cocoa powder, baking soda, and salt until blended. This creates an even distribution of dry ingredients, ensuring your cookies have the perfect texture.
-
Beat the Mixture: Using a hand mixer or stand mixer with a paddle attachment, beat the softened butter, brown sugar, and granulated sugar on medium speed until creamy, about 3 minutes. The mixture should be light and fluffy.
-
Add Egg & Vanilla: Add the large egg and vanilla extract, mixing on high until thoroughly combined, about 1 minute. Don’t forget to scrape down the sides to catch all that delicious goodness!
-
Combine Ingredients: Pour the dry ingredients into the wet mixture. Add the milk and red food coloring, mixing on low speed until just combined. The dough should be sticky; feel free to add more food coloring for more vibrancy!
-
Add Chocolate Chips: Gently fold in the chocolate chips using low speed until they are just mixed in. This keeps them distributed evenly without overworking the dough.
-
Chill the Dough: Cover the dough with plastic wrap and chill in the refrigerator for at least 1 hour (up to 3 days). Chilling firms up the dough, making it easier to scoop and bake.
-
Preheat the Oven: Set your oven to 350°F (177°C). Line your baking sheets with parchment paper or silicone mats—you want to make cleanup a breeze!
-
Scoop the Dough: Use a scoop to portion about 1.5 tablespoons (30–35g) of dough for each cookie. Place them on the prepared baking sheet about 3 inches apart.
-
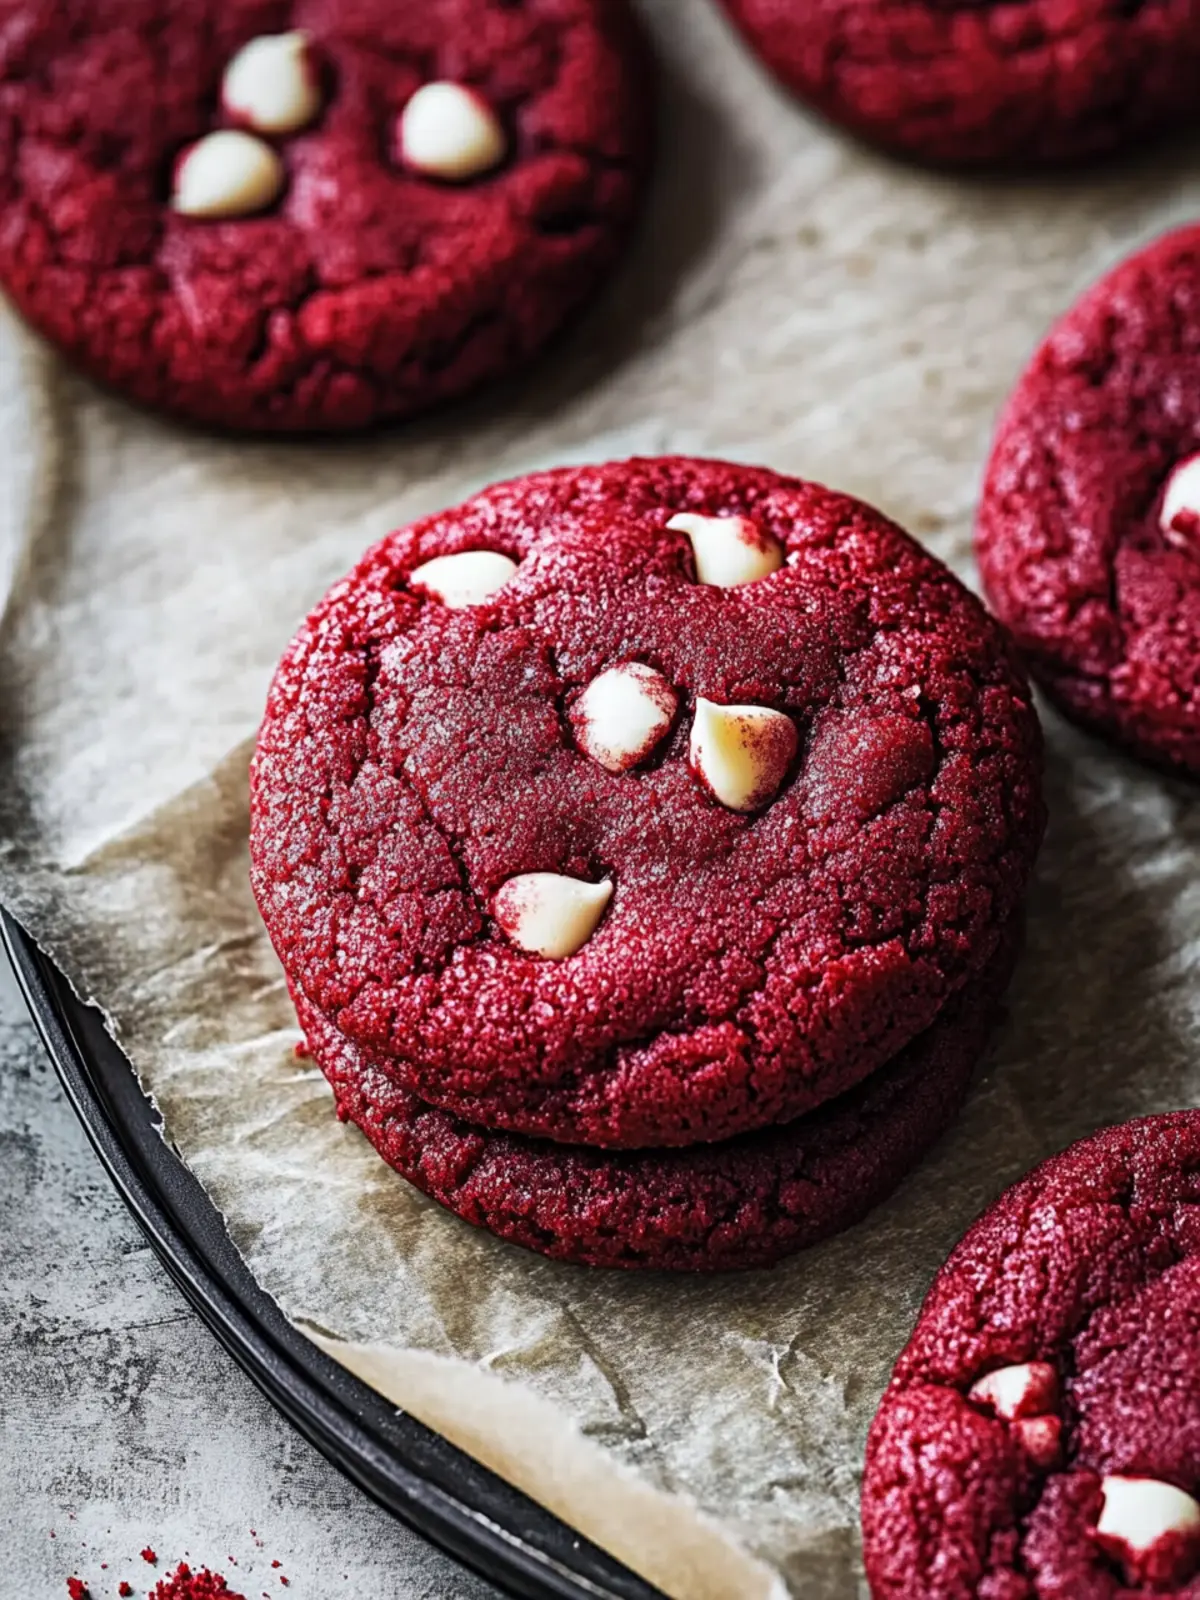
Bake the Cookies: Bake for 11–13 minutes or until the edges are set. If they don’t spread, gently press down on the warm cookies with the back of a spoon to make them perfectly flat.
-
Cool Down: Let the cookies cool on the baking sheet for 5 minutes before transferring them to a wire rack to cool completely. This helps them maintain their soft texture!
Optional: Drizzle with white chocolate for an extra touch of sweetness.
Exact quantities are listed in the recipe card below.
Helpful Tricks for Red Velvet Cookies
-
Don’t Skimp on Chilling: Chilling the dough for at least one hour is key; it ensures your cookies maintain their shape and don’t spread too much.
-
Measure Accurately: Spoon and level your flour to avoid dense cookies; too much flour can lead to a dry texture.
-
Mix Gradually: When adding dry ingredients, mix just until combined to keep the dough soft and chewy, preventing overworking.
-
Watch the Bake Time: Ovens vary, so start checking your cookies at 11 minutes to avoid overbaking; they should be soft in the center.
-
Customize Color: Feel free to enhance the red food coloring to achieve your desired shade; just remember that mixing well is essential!
Baking these Red Velvet Cookies is a delightful experience that’ll warm your home and heart!
How to Store and Freeze Red Velvet Cookies
Room Temperature: Keep cookies in an airtight container at room temperature for up to 3 days to maintain their soft texture.
Fridge: For longer freshness, store the cookies in the fridge in an airtight container for up to 5 days. Allow them to come to room temperature before serving.
Freezer: Freeze the cookie dough for up to 3 months. Scoop the dough onto a baking sheet, freeze until solid, then transfer to a zip-top bag. Bake from frozen, adding a couple of extra minutes to the baking time.
Reheating: Gently reheat cookies in the microwave for about 10-15 seconds before serving to revive their chewy goodness.
What to Serve with Red Velvet Chocolate Chip Cookies?
Imagine the sweet fragrance of warm cookies filling your kitchen, paired perfectly with beloved accompaniments for a delightful culinary experience.
-
Cold Milk: The classic choice for cookies, a chilled glass of milk complements the rich chocolate and soft texture.
-
Cream Cheese Frosting: Elevate these cookies with a light swirl of cream cheese frosting, enhancing their red velvet charm for a truly indulgent treat.
-
Ice Cream Sundae: Top off a warm cookie with a scoop of vanilla ice cream, drizzled with chocolate sauce for a gooey dessert experience that’s hard to resist!
-
Coffee: A steaming cup of coffee doesn’t just wake you up; it enhances the richness of the cookies, making for an enjoyable afternoon treat.
-
Fresh Berries: Brighten up your plate with fresh strawberries or raspberries; their tartness offers a delightful contrast to the sweetness of the cookies.
-
Whipped Cream: Light and airy, a dollop of whipped cream adds a delightful touch, making your cookie experience feel a little more special.
-
Nutty Chocolate Bark: Crumble a few chocolate-covered nuts over your cookies for a delightful crunch and texture that complements the softness of the cookies.
-
Sparkling Water: For a refreshing contrast, pair your cookies with a glass of sparkling water, cleansing your palate between bites.
Treat yourself to a complete dessert experience filled with warmth and joy that will make every bite of your Red Velvet Cookies even more memorable!
Red Velvet Cookies Variations
Feel free to explore these delightful twists that will take your Red Velvet Cookies to new heights!
- Gluten-Free: Swap all-purpose flour with a 1:1 gluten-free baking blend for a deliciously inclusive recipe.
- Dairy-Free: Use coconut oil or vegan butter in place of unsalted butter and nut milk for a creamy dairy-free option.
- Nutty Addition: Add 1/2 cup of chopped pecans or walnuts for a delightful crunch in every bite. The added texture beautifully complements the soft cookie.
- Spicy Surprise: Sprinkle in a pinch of cayenne pepper or cinnamon to give your cookies a warm kick that’ll surprise and delight.
- Cream Cheese Boost: Mix in 4 oz. of softened cream cheese for an extra layer of tangy flavor—just make sure to reduce the butter slightly for balance.
- Cocoa Powder Variation: Experiment by substituting half the cocoa powder for espresso powder to amplify the chocolatey depth with a gentle coffee essence.
- Choco-Chip Twist: Use dark chocolate chips or chunks instead of white for a richer chocolate experience.
- Seasonal Spice: Add pumpkin spice in the fall or peppermint extract during the holidays for a festive flavor that warms the heart.
So go ahead, don your apron and let your creativity shine through in each batch!
Make Ahead Options
These Red Velvet Cookies are perfect for meal prep enthusiasts! You can prepare the dough up to 3 days in advance by chilling it in the refrigerator. Simply follow the recipe up to the chilling step, then cover the dough tightly with plastic wrap to maintain freshness and prevent it from drying out. When you’re ready to bake, let the dough sit at room temperature for about 15 minutes to soften before scooping and baking. This method not only saves you time on busy weeknights but ensures your cookies taste just as delicious as if they were made fresh. Enjoy the ease of having these delightful treats ready to go!
Red Velvet Chocolate Chip Cookies Recipe FAQs
How do I choose ripe ingredients for Red Velvet Cookies?
Absolutely! Using quality ingredients is key for delicious cookies. Look for all-purpose flour that is fresh and free from lumps. The cocoa powder should be unsweetened and aromatic. Choose unsalted butter that is soft but not melted; it should yield slightly when pressed. For the egg, pick one at room temperature to ensure better mixing and texture.
What’s the best way to store leftover cookies?
Very good question! To keep your cookies fresh, store them in an airtight container at room temperature for up to 3 days. For a longer shelf life, pop them in the refrigerator for up to 5 days. Just let them come to room temperature before enjoying to restore their delightful chewiness.
Can I freeze the cookie dough for later baking?
Absolutely! Freezing your Red Velvet Cookie dough is a great idea. After mixing, use a cookie scoop to portion out the dough onto a baking sheet lined with parchment paper. Freeze the dough balls until solid, about 1-2 hours. Then, transfer them to a zip-top freezer bag, where they’ll keep for up to 3 months. When you’re ready to bake, just bake from frozen, adding an extra couple of minutes to the baking time as needed.
What should I do if my cookies don’t spread while baking?
Ah, the age-old question! If your Red Velvet Cookies don’t spread, it’s often due to overly chilled dough or too much flour. If this happens, when the cookies come out of the oven, gently press down on them with the back of a spoon to flatten. In the future, try chilling the dough for less time or ensuring you’re measuring your flour accurately by spooning and leveling it.
Are there any dietary considerations I should be aware of?
Absolutely! If you’re making these Red Velvet Cookies for someone with allergies or dietary restrictions, you can swap the all-purpose flour with a gluten-free blend if needed. For dairy-free options, use a plant-based butter and non-dairy milk. Be cautious with the chocolate chips too, as some may contain dairy; look for dairy-free chocolate chips if necessary. Always double-check labels to accommodate any specific allergies!
How do I know when my cookies are done baking?
Great question! Bake your cookies for 11-13 minutes, but keep an eye on them starting at the 11-minute mark. You want the edges to appear set while the center remains slightly soft. They will firm up as they cool. If they don’t spread as expected, a gentle press with a spoon when they come out of the oven can help achieve that classic cookie look!
Irresistible Red Velvet Cookies with Chocolate Bliss
Ingredients
Equipment
Method
- In a medium bowl, whisk the flour, cocoa powder, baking soda, and salt until blended.
- Using a hand mixer or stand mixer, beat the softened butter, brown sugar, and granulated sugar on medium speed until creamy.
- Add the large egg and vanilla extract, mixing on high until thoroughly combined.
- Pour the dry ingredients into the wet mixture. Add the milk and red food coloring, mixing on low speed until just combined.
- Gently fold in the chocolate chips using low speed until just mixed.
- Cover the dough with plastic wrap and chill in the refrigerator for at least 1 hour.
- Set your oven to 350°F (177°C) and line your baking sheets with parchment paper.
- Use a scoop to portion about 1.5 tablespoons of dough for each cookie and place them on the prepared baking sheet.
- Bake for 11–13 minutes or until the edges are set.
- Let the cookies cool on the baking sheet for 5 minutes before transferring them to a wire rack to cool completely.