
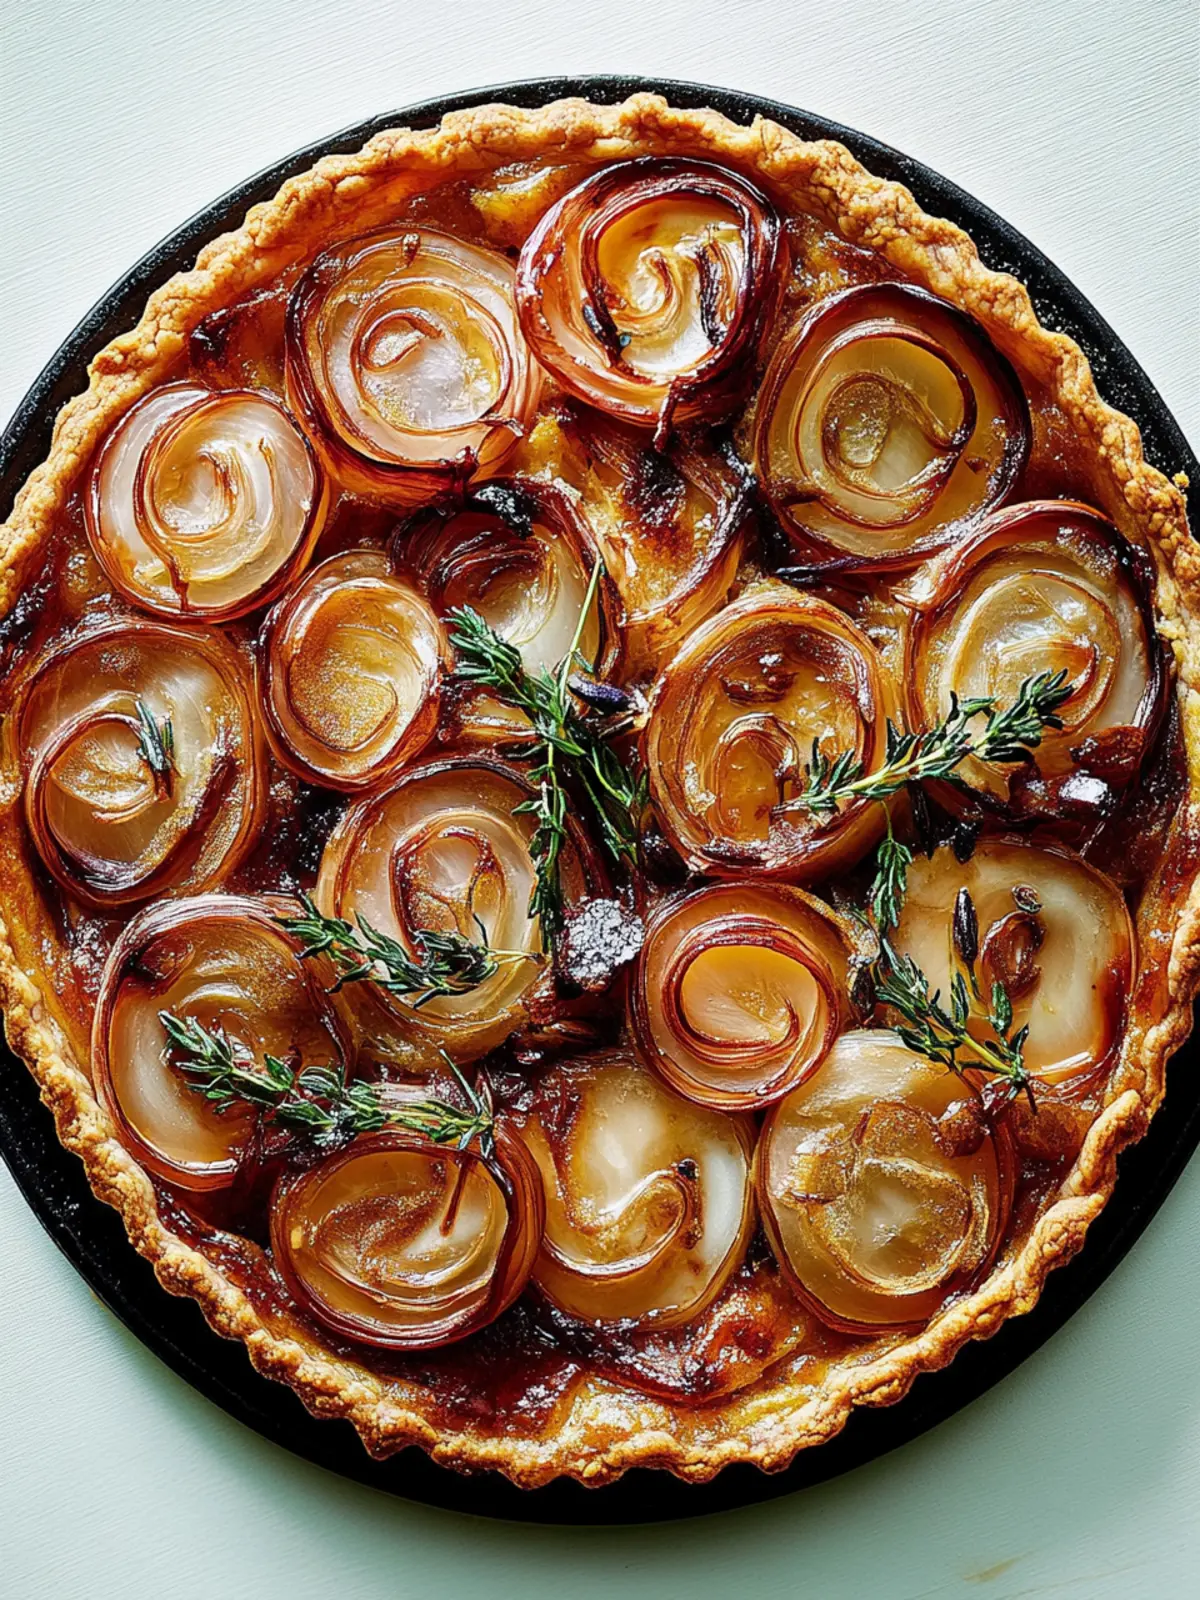
There are moments in the kitchen that spark pure joy, and this sticky shallot tart is one of those magical recipes that turns an ordinary evening into a celebration. Picture this: the warm aroma of caramelizing shallots mingling with the earthy scent of rosemary, filling your home with a promise of comfort. Whether you’re looking to impress at a dinner party or simply craving a delightful weeknight dish, this shallot tarte tatin will not disappoint.
What makes this recipe truly special is its unexpected elegance—who knew that something so visually stunning could be so easy? With just a handful of simple ingredients, you will create a show-stopping dish that highlights the rich flavor of shallots. Plus, the crispy puff pastry adds a lightness that perfectly complements the sticky sweetness of the caramelized shallots. Trust me, your taste buds are in for a treat! Let’s dive into this delightful recipe and elevate your next home-cooked meal.

Why will you love this sticky shallot tart?
Easy preparation: This delightful dish requires minimal effort, making it perfect for both novice cooks and seasoned chefs.
Impressive presentation: The shallots create a stunning visual display, turning an everyday meal into an elegant feast.
Rich flavors: The combination of balsamic vinegar and rosemary adds depth and complexity, ensuring every bite is a flavor explosion.
Versatile dish: Serve it as an appetizer or a side dish alongside your favorite protein for a well-rounded meal.
Perfect for gatherings: Whether it’s a casual dinner or a more formal occasion, everyone will be asking for seconds!
Let’s not forget the joy of creating a dish that can be paired beautifully with a well-dressed green salad. You’ll find it’s a wonderful addition to your culinary repertoire.
Sticky Shallot Tart Ingredients
For the Tart
- Essential Unsalted Butter – 40g helps in caramelizing the shallots beautifully.
- Waitrose Echalion Shallots – 800g, sliced into 2cm rounds for optimal cooking and presentation.
- Essential Balsamic Vinegar – 3 tbsp adds a delightful sweetness that balances the tartness beautifully.
- Caster Sugar – 1½ tbsp enhances the caramelization of the shallots for a sticky finish.
- Rosemary Sprigs – 3 sprigs infuse the dish with a fragrant herbal note.
- All-Butter Puff Pastry – 320g creates a flaky, golden topping that contrasts perfectly with the sticky shallots.
With these essential ingredients in hand, you’re ready to embark on a culinary adventure that will delight the palate. Enjoy crafting your sticky shallot tart!
How to Make Sticky Shallot Tart
-
Heat the Butter: Begin by melting the butter in a 26-28cm ovenproof frying pan over medium-high heat. Once the butter is foaming, add the shallots cut-side down, packing them tightly. Fry for about 5 minutes until they’re golden brown, giving the pan a gentle swirl occasionally.
-
Turn Shallots: Season the tops of the shallots and carefully turn them using a spoon and fork. Sprinkle with seasoning again and fry for another 5 minutes, allowing them to gain a beautiful caramel color.
-
Preheat Oven: While the shallots are cooking, preheat your oven to 200°C (gas mark 6). Sprinkle the balsamic vinegar and caster sugar over the shallots, swirling gently in the pan. Cook for 2-3 minutes until the mixture becomes syrupy. Remove the pan from the heat and let it cool for about 5-10 minutes.
-
Add Rosemary and Pastry: Nestle the rosemary sprigs between the shallots. If your puff pastry isn’t wide enough, roll it out slightly on its paper. Lay it over the shallots, trimming the edges with scissors so you have enough to tuck in around the sides, encasing the shallots.
-
Pierce and Bake: Using a fork, pierce the pastry several times to allow steam to escape. Carefully transfer the pan to the preheated oven and bake for 20 minutes, or until the pastry is crisp and golden brown.
-
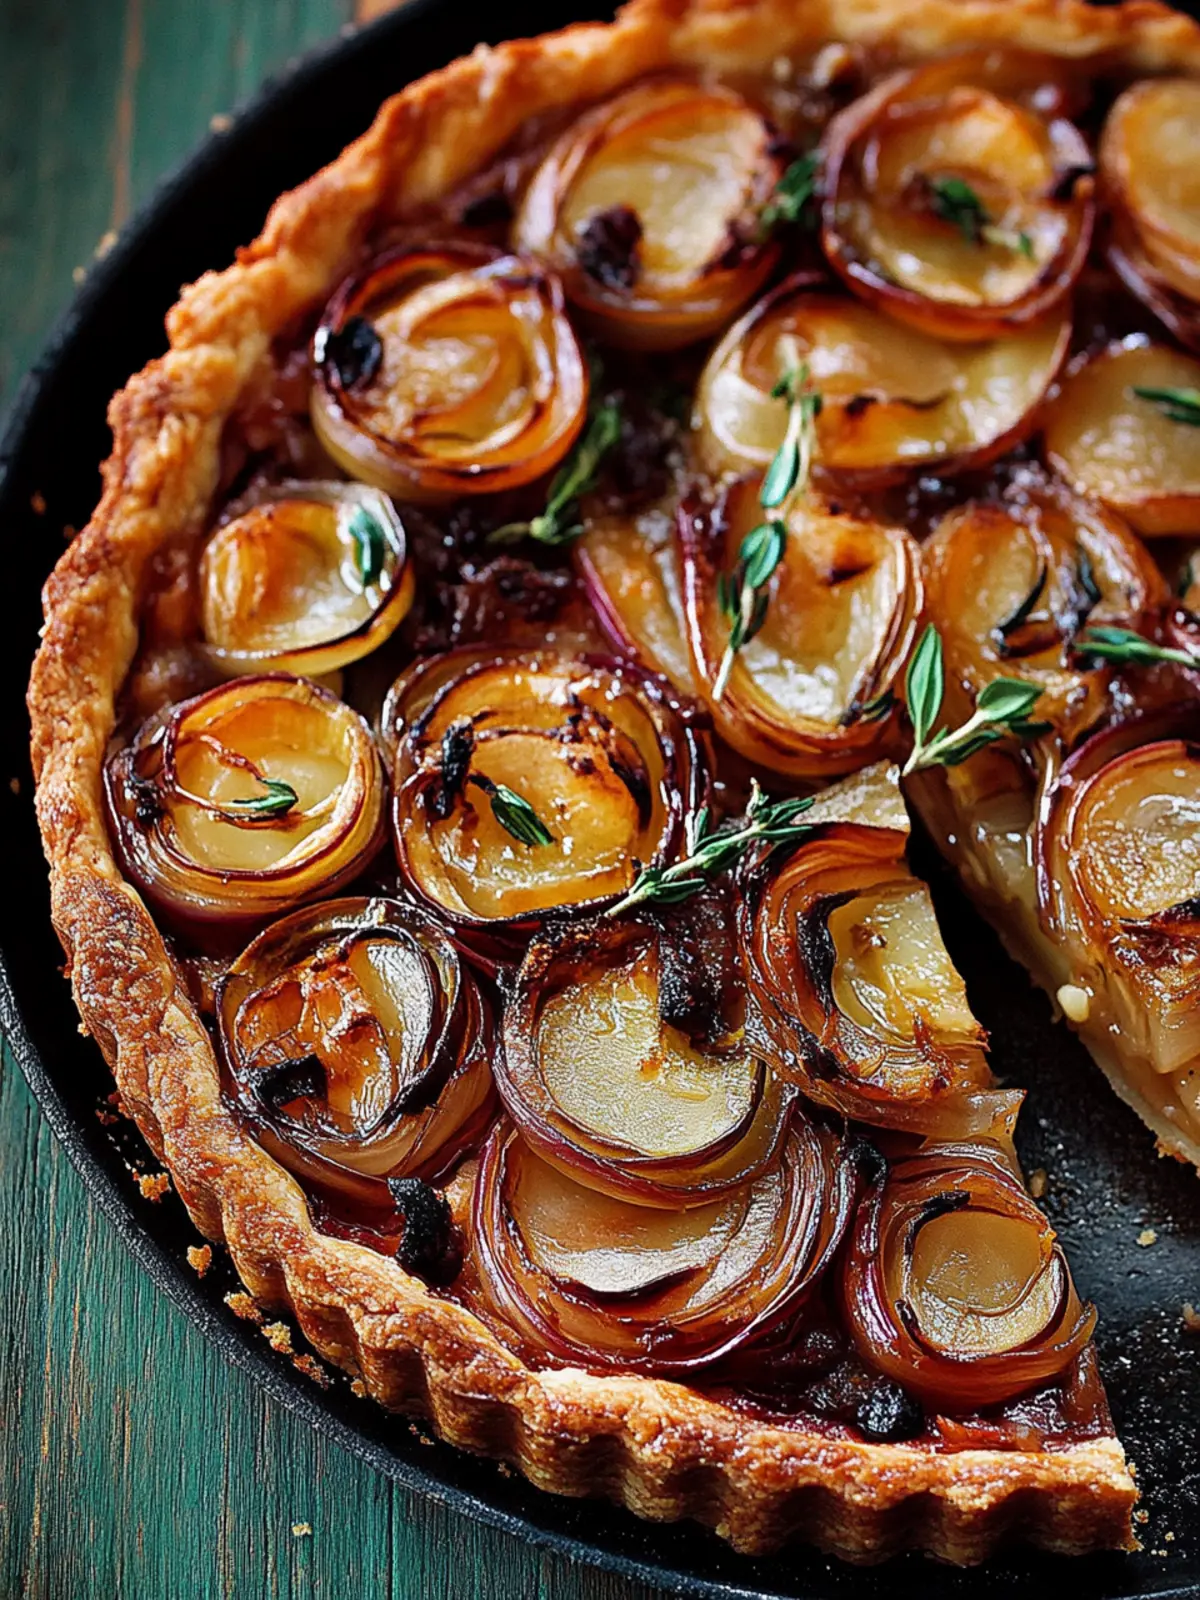
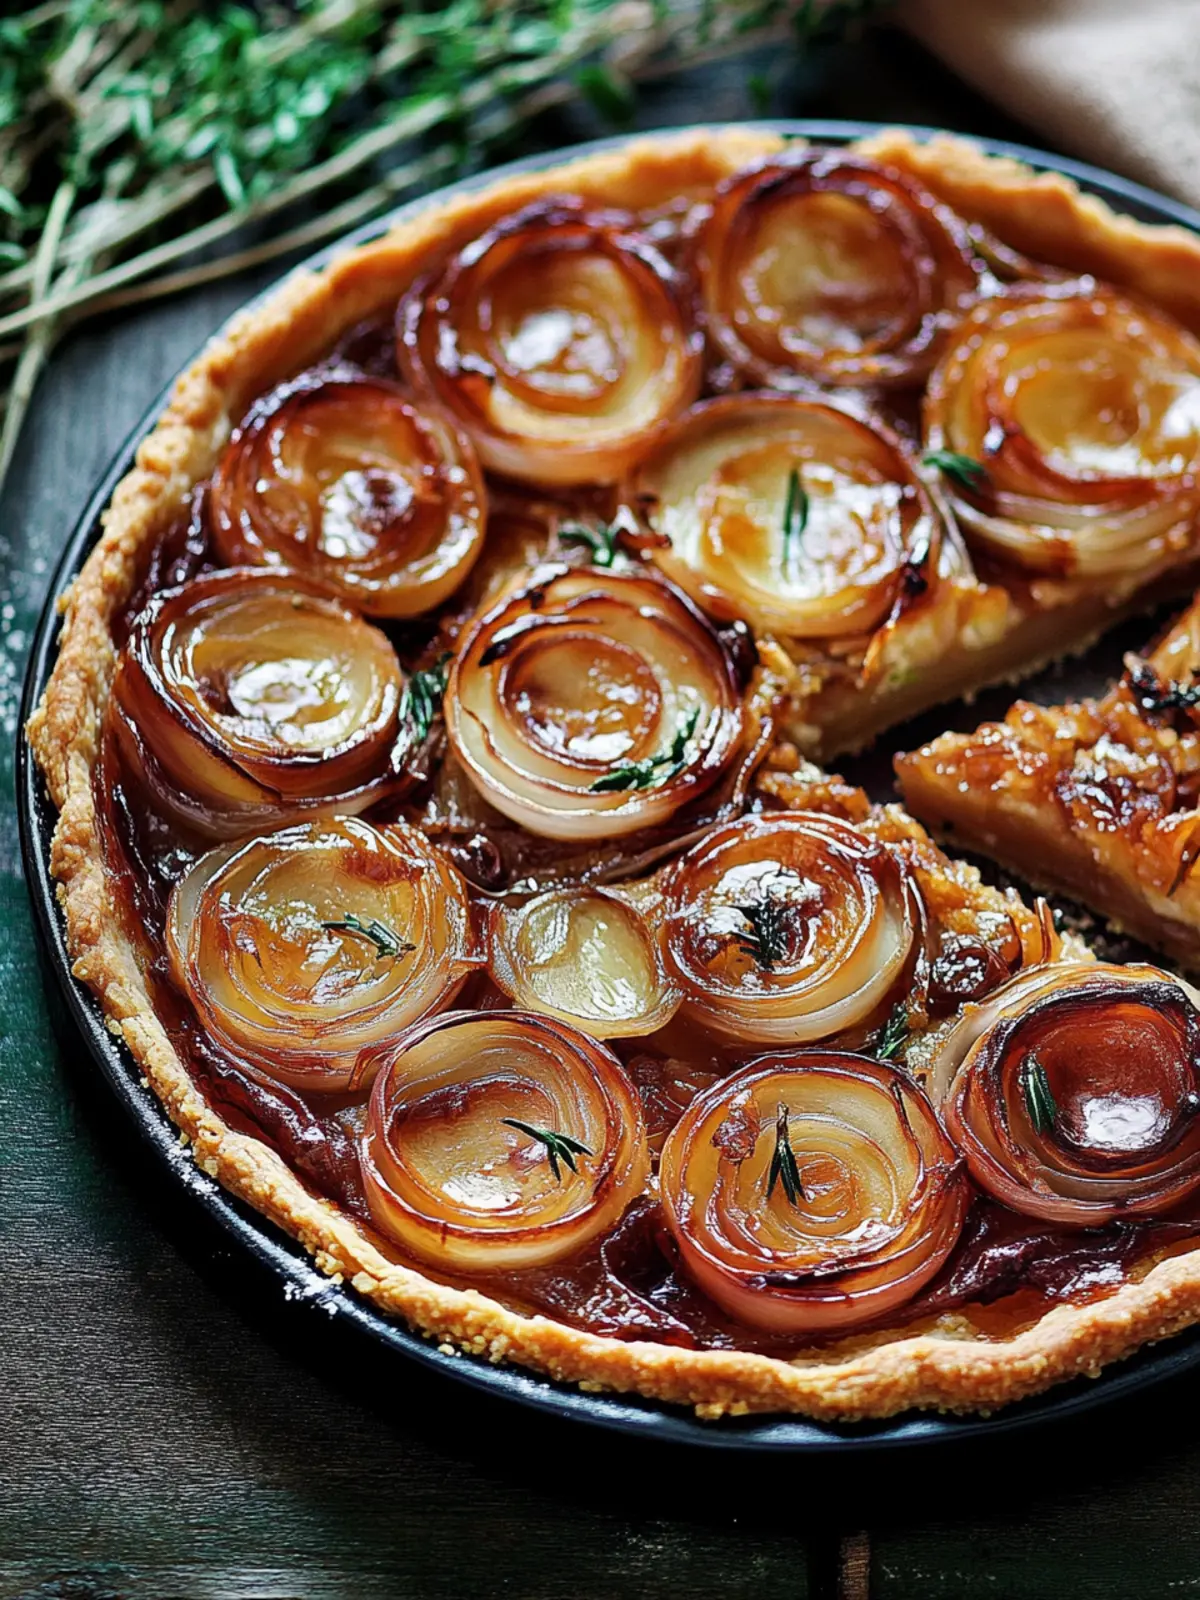
Turn Out and Serve: Once baked, let the tart cool for about 5 minutes. Carefully turn it out onto a plate, and serve with a well-dressed green salad if desired.
Optional: Garnish with extra rosemary leaves for a fresh touch.
Exact quantities are listed in the recipe card below.
How to Store and Freeze Sticky Shallot Tart
Room Temperature: Allow the tart to cool completely, then store at room temperature for up to 1 day, covered loosely with foil to maintain crispness.
Fridge: Keep leftovers in an airtight container in the fridge for up to 3 days. Reheat in the oven for best results, ensuring the pastry stays flaky.
Freezer: If you wish to freeze the sticky shallot tart, wrap it tightly in plastic wrap and foil before storing in the freezer for up to 2 months.
Reheating: To enjoy the tart after freezing, first thaw overnight in the fridge, then reheat in a preheated oven at 180°C for 15-20 minutes until warmed through and pastry is crispy again.
What to Serve with Sticky Shallot Tart?
Creating the perfect meal is all about balanced flavors and delightful textures that complement each dish.
-
Crisp Green Salad: A refreshing salad with mixed greens, tomatoes, and a zesty vinaigrette beautifully brightens the dish. The crunch contrasts with the tender tart and adds a fresh element.
-
Roasted Baby Potatoes: Golden-brown baby potatoes tossed in olive oil and herbs offer a satisfying side that pairs well with the tart’s sweetness. Their crispy skin and fluffy interior bring a cozy feel to your plate.
-
Herbed Quinoa: Light and fluffy quinoa mixed with fresh herbs provides a nutty texture and earthy flavor that harmonizes with the sticky shallots. This pairing promotes a wholesome meal without feeling heavy.
-
Grilled Asparagus: The slight char of grilled asparagus enhances the sweetness of the shallots, bringing a burst of green freshness to your table. Drizzle with a little lemon juice for an extra zing.
-
Chardonnay: A glass of chilled Chardonnay complements the tart’s flavors, with its crisp acidity cutting through the richness of the buttery pastry.
-
Honey-Glazed Carrots: Sweet, tender carrots glisten with honey, adding another layer of sweetness that echoes those luscious shallots. Their vibrant color makes your meal visually appealing too.
-
Artisan Bread: A warm, crusty loaf of artisan bread invites guests to enjoy every last bite of the tart while soaking up its delicious, sticky sauce.
-
Chocolate Tart: For dessert, consider serving a rich chocolate tart. Its decadence offers a perfect end to an elegant meal, leaving everyone delighted.
These suggestions create a well-rounded dining experience, perfect for sharing with loved ones!
Sticky Shallot Tart Variations & Substitutions
Feel free to let your creativity shine by customizing this delightful dish in ways that intrigue your palate!
- Herb-Infused: Swap rosemary for thyme or tarragon for a fresh flavor twist that adds a new dimension to the tart.
- Extra Veggies: Add some thinly sliced bell peppers or mushrooms between the shallots for a delightful textural contrast and a pop of color.
- Honey Sweetness: Substitute the caster sugar with honey to enhance the caramel flavor with a natural sweetness that sings with every bite.
- Spicy Kick: Sprinkle in red pepper flakes for an unexpected zing that balances beautifully with the sweet shallots.
- Gluten-Free: Use gluten-free puff pastry to make this tart accessible for those with dietary restrictions without sacrificing taste.
- Cheesy Goodness: Add crumbled feta or goat cheese on top of the shallots before adding the pastry for a creamy addition that elevates each slice.
- Balsamic Twist: Replace essential balsamic vinegar with apple cider vinegar for a fruitier note that complements the shallots nicely.
- Nuts for Crunch: Toss a handful of chopped walnuts or pine nuts on top before baking for a delightful crunch that will surprise your guests.
With these variations, you can turn your sticky shallot tart into a canvas for flavors that match any mood or occasion!
Helpful Tricks for Sticky Shallot Tart
-
Choose the Right Shallots: Opt for Echalion shallots for their sweetness and ideal size; they will caramelize beautifully for your sticky shallot tart.
-
Mind Your Heat: Cooking the shallots over medium-high heat is crucial. Too low won’t caramelize them properly, and too high may burn them.
-
Careful with Pastry: Ensure the puff pastry completely covers the shallots. If not, roll it out enough to tuck it around the edges, creating a perfect seal.
-
Avoid Soggy Bottoms: Pierce the pastry with a fork before baking to prevent steams from making it soggy; you want it nice and crispy!
-
Rest Before Serving: Let the tart cool for a few minutes after baking to ensure the caramelized shallots stay intact when turning it out.
Make Ahead Options
These sticky shallot tarts are perfect for busy home cooks looking to save time without sacrificing flavor! You can prepare the shallots (steps 1-3) up to 24 hours in advance; simply cool them after cooking and store in an airtight container in the refrigerator. The puff pastry can also be rolled out and ready to go up to 3 days ahead—just keep it wrapped tightly in the fridge to prevent drying out. When you’re ready to serve, reheat the shallots on the stove, nestle the pastry on top, and bake as directed (about 20 minutes). This way, you’ll enjoy restaurant-quality results with minimal effort, and your kitchen will fill with that delightful aroma once again!
Sticky Shallot Tart Recipe FAQs
How do I choose the right shallots for my sticky shallot tart?
Absolutely! Echalion shallots are my go-to for their mild sweetness and perfect size. Look for shallots that are firm, without any dark spots or softness. If they’re shiny and smooth, you’ve found a winner for your tart!
What’s the best way to store leftovers of my sticky shallot tart?
Very good question! Allow your tart to cool completely, then store it in an airtight container in the fridge for up to 3 days. To reheat, pop it in a preheated oven at 180°C for about 10-15 minutes to regain that wonderful crispness.
Can I freeze my sticky shallot tart? If so, how?
Absolutely! Freezing can be a game-changer for meal prep. To freeze your tart, wrap it tightly in plastic wrap, followed by aluminum foil. This double layer will help prevent freezer burn. You can keep it in the freezer for up to 2 months. When you’re ready to enjoy it, thaw it overnight in the fridge and reheat as mentioned above.
What should I do if my pastry doesn’t crisp up?
Oh dear! If your pastry isn’t crispy, it could be due to moisture. Make sure to pierce it with a fork before baking to release steam. For next time, ensure that the shallots have released their moisture and that you’re cooking at the right temperature. If the tart does cool too much before serving, you might need to reheat it briefly in the oven.
Is this sticky shallot tart suitable for vegetarians?
Yes, indeed! This recipe is completely vegetarian-friendly, making it a delightful option for veggie lovers. Just ensure that your pastry doesn’t contain any animal-derived ingredients, although most all-butter puff pastry should be fine.
Can I make substitutions for any of the ingredients?
Of course, the more the merrier! If rosemary isn’t your favorite, you can substitute with thyme or even sage for a different flavor profile. For a balsamic vinegar alternative, try apple cider vinegar for a slightly sweeter flavor, though it will alter the taste a bit. Be creative, and make this tart your own!
Sticky Shallot Tart: A Savory Delight for Home Chefs
Ingredients
Equipment
Method
- Melt the butter in a 26-28cm ovenproof frying pan over medium-high heat. Once foaming, add shallots cut-side down, packing them tightly. Fry for about 5 minutes until golden brown.
- Season the tops of the shallots, turn them carefully using a spoon and fork, sprinkle with seasoning again and fry for another 5 minutes.
- Preheat your oven to 200°C (gas mark 6). Sprinkle balsamic vinegar and caster sugar over the shallots and cook for 2-3 minutes until syrupy. Let cool for about 5-10 minutes.
- Nestle rosemary sprigs between the shallots. Roll out puff pastry if necessary and lay it over shallots, trimming edges to tuck in around the sides.
- Pierce the pastry several times with a fork to allow steam to escape. Transfer pan to the preheated oven and bake for 20 minutes until pastry is crisp and golden.
- Let the tart cool for about 5 minutes then carefully turn it out onto a plate and serve.