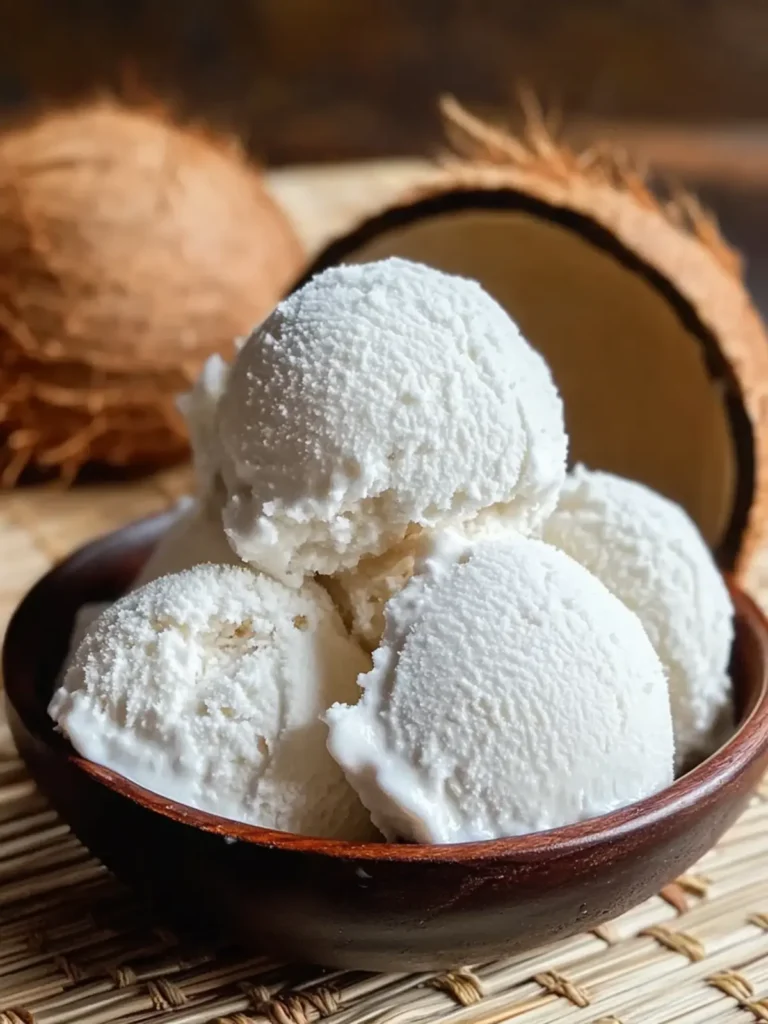
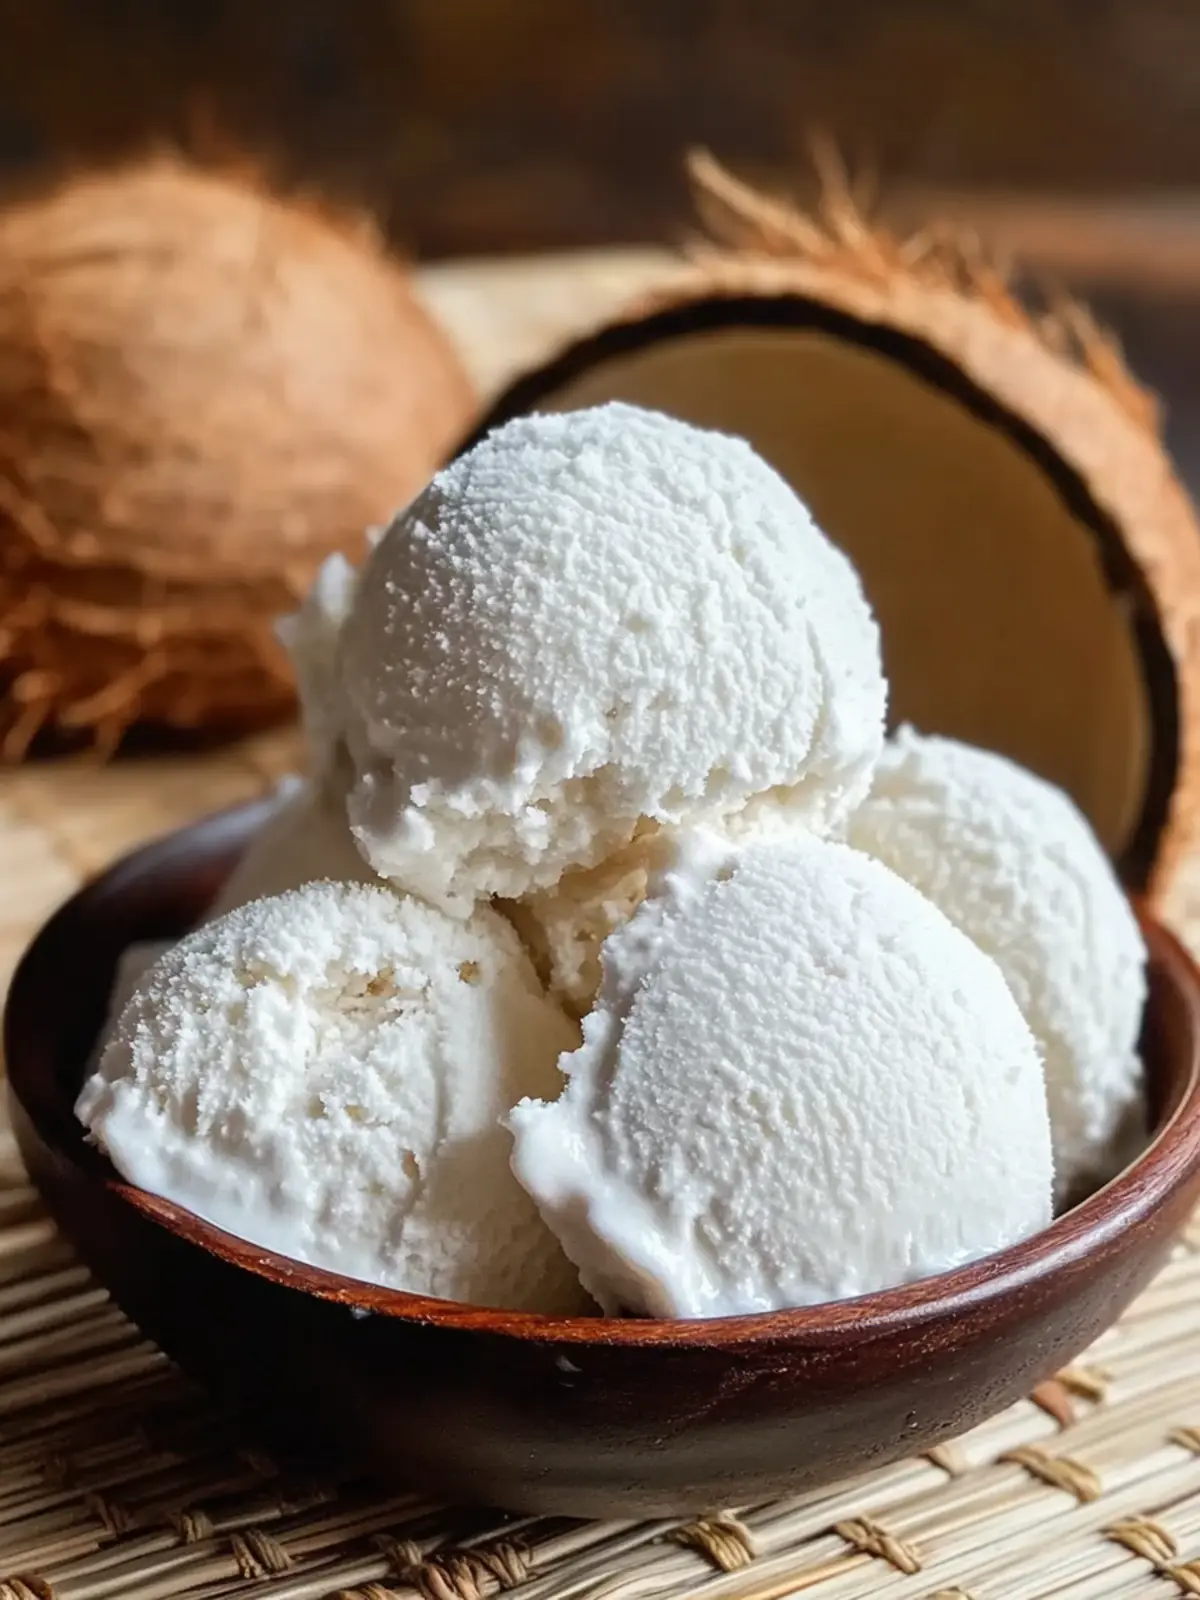
As the summer sun begins to set, there’s nothing quite like satisfying your sweet tooth with a refreshing treat that captures the essence of paradise—Thai Coconut Milk Ice Cream. The first time I tasted a scoop of this creamy delight on a beach getaway in Thailand, I was instantly hooked. The combination of rich coconut milk and a hint of sweetness was an unexpected escape from the ordinary.
Creating this indulgence at home isn’t just rewarding; it’s incredibly simple! With just a few pantry staples like coconut milk, sweetened condensed milk, and a touch of vanilla, you can transform your kitchen into an island oasis. Plus, this ice cream’s versatility means you can jazz it up with your favorite toppings, making it a sure crowd-pleaser for gatherings or cozy nights in.
Let’s dive into this delightful recipe that’s not only a delicious solution to fast food fatigue but also a fun way to bring a little exotic flair to your dessert lineup!

Why is Thai Coconut Milk Ice Cream special?
Indulgent and creamy, this ice cream offers a taste of tropical paradise right at home.
Quick to make, with just a few simple ingredients, it’s perfect for any skill level.
Customizable, you can add your favorite toppings—from fresh fruits to nuts.
Guilt-free treat, it’s a lighter alternative to store-bought ice creams.
Crowd-pleaser, everyone—from kids to adults—will rave about this delightful dessert. Enjoy a slice of heaven that steps up your dessert game with this delightful recipe!
Thai Coconut Milk Ice Cream Ingredients
Here’s everything you need to whip up this creamy Thai Coconut Milk Ice Cream!
For the Base
- Coconut milk – This creamy foundation brings a rich, tropical flavor to your ice cream.
- Evaporated milk – It adds extra creaminess and body to the mixture for a smooth texture.
- Cornstarch – A natural thickener that ensures your ice cream is delightfully creamy instead of icy.
For the Sweetness
- Sweetened condensed milk – This ingredient provides the perfect balance of sweetness and creaminess, making the ice cream irresistibly delicious.
- Salt – Just a pinch enhances the flavors and balances the sweetness.
- Vanilla extract – A splash of vanilla adds depth and a subtle flavor that complements the coconut beautifully.
Now, gather these ingredients and let’s create some homemade bliss that will take you straight to the tropics, one scoop at a time!
How to Make Thai Coconut Milk Ice Cream
-
Heat the coconut milk and evaporated milk in a saucepan over low heat. Gently warm them through for about 5 minutes, stirring occasionally until the mixture feels cozy and inviting.
-
Whisk in the cornstarch until fully dissolved, bringing the mixture to a slightly thicker consistency. This should only take a minute or so—watch for a smooth blend.
-
Combine by turning off the heat and stirring in the sweetened condensed milk, vanilla extract, and a pinch of salt. Mix well until the blend is silky and smooth—let those flavors mingle!
-
Cool the delicious mixture to room temperature. Then, pour it into an airtight container—this will be its home while it transforms into ice cream bliss!
-
Stir every 30–45 minutes during the first 2–3 hours of freezing. This keeps the texture creamy and prevents pesky ice crystals. Once set, let it freeze for about 6 hours or overnight for ultimate enjoyment.
-
Scoop the ice cream after letting it sit at room temperature for 5 minutes. This ensures you get those perfect, dreamy scoops! Serve with your favorite toppings and enjoy the tropical delight!
Optional: Drizzle with chocolate or sprinkle with toasted coconut for an extra treat!
Exact quantities are listed in the recipe card below.

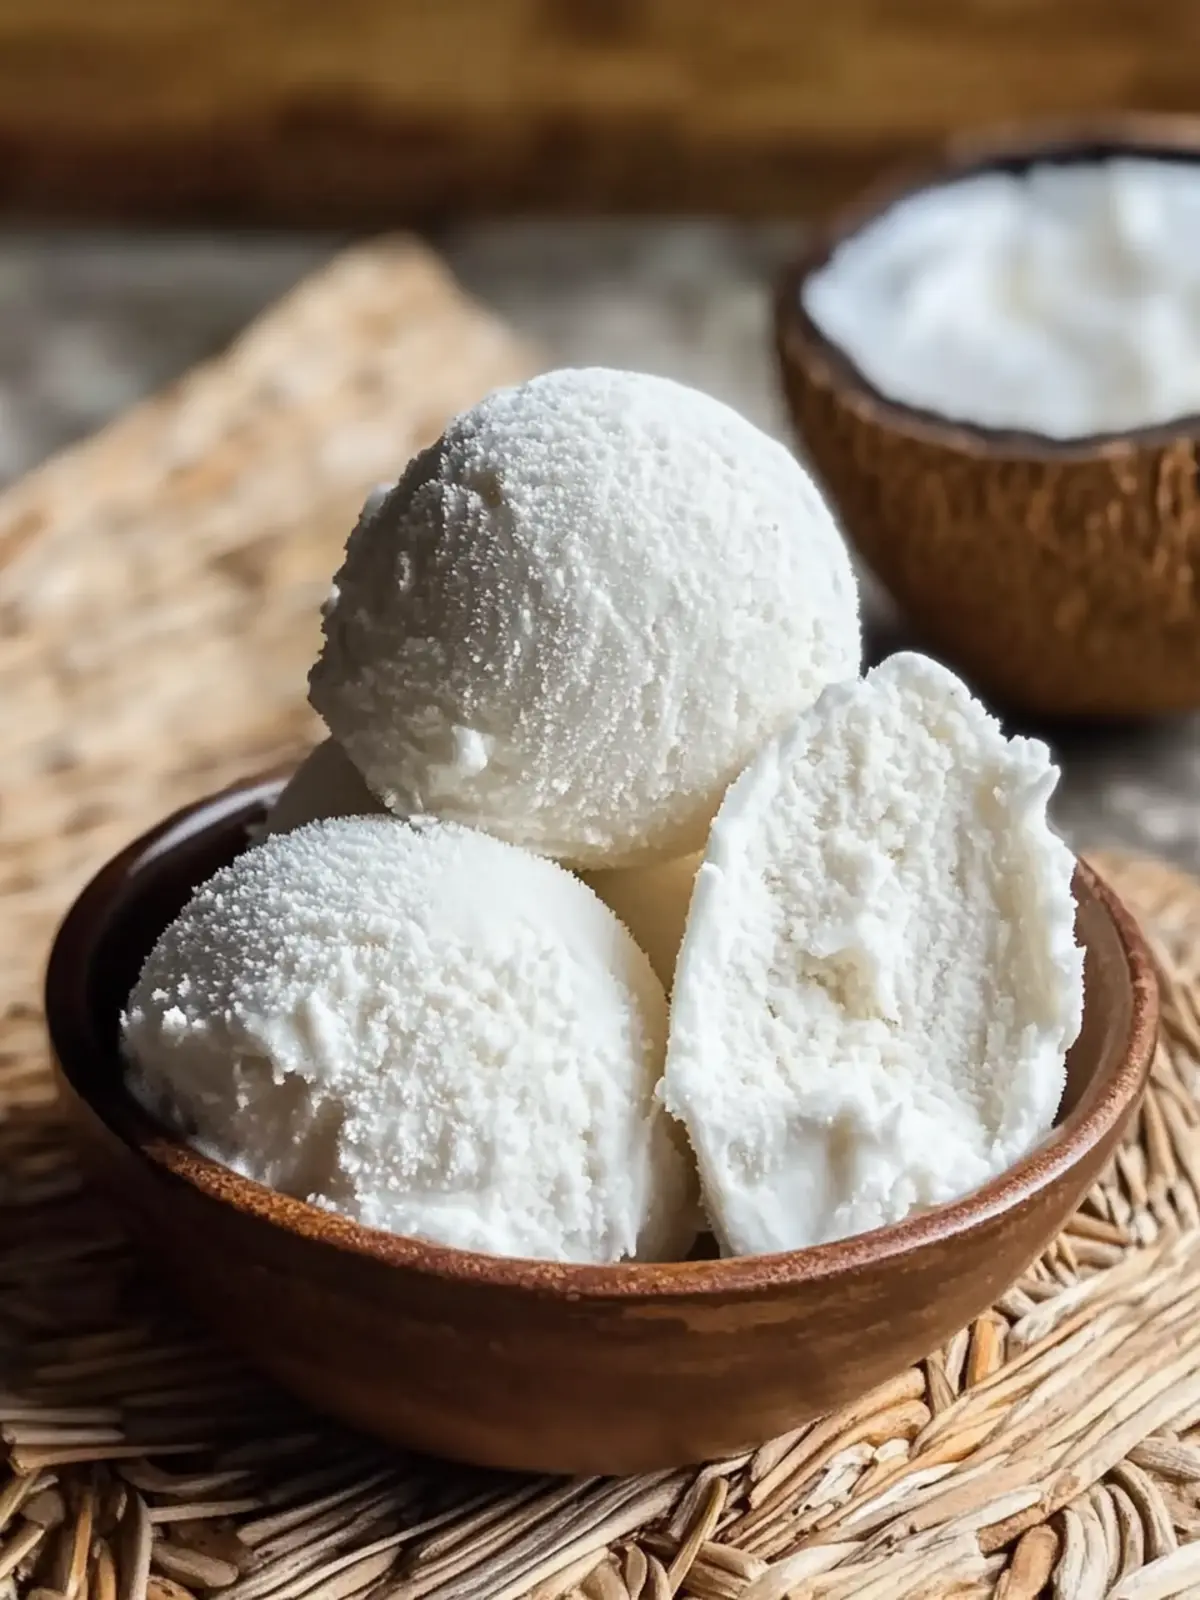
How to Store and Freeze Thai Coconut Milk Ice Cream
Fridge: Store any leftover Thai Coconut Milk Ice Cream in an airtight container for up to 3 days, but it’s best enjoyed fresh!
Freezer: Keep your homemade ice cream in the freezer for up to 2 weeks for optimal taste and texture. Make sure to seal it well to prevent freezer burn.
Reheating: If the ice cream becomes too hard, let it sit at room temperature for 5–10 minutes before scooping. This will soften it for a perfect serve every time!
Airtight Container: Always use an airtight container to maintain the creamy texture and flavor of your ice cream while frozen, avoiding unwanted ice crystal formations.
What to Serve with Thai Coconut Milk Ice Cream?
As you indulge in this creamy tropical delight, consider pairing it with complementary flavors that elevate the experience even further.
- Fresh Tropical Fruits: Bright slices of pineapple or mango bring a refreshing contrast that enhances the coconut flavor.
- Chopped Nuts: Toasted almonds or macadamia nuts add a satisfying crunch and nutty aroma, balancing the smoothness of the ice cream.
- Chocolate Sauce: A rich drizzle of chocolate sauce introduces an indulgent sweetness that perfectly harmonizes with the creamy base.
- Coconut Flakes: For an extra burst of coconut flavor, sprinkle toasted coconut flakes on top; they provide delightful texture and tropical essence.
- Waffle Cones: Serve the ice cream in crispy waffle cones for a fun and crunchy twist, combining textures in each heavenly scoop.
- Mint Sprigs: A touch of fresh mint on top adds a hint of brightness and a beautiful color contrast against the creamy ice cream.
Each pairing enhances the journey to paradise that your homemade Thai Coconut Milk Ice Cream offers—let your taste buds explore and enjoy every moment!
Make Ahead Options
Thai Coconut Milk Ice Cream is a fantastic choice for meal prep, saving you time for busy weeknights! You can prepare the base of the ice cream up to 24 hours in advance by following the initial steps: heat the coconut milk, whisk in cornstarch, and mix in the sweetened condensed milk, vanilla extract, and salt. Once the mixture cools to room temperature, store it in an airtight container in the refrigerator. Just remember to freeze it for about 6 hours or overnight before serving. For the best texture, stir every 30–45 minutes during the first few hours of freezing to ensure it remains creamy and delicious. Enjoy the ease of having this delightful dessert ready to scoop whenever a sweet craving hits!
Thai Coconut Milk Ice Cream Variations
Unleash your creativity with these delicious twists on the classic recipe!
- Dairy-Free: Substitute evaporated milk with additional coconut milk for a completely dairy-free treat.
- Flavored: Add a tablespoon of matcha powder or cocoa powder to the base for a unique flavor twist. Enjoy a delightful earthy note with matcha or rich chocolate taste with cocoa!
- Nutty: Stir in crushed almonds, pecans, or pistachios before freezing for a delightful crunch in every scoop. The nutty flavors will complement the creaminess beautifully!
- Coconut Bliss: Fold in toasted coconut flakes into the mixture for an extra burst of coconut flavor and texture. It’s like a tropical paradise in every bite!
- Fruit Infusion: Blend in pureed mango or passion fruit to create a fruity version of the ice cream. This not only adds vibrant color but also a refreshing zing!
- Spiced: Incorporate a pinch of cinnamon or cardamom for a warm, aromatic touch that elevates the experience with aromatic notes. Perfect for cozy evenings!
- Caffeine Kick: Mix in instant coffee or espresso powder for a delightful coffee-flavored ice cream experience. Energizing and indulgent, it pairs perfectly with a sunny day!
- Spicy Chocolate: Add a dash of cayenne pepper or chili powder to the chocolate variation for a spicy kick that contrasts beautifully with the sweetness. Get ready for an exciting adventure on your palate!
Expert Tips for Thai Coconut Milk Ice Cream
- Perfect Texture: Stir every 30–45 minutes during freezing to avoid ice crystals. This ensures a creamy and smooth Thai Coconut Milk Ice Cream.
- Cooling Time: Allow the mixture to cool to room temperature before freezing. This helps prevent ice crystal formation and promotes a creamy finish.
- Dissolve Cornstarch Fully: Whisk the cornstarch thoroughly to avoid lumps. A smooth base makes all the difference in texture.
- Personalize it: Feel free to experiment with toppings like fresh fruit, nuts, or chocolate sauce, making your Thai Coconut Milk Ice Cream truly your own!
- Storage Tip: Store in an airtight container to keep it fresh and prevent ice from forming on top.
Thai Coconut Milk Ice Cream Recipe FAQs
How do I choose the right coconut milk?
Absolutely! When selecting coconut milk, look for a brand that lists only coconut and water as the ingredients to ensure purity. A can that’s labeled ‘full-fat’ will provide a creamier texture, ideal for ice cream. Check the expiration date and make sure the can isn’t bulging or has any dark spots, as these can indicate spoilage.
How should I store leftover Thai Coconut Milk Ice Cream?
Very! Store any leftover ice cream in an airtight container in the fridge for up to 3 days. However, to maintain its fresh flavors, I recommend freezing it and enjoying it within 2 weeks. When keeping it in the freezer, make sure to seal it well to prevent freezer burn.
Can I freeze Thai Coconut Milk Ice Cream? If so, how?
Yes, you can! To freeze the ice cream, simply pour the cooled mixture into an airtight container and place it in the freezer. Stir every 30–45 minutes during the first 2–3 hours to minimize ice crystals. Once it’s fully set—typically after about 6 hours or overnight—your Thai Coconut Milk Ice Cream will be ready to enjoy!
What should I do if my ice cream is icy or hard?
If your ice cream ends up icy, it might be due to not stirring enough during the freezing phase or not dissolving the cornstarch completely. To troubleshoot, let it sit at room temperature for 5–10 minutes before scooping, which will soften it a bit. For next time, remember to stir every 30–45 minutes and ensure the cornstarch is whisked smoothly to avoid lumps.
Is this recipe suitable for those with dietary restrictions?
Definitely! This coconut milk ice cream is dairy-free, making it a great option for those who are lactose intolerant or seeking a vegan treat. However, if you have nut allergies, double-check that your sweetened condensed milk is nut-free, as some brands can vary. If you’re unsure, consider making your own condensed milk using alternative methods!
Homemade Thai Coconut Milk Ice Cream Bliss in Every Bite
Ingredients
Equipment
Method
- Heat the coconut milk and evaporated milk in a saucepan over low heat for about 5 minutes, stirring occasionally.
- Whisk in the cornstarch until fully dissolved, and the mixture thickens slightly.
- Turn off the heat and stir in the sweetened condensed milk, vanilla extract, and a pinch of salt until smooth.
- Cool the mixture to room temperature, then pour it into an airtight container.
- Stir every 30–45 minutes for the first 2–3 hours of freezing, then freeze for about 6 hours or overnight.
- Scoop after letting it sit at room temperature for 5 minutes. Serve with your favorite toppings.