
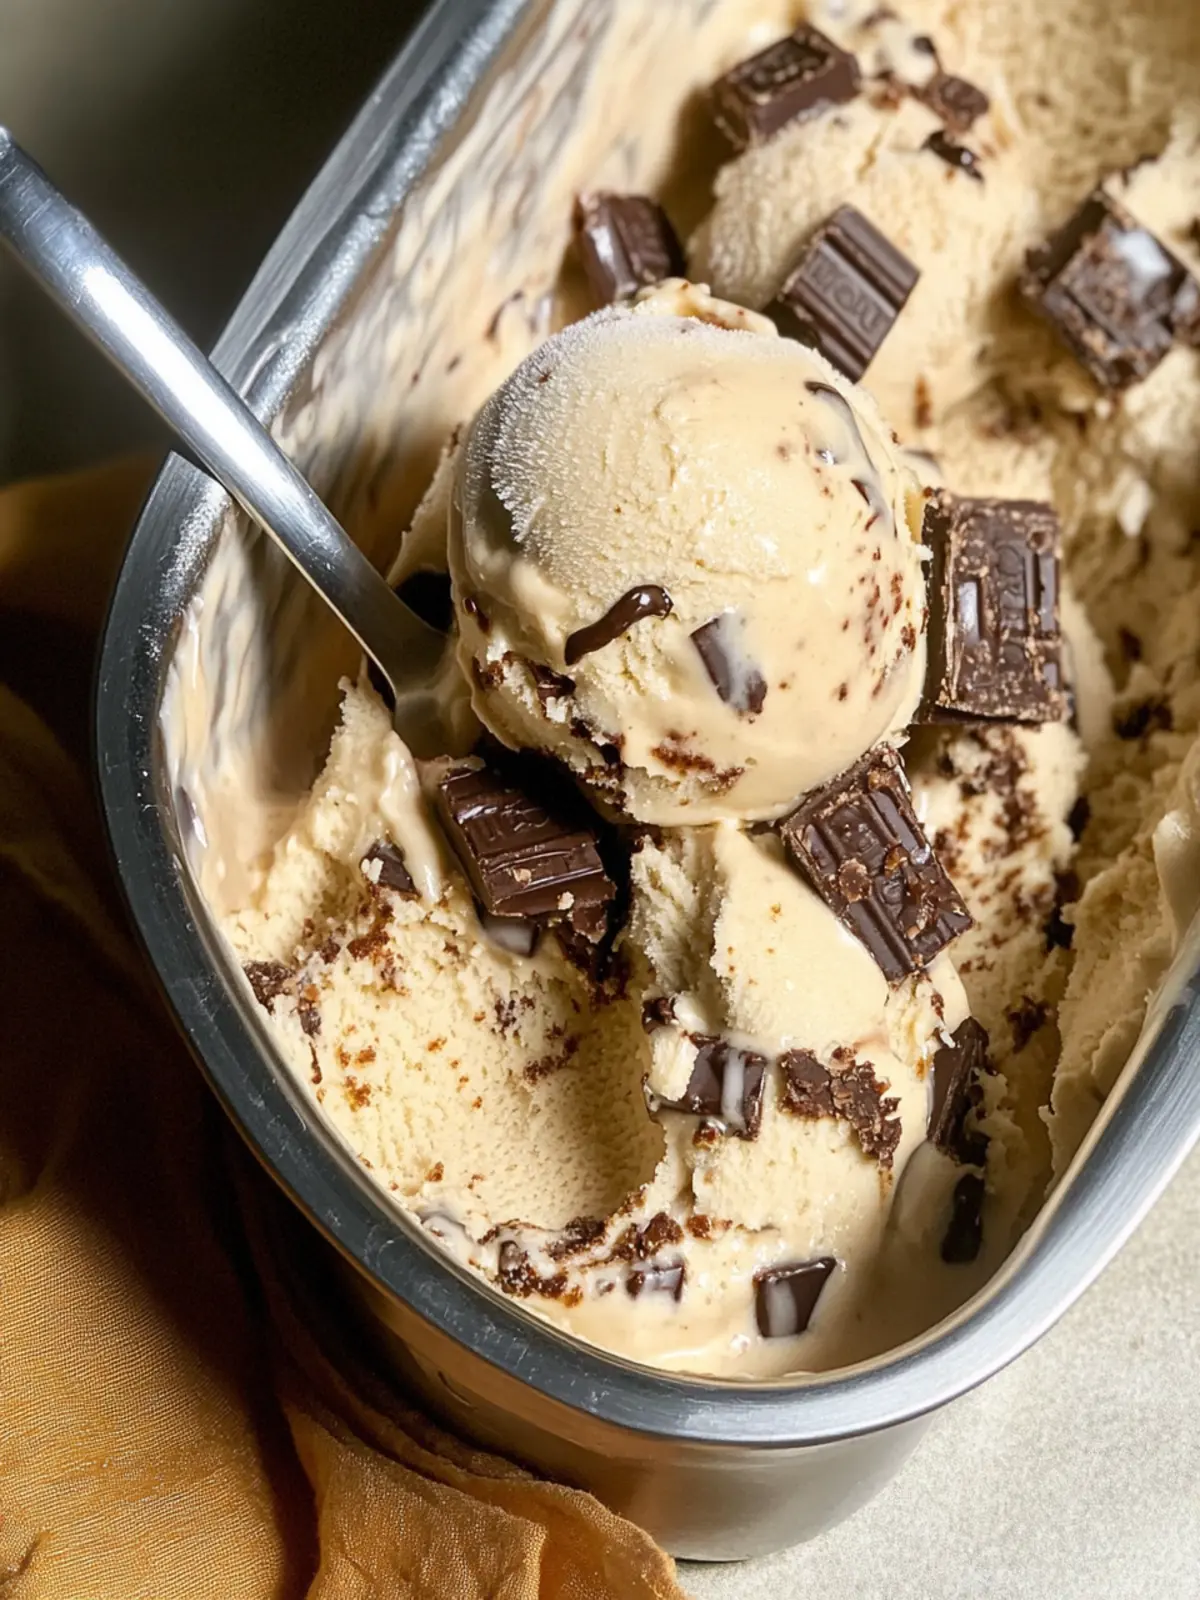
There’s nothing quite like a hot summer day that calls for a scoop of ice cream, but this isn’t just any ordinary treat. Imagine the rich creaminess of coconut blended perfectly with the crunch of homemade Twix bars, creating a dessert that feels indulgent yet guilt-free. This Twix Ice Cream Recipe is a delightful fusion that’s gluten-free, dairy-free, and even paleo-friendly, ensuring that everyone at the gathering can indulge without worries.
I first whipped up this recipe during a family barbecue, desperate to impress while sticking to dietary needs. To my surprise, it became the star of the show! As friends and family raved about its creamy texture and delightful crunch, I realized I had stumbled upon a true gem. This homemade ice cream is not just easy to prepare but also versatile enough to suit a variety of dietary preferences, making it the perfect summer staple. Get ready to tantalize your taste buds with a scoop (or two) of this dreamy delight!

Why will you love this Twix Ice Cream Recipe?
Decadent yet guilt-free, this homemade Twix Ice Cream offers a delightful treat without compromising your health. Simple steps make it easy to whip up, perfect for both seasoned chefs and kitchen newcomers. Versatile flavors allow you to swap ingredients, tailoring the recipe to your liking. Crowd-pleaser status is guaranteed, pulling family and friends from their summer slumbers for just one more scoop! Health-conscious indulgence shines through, satisfying sweet cravings while keeping everything gluten-free and dairy-free. Make this creamy delight the star dessert of your next gathering!
Twix Ice Cream Ingredients
Indulge in this delightful Twix Ice Cream Recipe with these wholesome ingredients!
For the Ice Cream Base
- Coconut Cream or Full Fat Coconut Milk – Provides the perfect creamy texture; do not substitute for lower-fat options.
- Honey – A natural sweetener that enhances flavor; use maple syrup for a vegan alternative.
- Almond Butter – Adds richness and creaminess; a blanched, creamy form is recommended for the best texture.
- Collagen (optional) – Boosts protein and creaminess; can be omitted for a lighter texture.
For the Twix Candy Bars
- Homemade Twix Candy Bars – These provide delicious chunks and that classic crunch; feel free to use any alternative Twix recipe you love!
How to Make Twix Ice Cream
-
Prep Ingredients: Gather all ingredients you’ll need: coconut cream, almond butter, honey, and collagen. Having everything ready will streamline the process and keep you organized!
-
Blend Mixture: Combine the coconut cream, almond butter, honey, and collagen in a blender. Blend on low, gradually increasing to high speed, until smooth and creamy—about 1-2 minutes.
-
Churn Ice Cream: Pour the blended mixture into an ice cream maker. Churn the ice cream according to the manufacturer’s instructions until it thickens and resembles soft-serve, around 15-25 minutes.
-
Add Twix Bars: Once the ice cream starts to thicken, gently fold in the chopped homemade Twix candy bars. This is where the crunch factor comes in!
-
Final Freeze: Transfer the ice cream mixture to a loaf pan. Freeze for about 2-4 hours, or until it firms up to a scoopable consistency, similar to frozen yogurt.
-
Storage: Store in the freezer for up to one month. When ready to serve, let sit at room temperature for a few minutes to soften before scooping.
Optional: Drizzle with chocolate sauce or sprinkle with crushed nuts for an extra touch!
Exact quantities are listed in the recipe card below.
How to Store and Freeze Twix Ice Cream
Room Temperature: Do not leave ice cream out; keep it frozen to maintain its texture and flavor.
Fridge: If placed in the fridge, consume within 1-2 days for best quality, though it’s not recommended as it may lose its creamy texture.
Freezer: Store in an airtight container or loaf pan for up to one month. Ensure it’s covered to prevent freezer burn, keeping your Twix Ice Cream recipe delicious.
Reheating: When ready to serve, allow it to sit at room temperature for 5-10 minutes before scooping for easier serving.
Expert Tips for Twix Ice Cream
-
Room Temperature Ingredients: Ensuring your ingredients are at room temperature helps them blend smoothly, preventing lumps in your Twix Ice Cream mixture.
-
No Ice Cream Maker? No Problem: If you lack an ice cream maker, simply churn the mixture in a bowl by hand every 30 minutes until the desired thickness is reached.
-
Optimal Scooping: Allow the ice cream to soften for a few minutes after freezing before scooping to achieve the best texture and ease in serving.
-
Customize Flavor: Feel free to swap almond butter for peanut butter or add different mix-ins, keeping the recipe flexible and fun without losing the essence of the Twix Ice Cream Recipe.
-
Proper Storage: For the best texture, store the ice cream in a loaf pan without a cover to prevent freezer burn and help maintain its creamy consistency.
What to Serve with Twix Ice Cream?
Indulging in this creamy delight opens up a world of delicious pairing options that elevate your dessert experience.
-
Fresh Berries: The tartness of strawberries or raspberries beautifully balances the sweetness of the ice cream, enhancing every bite. A refreshing touch that adds color and nutrition to your dessert platter.
-
Chocolate Sauce: Drizzling rich chocolate sauce over your ice cream heightens its decadent appeal. This classic pairing turns each scoop into an indulgent treat that chocolate lovers crave.
-
Nuts and Seeds: Crisp, roasted almonds or walnuts provide a satisfying crunch that complements Twix Ice Cream’s creamy texture. Their earthy flavors round out the dessert beautifully, adding both taste and texture.
-
Coconut Whipped Cream: Swirling homemade coconut whipped cream atop your scoops adds a cloud-like consistency. This airy element enhances the tropical flavors of the ice cream while keeping it dairy-free.
-
Chia Seed Pudding: For a unique twist, serve alongside a bowl of chia seed pudding. This nutritious accompaniment offers a delightful contrast that’s both creamy and packed with protein.
-
Refreshing Iced Tea: A glass of iced herbal tea brings a cooling effect, perfect for a summer day. The infusion of fruity or minty notes elevates the whole dessert experience.
-
Mint Leaves: Garnishing your ice cream with fresh mint leaves doesn’t just make it look stunning; their bright, aromatic flavor cuts through the richness, making each bite feel like a mini celebration.
-
Peanut Butter Swirl: For a nutty twist, blend in some peanut butter for a rich flavor contrast that fans of both Twix and peanut butter will adore. This combo feels extra indulgent and incredibly satisfying.
-
Coffee or Espresso: Pairing your ice cream with a cup of strong coffee adds a luxurious touch. The rich bitterness of the coffee beautifully enhances the sweetness, creating a sophisticated dessert experience.
Make Ahead Options
These homemade Twix Ice Cream treats are a dream for meal prep lovers! You can prepare the ice cream base up to 24 hours in advance by blending the coconut cream, almond butter, honey, and collagen, then refrigerate the mixture in an airtight container. To maintain quality, store it properly to prevent any browning or crust formation. When ready to churn, simply take the mixture out, pour it into your ice cream maker, and follow through with adding the chopped Twix bars as it thickens. This way, you’ll have a delightful dessert ready to impress without the last-minute fuss, ensuring you can savor those sweet summer moments with ease!
Twix Ice Cream Variations
Feel free to get creative with this delightful recipe, customizing it to suit your flavor preferences and dietary needs!
-
Peanut Butter: Swap almond butter for peanut butter for a rich, nutty twist that adds a familiar comfort to your ice cream. Imagine the combination of those flavors dancing on your palate!
-
Maple Syrup: Substitute honey for maple syrup to keep it vegan while still achieving that perfect sweetness. The warm taste of maple syrup will elevate your ice cream experience.
-
Coconut Sugar: For a low-glycemic option, use coconut sugar instead of honey or maple syrup. This alternative adds a subtle caramel-like flavor that beautifully complements the chocolatey pieces.
-
Add-Ins: Toss in mini marshmallows or chocolate chips along with the Twix bars for extra chewy bites. This will turn your ice cream into a truly indulgent experience with delightful surprises in every scoop!
-
Spices: Sprinkle cinnamon or a touch of sea salt to enhance flavors and provide a warm, comforting taste profile. These small additions can bring complexity to your ice cream that surprises the taste buds.
-
Flavor Infusions: Blend in a teaspoon of vanilla or espresso powder for a deeper flavor dimension. A hint of espresso can intensify the chocolate and create a satisfying contrast!
-
Fruit Options: Fold in crushed cherries or raspberries for a fruity twist that adds brightness and a refreshing contrast to the rich ice cream. These bursts of flavor will delight and refresh!
-
Vegan Chocolate Bars: Use vegan chocolate bars in place of homemade Twix for a quicker option that still provides that delectable crunch and flavor. Life is too short to skip the ice cream, right?
Twix Ice Cream Recipe FAQs
How do I select the best coconut cream for this recipe?
Absolutely! Look for full-fat coconut cream or full-fat coconut milk that is creamy with no additives. When you open the can, it should have a thick, solid consistency at the top and a bit of liquid at the bottom. If there are any dark spots or an unusual odor, skip that can and choose a fresher one!
How should I store the Twix Ice Cream?
For optimal freshness, store your Twix Ice Cream in an airtight container or a loaf pan without a cover, which helps maintain its creamy texture. It should keep well in the freezer for up to one month. Remember to allow it to sit at room temperature for about 5-10 minutes before scooping for easier serving.
Can I freeze the Twix Ice Cream? How do I do it properly?
Yes, you can freeze your Twix Ice Cream! First, ensure it’s placed in an airtight container or loaf pan. To freeze, simply pour the churned ice cream into the container and smooth the top. Cover it with a lid or plastic wrap, if possible, to prevent freezer burn and keep it delicious. It can be stored in the freezer for up to one month.
What should I do if my ice cream is too hard after freezing?
If you find your ice cream is rock-hard, no worries! Just take the container out of the freezer and let it sit at room temperature for about 5-10 minutes. This will help soften it so you can scoop easily. For a smoother texture, you can also stir it gently to break up any icy chunks before serving.
Can I make this recipe nut-free?
Very! If you need a nut-free option, simply swap out the almond butter for sunflower seed butter or tahini. These alternatives will maintain the creaminess while excluding nuts, making it perfectly safe for those with nut allergies. Just ensure all other ingredients are also nut-free and you’re good to go!
What if I want to make the ice cream fully vegan?
Of course! To make this Twix Ice Cream Recipe fully vegan, substitute honey with maple syrup as a natural sweetener. Additionally, if you choose to use collagen for added creaminess, simply omit it, as there are vegan alternatives out there if you prefer to include that as well. Enjoy your guilt-free treat!
Creamy Twix Ice Cream Recipe You Can Make Guilt-Free at Home
Ingredients
Equipment
Method
- Gather all ingredients you’ll need: coconut cream, almond butter, honey, and collagen.
- Combine the coconut cream, almond butter, honey, and collagen in a blender. Blend until smooth and creamy—about 1-2 minutes.
- Pour the blended mixture into an ice cream maker. Churn according to the manufacturer's instructions for 15-25 minutes.
- Once the ice cream starts to thicken, gently fold in the chopped homemade Twix candy bars.
- Transfer the mixture to a loaf pan. Freeze for about 2-4 hours, until firm.
- Store in the freezer for up to one month. Let sit at room temperature for a few minutes before scooping.