
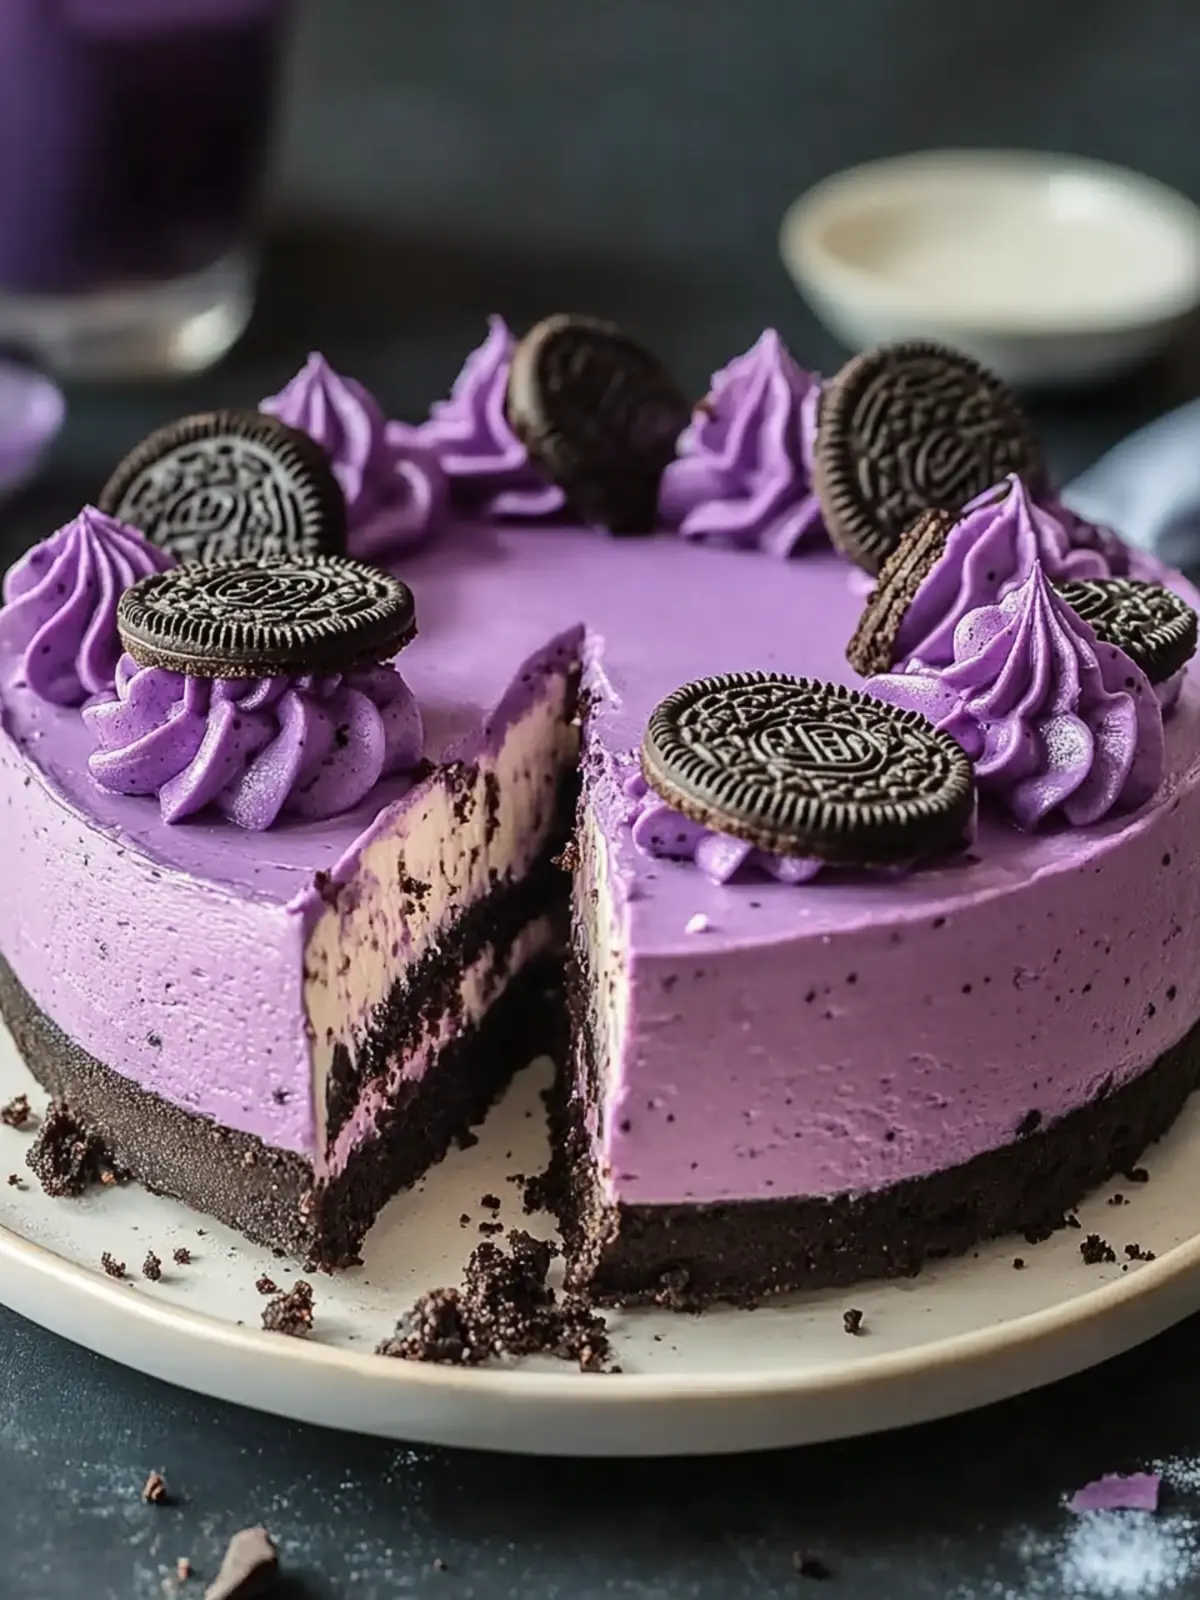
There’s something undeniably delightful about the moment you take a slice of cheesecake, and with this Ube Oreo Cheesecake Recipe, that delight is taken to a whole new level. The creamy, dreamy filling, infused with the unique essence of ube—an enchanting purple yam—is perfectly complemented by the rich crunch of Oreo cookies. I first stumbled upon ube during a family gathering, and its distinctive flavor and vibrant hue immediately captured my heart.
This cheesecake isn’t just about taste; it’s a feast for the eyes, making it the showstopper at any celebration. Whether you’re entertaining friends or simply treating yourself after a long week, this dessert offers both ease and indulgence. Plus, if you’re in a hurry, there’s even a no-bake option, ensuring everyone can enjoy its lusciousness with minimal fuss. Let’s dive in and create this stunning treat that will have your taste buds singing!

Why is Ube Oreo Cheesecake Recipe Unique?
Uniqueness: This Ube Oreo Cheesecake is unlike any standard cheesecake you’ve tried, bringing vibrant color and flavor to your table.
Indulgent: The creamy, dreamy filling with ube blends perfectly with the crunchy Oreo base for a tantalizing treat.
Easy to Make: Simple steps make this dessert accessible for bakers of all skill levels—perfect for a quick yet impressive dessert.
Versatile Options: Want a faster fix? Try the no-bake option for a delicious shortcut!
Crowd-Pleaser: The stunning visual appeal of this cheesecake makes it an instant favorite at parties and gatherings—everyone loves it!
Ube Oreo Cheesecake Ingredients
For the Crust
- Oreo Cookies – Provides a chocolatey crust base for the cheesecake; you can substitute with chocolate wafer cookies or graham crackers if desired.
- Butter – Combines with crushed Oreos for a firm and buttery crust; ensure it’s melted for even mixing.
For the Filling
- Cream Cheese – Forms the smooth and creamy base of the filling; soften it before using for easy blending.
- Sugar – Sweetens the filling and balances the flavors; granulated sugar is recommended for the best results.
- Heavy Cream – Adds richness and a lighter texture to the filling; whipping it before folding in enhances fluffiness.
- Vanilla Extract – Offers aromatic depth to the dessert’s flavor profile; use pure vanilla for the best taste.
- Ube Halaya – The star ingredient providing flavor and color; frozen or canned ube puree can be used as an alternative.
- Eggs – Bind ingredients together and add texture to the filling; add one at a time to avoid overmixing.
Optional Ganache
- Heavy Cream – Used to warm and mix with white chocolate; a delicious addition that makes the cheesecake even more indulgent.
- White Chocolate – Adds sweetness and a creamy texture to the ganache; consider adding purple food coloring for extra flair.
This decadent Ube Oreo Cheesecake Recipe is ready to be brought to life! Whether you’re baking for friends, family, or just yourself, the combination of flavors will surely impress.
How to Make Ube Oreo Cheesecake
-
Prepare the Crust: Start by crushing the Oreo cookies into fine crumbs. Mix the crumbs with melted butter until combined. Press this mixture firmly into the bottom of a springform pan and chill it in the refrigerator to set while you prepare the filling.
-
Make the Filling: In a mixing bowl, beat the softened cream cheese and sugar until smooth. Gently fold in the heavy cream, vanilla extract, and ube halaya until everything is well blended. Add the eggs one at a time, mixing slowly to avoid overmixing.
-
Bake: Preheat your oven to 160°C (320°F) and set up a water bath by placing a larger pan filled with hot water in the oven. Pour the prepared filling over the chilled crust, then bake for 60-70 minutes, until the edges are set but the center still jiggles slightly.
-
Cool Down: Once done, turn off the oven and leave the cheesecake inside with the door slightly ajar to cool gradually, which helps prevent cracking. After about an hour, transfer it to the refrigerator to chill for at least 4 hours or overnight.
-
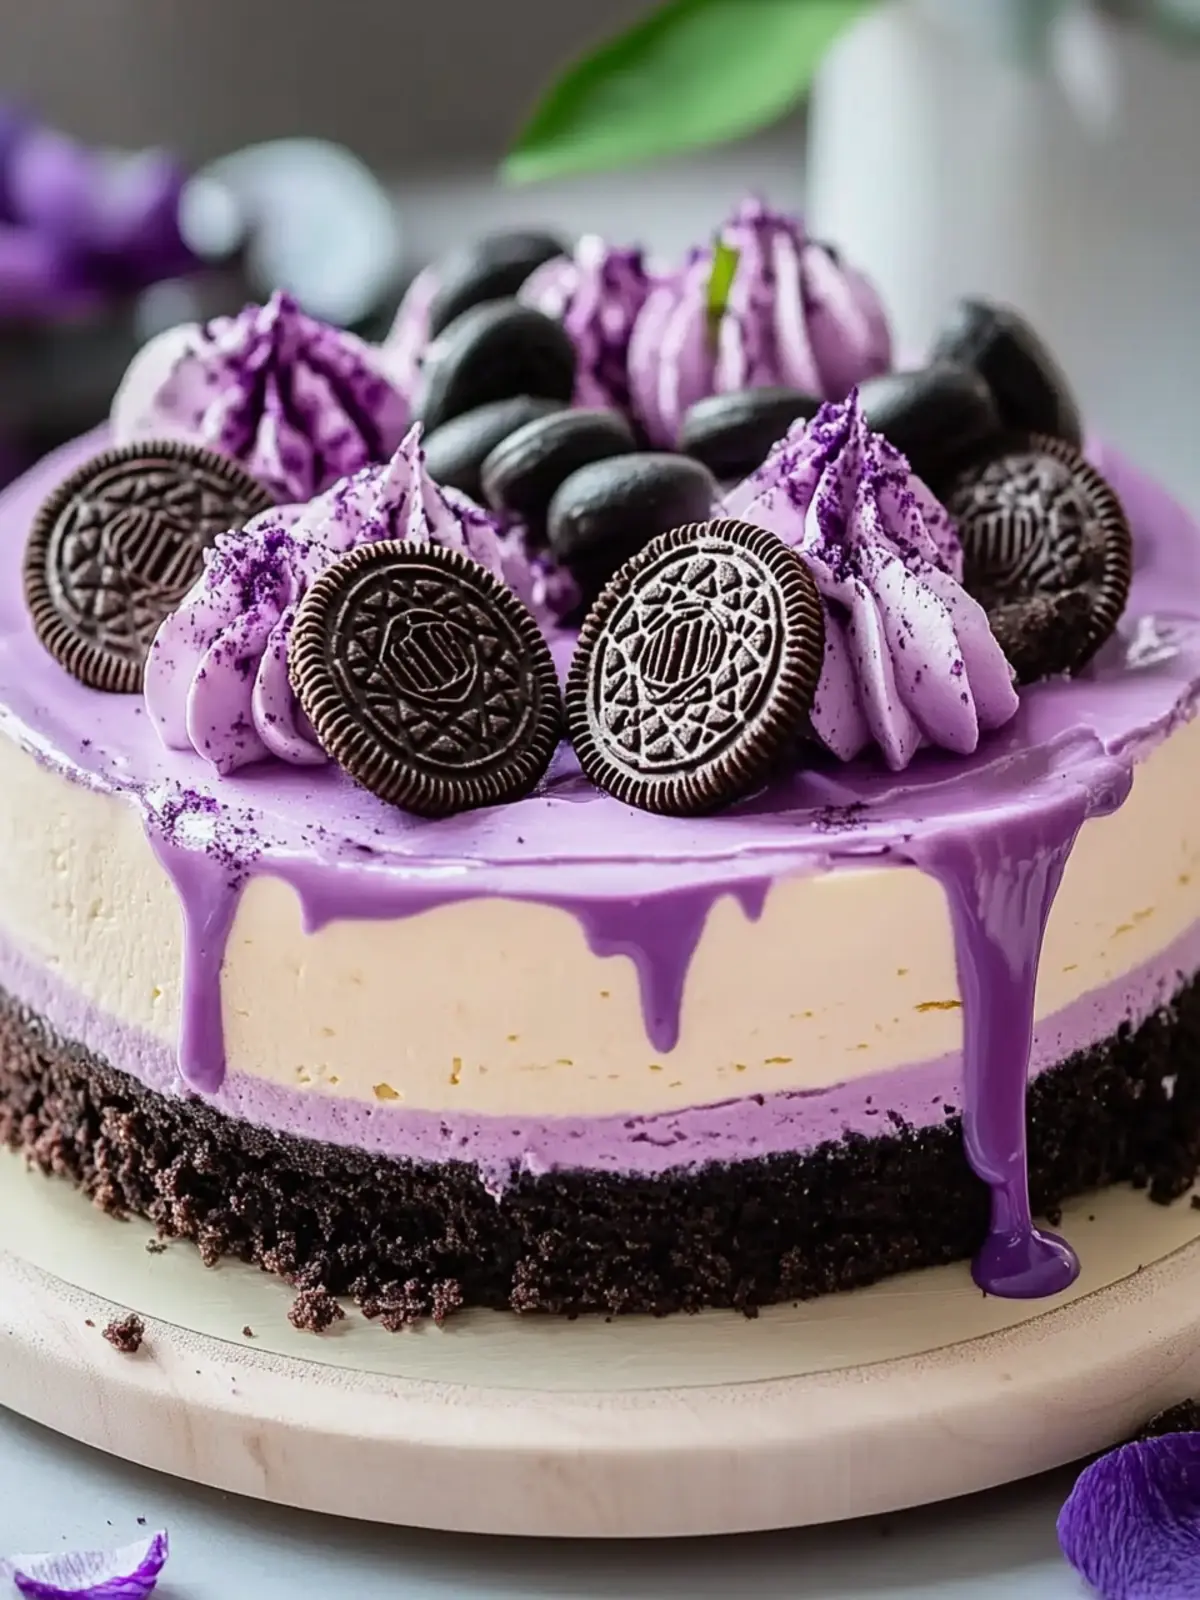
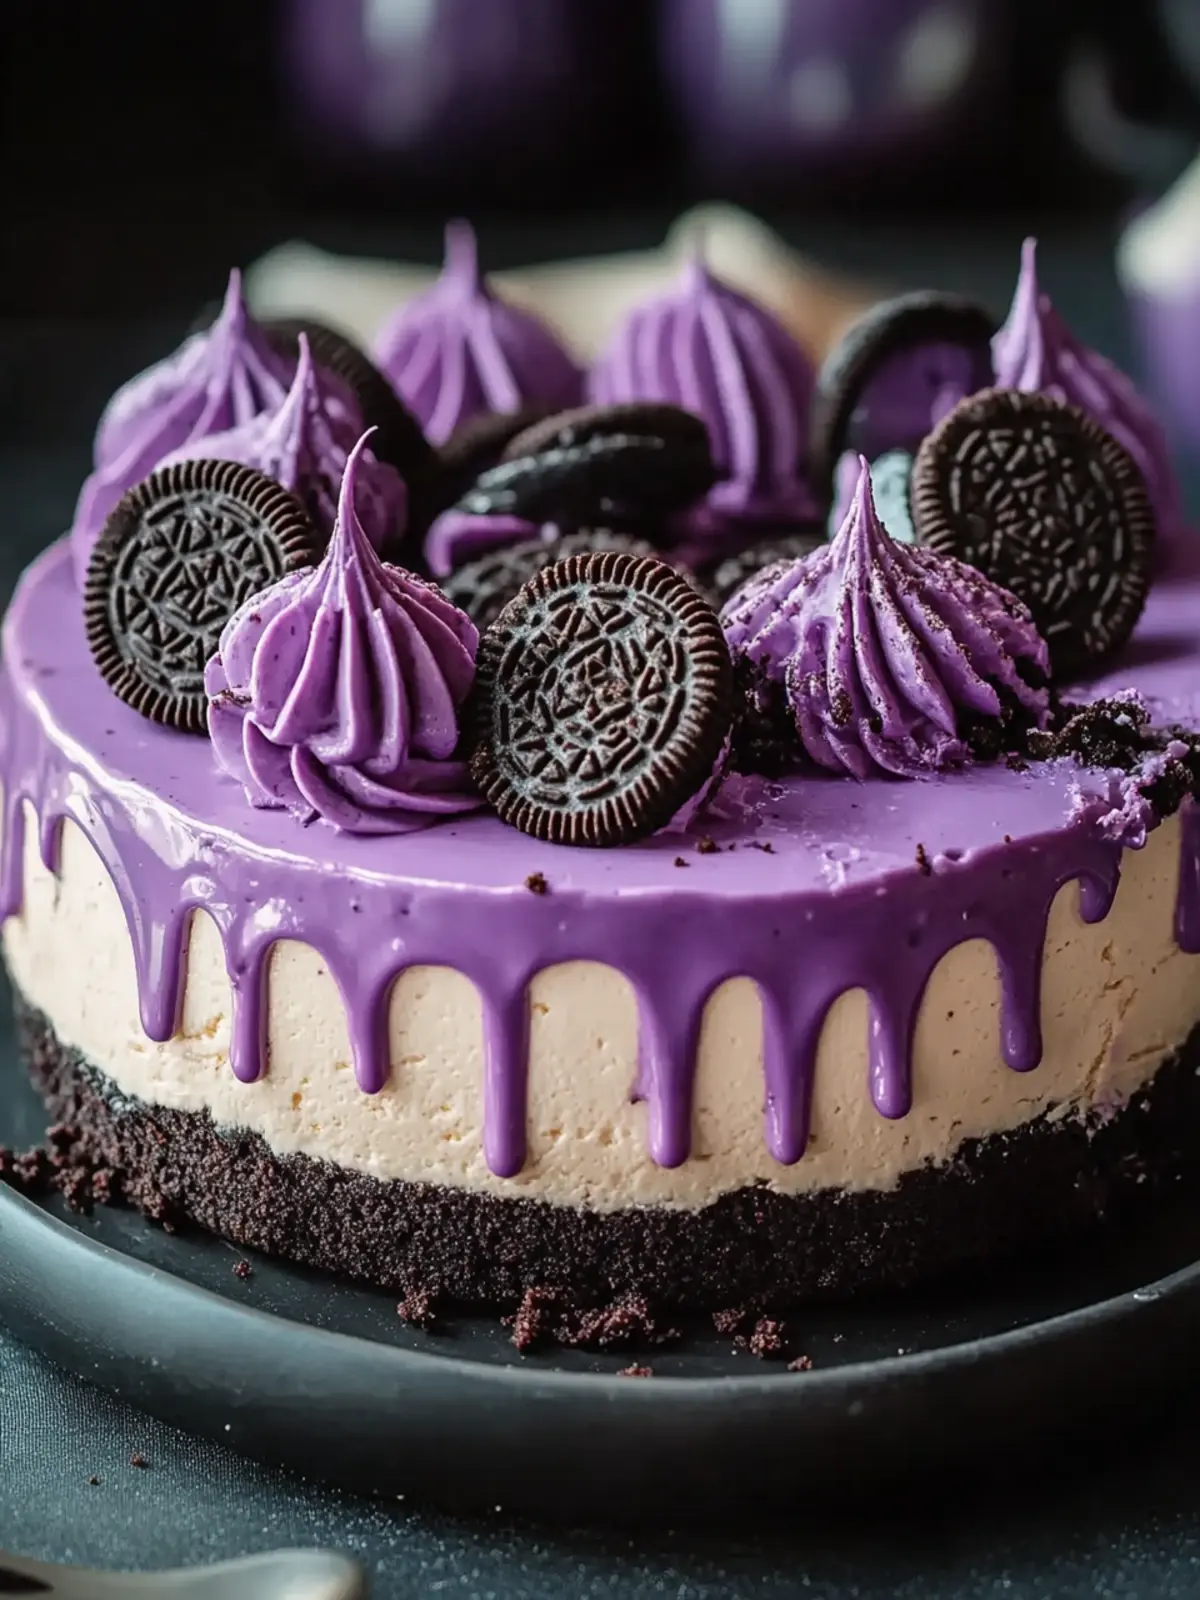
Prepare Ganache (optional): For added richness, warm heavy cream and mix it with melted white chocolate until smooth. You can incorporate some purple food coloring if desired to match the cheesecake’s vibrant hue. Pour this ganache over the cooled cheesecake before serving.
-
Garnish: Just before serving, pipe delightful swirls of whipped cream on top, add whole Oreos, and consider some extra decorative touches—your cheesecake deserves to shine!
Optional: Top with fresh berries for a refreshing contrast.
Exact quantities are listed in the recipe card below.
Make Ahead Options
Making this Ube Oreo Cheesecake ahead of time is a fantastic way to save yourself valuable minutes in the kitchen! You can prepare the crust by crushing the Oreo cookies and mixing them with melted butter up to 24 hours in advance; just store it in the refrigerator. The cheesecake filling can also be made and assembled, then refrigerated for up to 3 days before baking. To preserve its creamy texture and prevent cracking, bake it as instructed and allow it to cool gradually in the oven. When it’s time to serve, simply refrigerate it overnight after cooling for the best flavor and texture, and enjoy your sweet creation without the last-minute rush!
Storage Tips for Ube Oreo Cheesecake
Fridge: Store leftover Ube Oreo Cheesecake tightly covered for up to 3-4 days. This helps maintain the creamy texture and vibrant flavor.
Freezer: For longer storage, wrap the cheesecake securely in plastic wrap and then in aluminum foil. It can be frozen for up to 1 month without losing quality.
Thawing: When ready to enjoy, thaw the cheesecake in the fridge overnight to preserve its creamy consistency.
Reheating: If desired, let it sit at room temperature for about 30 minutes before serving to enhance the flavor and texture.
Ube Oreo Cheesecake Variations
Feel free to get creative with this delightful dessert and make it your own!
-
No-Bake Twist: Substitute gelatin dissolved in hot water for a quick and easy no-bake version. It’s perfect for those hot summer days when you want a sweet treat without turning on the oven.
-
Fruit Fusion: Use fresh fruits like mango or berries mixed with the ube filling for a fresh twist. The vibrant colors and flavors make each slice even more irresistible.
-
Nutty Crunch: Add crushed nuts like almonds or macadamias to the crust for an extra crunchy texture. This adds a delightful contrast to the creaminess of the cheesecake.
-
Coconut Flavor: Incorporate coconut milk in the filling for a tropical flair. This twist enhances the flavor profile and gives a summer vibe to your dessert.
-
Chocolate Lovers: Mix in cocoa powder or chunks of dark chocolate into the filling for a richer, more chocolaty cheesecake experience. This will satisfy all chocolate cravings!
-
Spicy Kick: Add a pinch of cinnamon or even a dash of cayenne pepper to the filling for a surprising kick. The warmth of spices complements the sweetness of ube beautifully.
-
Vegan Delight: Swap cream cheese for a vegan alternative and use plant-based heavy cream to make this a dairy-free delight. You can still enjoy all the flavors without any animal products.
-
Flavor Swaps: Try different purees like sweet potato or pumpkin in place of ube for unique flavor profiles that can surprise your taste buds—perfect for seasonal variations!
Expert Tips for Ube Oreo Cheesecake
• Water Bath Essential: Using a water bath during baking helps maintain moisture, resulting in a creamy texture and avoiding cracks on your Ube Oreo Cheesecake.
• Slow Cooling: Allow the cheesecake to cool gradually in the oven with the door ajar. This prevents sudden temperature changes that can cause cracking.
• Perfect Eggs: Add eggs one at a time and mix gently to ensure a smooth filling. Overmixing can lead to a dense texture in your cheesecake.
• Gelatin Shortcut: For a no-bake Ube Oreo Cheesecake, dissolve gelatin in hot water and mix it into the filling base before chilling for a fabulous, easy treat.
• Chill Time Matters: Let the cheesecake chill for at least 4 hours or overnight; this helps the flavors meld beautifully and solidifies the texture just right.
What to Serve with Ube Oreo Cheesecake?
Indulging in a slice of this stunning cheesecake is just the beginning; let’s complete your meal with delightful accompaniments.
- Fresh Berries: The tartness of strawberries or blueberries adds a refreshing contrast to the rich cheesecake.
- Coconut Whipped Cream: Light and fluffy, this pairing enhances the tropical essence of ube, creating a dream-like dessert experience.
- Dark Coffee: A bold cup of dark coffee balances the sweetness, making each bite of cheesecake even more satisfying.
- Jasmine Tea: This fragrant tea offers a relaxing balance to the dessert, elevating your dining experience.
- Chocolate Ganache Drizzle: Add an extra layer of indulgence with a rich ganache on top, enhancing the flavors beautifully.
- Light Fruit Salad: A mix of melons and citrus can cleanse the palate and provide a delightful contrast to the creamy filling.
- Ice Cream: A scoop of vanilla or ube ice cream will complement the cheesecake’s unique flavors while adding a creamy texture.
With these pairings, your dining experience will be a true celebration of flavors and comfort!
Ube Oreo Cheesecake Recipe FAQs
What is the best way to select ube for this recipe?
When choosing ube, look for a firm, purple-skinned tuber without any dark spots or soft spots. Ideally, you want ones that feel heavy for their size. If fresh ube is hard to find, frozen or canned ube puree works beautifully as an alternative—just make sure to check the ingredients for added sugars or preservatives.
How should I store leftover Ube Oreo Cheesecake?
Absolutely! Store your leftover cheesecake tightly covered in the refrigerator for up to 3-4 days. This helps keep it fresh and maintains its creamy texture. If you plan to keep it longer, you can freeze it. Wrap it well in plastic wrap and then in aluminum foil to prevent freezer burn, where it can last for up to 1 month.
Can I freeze Ube Oreo Cheesecake?
Yes, you can! To freeze your cheesecake, follow these steps:
- After it has completely chilled, wrap the cheesecake tightly in plastic wrap.
- Next, wrap it in aluminum foil for extra protection against freezer burn.
- Label it with the date, and freeze for up to 1 month.
When you’re ready to enjoy it, let it thaw in the refrigerator overnight for the best texture.
What’s the secret to preventing cracks in my cheesecake?
Very! The key to a smooth Ube Oreo Cheesecake without cracks lies in two main processes:
- Water Bath Method: Set up a water bath during baking by placing a larger pan filled with hot water in the oven. This maintains moisture and even temperature.
- Gradual Cooling: After baking, turn the oven off and leave the cheesecake inside with the door slightly ajar for an hour. This slow cooling can prevent the cheesecake from cracking due to sudden temperature changes.
Is this recipe suitable for those with dietary restrictions?
While this Ube Oreo Cheesecake isn’t specifically labeled as gluten-free or dairy-free, it can be modified! Use gluten-free cookies for the crust if you need a gluten-friendly option. If you have dairy allergies, consider substituting cream cheese with a dairy-free alternative and use coconut cream instead of heavy cream for the filling. Always check the labels on your ingredients to ensure they align with dietary needs.
Can I use something other than ube halaya?
Definitely! Although ube halaya is the star in this recipe, you can swap it out for other purees, such as pumpkin or sweet potato, for different flavors. Frozen or canned alternatives work well too, but just ensure they’re appropriately flavored to maintain the dessert’s integrity. Just be mindful that this will alter the color and flavor profile slightly.
Decadent Ube Oreo Cheesecake Recipe Everyone Will Love
Ingredients
Equipment
Method
- Prepare the Crust: Crush Oreo cookies into fine crumbs. Mix with melted butter and press firmly into the bottom of a springform pan. Chill in the refrigerator.
- Make the Filling: Beat softened cream cheese and sugar until smooth. Fold in whipped heavy cream, vanilla extract, and ube halaya. Add eggs one at a time.
- Bake: Preheat oven to 160°C (320°F). Set up a water bath in the oven. Pour filling over the chilled crust and bake for 60-70 minutes.
- Cool Down: Turn off oven and leave cheesecake inside with the door ajar to cool for one hour. Transfer to refrigerator and chill for at least 4 hours or overnight.
- Prepare Ganache (optional): Warm heavy cream and mix with melted white chocolate. Pour ganache over cooled cheesecake.
- Garnish: Pipe whipped cream, add whole Oreos, and any extra decorations before serving.