
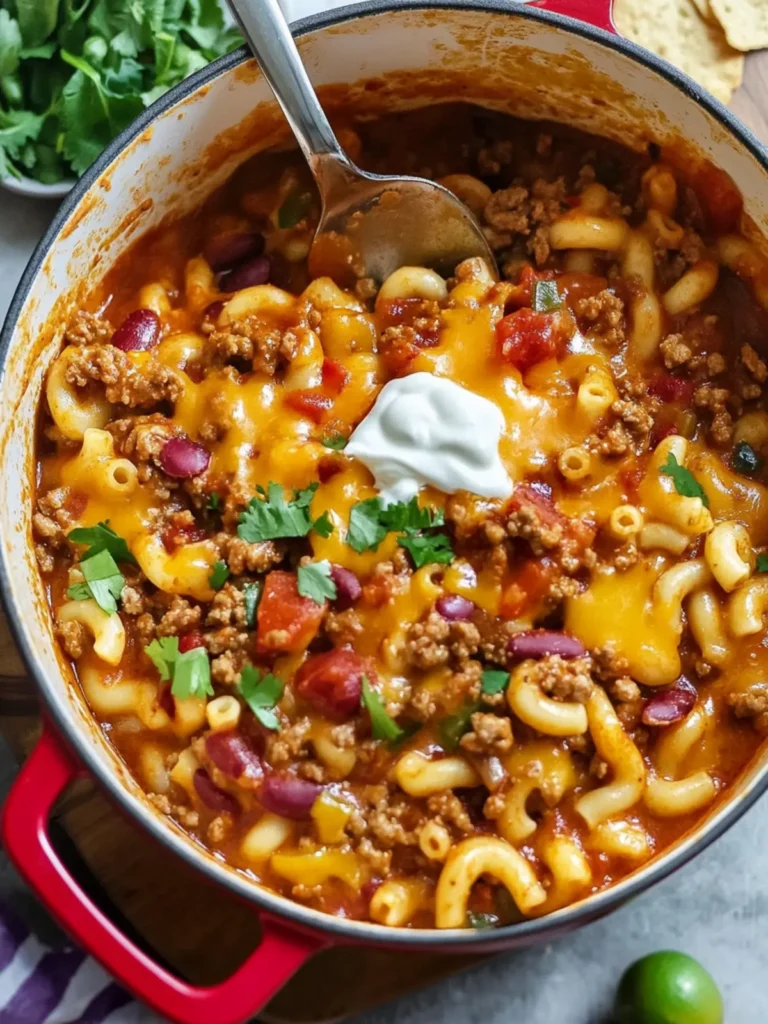
There’s nothing quite like the heartwarming aroma of chili simmering on the stove, a fragrant hug that wraps around you on a chilly evening. Recently, I found myself craving that comfort, but I wanted something more filling and satisfying than the usual fare. That’s when I decided to whip up a classic family favorite: Chili Mac.
This dish feels like a cozy reunion of robust chili and creamy macaroni, blending vibrant flavors and textures into every bite. It’s perfect for when life gets busy—on a weeknight or during a weekend gathering with friends. Plus, it couldn’t be easier! With just one pot and minimal prep time, you can have a hearty meal ready in about 40 minutes.
So if you’re tired of fast food or need a dish that pleases both adults and kids alike, this Chili Mac recipe is the answer. Let’s dive into the rich flavors and simple steps that make this dish truly unforgettable!

Why is this Chili Mac recipe irresistible?
Satisfying and hearty: This one-pot meal combines the classic comforts of chili and pasta, making it a satisfying option for any dinner table.
Quick and easy: With just 10 minutes of prep and a total cooking time of 40 minutes, you can enjoy a delicious homemade meal without spending hours in the kitchen.
Crowd-pleaser: Perfect for families or gatherings, this dish caters to both adults and kids, appealing to all taste buds with its savory, cheesy goodness.
Nutritious: Packed with protein and fiber, each serving is balanced and wholesome, ensuring you don’t sacrifice nutrition for flavor.
Versatile: Customize it with your favorite toppings or substitutions—add jalapeños for heat or swap in ground turkey for a lighter option.
This Chili Mac is sure to become a go-to favorite in your home! And for more quick meals, check out our range of easy weeknight dinners.
Chili Mac Ingredients
• Dive into the delightful flavors of Chili Mac with these simple ingredients!
For the Chili Base
- 1 lb ground beef – Adds rich flavor and protein to the dish.
- 1 small yellow onion – Finely chopped for sweetness and depth of flavor.
- 3 cloves garlic – Minced to enhance the aromatic profile of the meal.
- 1 (14-ounce) can diced tomatoes – Provides moisture and a tangy base.
- 1 (8-ounce) can tomato sauce – Adds a smooth texture and additional flavor.
- 1 (15-ounce) can dark red kidney beans – Rinsed and drained for added fiber and protein.
- 2½-3 cups low-sodium beef broth – Helps achieve the perfect consistency for the sauce.
- 2 tablespoons chili powder – Infuses the dish with warmth and robust chili flavor.
- 2 teaspoons ground cumin – Brings an earthy depth to your Chili Mac.
- ½ teaspoon smoked paprika – Adds a subtle smokiness that elevates the dish.
- ½ teaspoon dried oregano – Provides a hint of herbal flavor that complements the spices.
- ¼ teaspoon ground cayenne pepper – Offers just the right amount of heat; adjust to your taste!
For the Pasta
- 2 cups elbow macaroni – The classic choice for a hearty pasta addition.
For Toppings
- Salt and pepper – Essential for seasoning, adjusting to your preference.
- 2 cups shredded cheddar – Melts beautifully, creating a delicious, gooey finish.
Let the magic of these ingredients come together for a comforting bowl of Chili Mac that’s sure to become a family favorite!
How to Make Chili Mac
-
Brown the ground beef in a large pot or Dutch Oven over medium heat. About halfway through, add the finely chopped onion. Cook until the onion is soft and the beef is browned, about 5-7 minutes.
-
Add the minced garlic and reduce the heat slightly. Sauté for about 1 minute, stirring frequently to avoid burning. Drain any excess grease from the pan into a heat-safe container.
-
Stir in the diced tomatoes, tomato sauce, kidney beans, and beef broth. Sprinkle in the chili powder, ground cumin, smoked paprika, dried oregano, and cayenne pepper. Mix well to combine, letting the flavors meld.
-
Bring the mixture to a low boil over medium-high heat. Once boiling, stir in the elbow macaroni. Reduce the heat to a simmer and cook until the noodles are tender, which should take about 10 minutes.
-
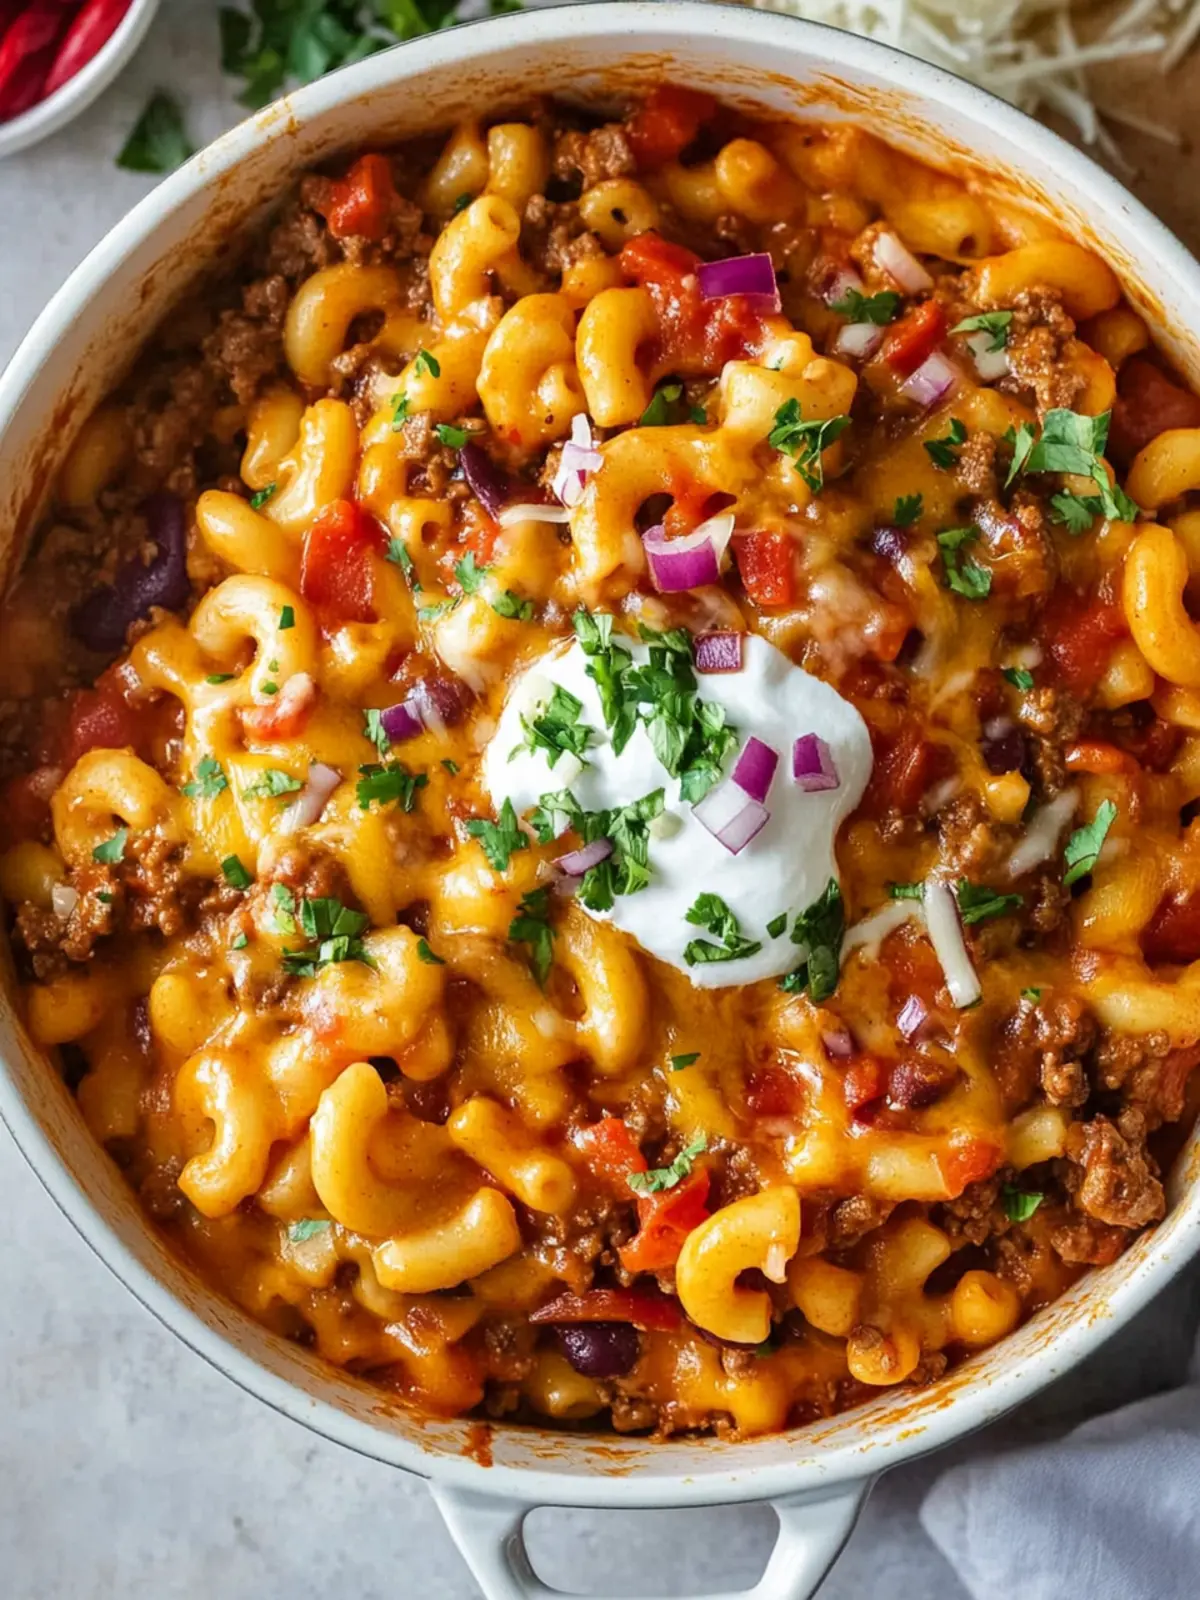
Season with salt and fresh ground black pepper to taste. Top off with the shredded cheddar cheese, covering the pot to allow the cheese to melt fully, about 2-3 minutes. Garnish with chopped fresh parsley if desired.
Optional: Serve with sliced jalapeños for an extra kick!
Exact quantities are listed in the recipe card below.
How to Store and Freeze Chili Mac
Fridge: Store leftover Chili Mac in an airtight container for up to 3 days. Make sure it’s completely cooled before sealing to maintain freshness.
Freezer: For longer storage, freeze Chili Mac in freezer-safe containers for up to 3 months. Allow it to cool before transferring to prevent freezer burn.
Reheating: When ready to enjoy, thaw in the fridge overnight and reheat on the stovetop over low heat, adding a splash of beef broth to restore creaminess.
Room Temperature: Serve your Chili Mac immediately to enjoy at its best, and avoid leaving it out for more than 2 hours.
What to Serve with Chili Mac?
Enjoy your creation alongside these comforting companions that will complete the meal experience.
-
Garlic Bread: The perfect buttery complement, garlic bread adds a crunchy texture that contrasts beautifully with the creamy Chili Mac.
-
Cornbread Muffins: Soft, slightly sweet cornbread muffins pair seamlessly, soaking up the hearty flavors while providing a cozy southern touch.
-
Garden Salad: Crisp greens and fresh veggies bring brightness and crunch, balancing the richness of the Chili Mac with a refreshing bite.
-
Coleslaw: This tangy, creamy side adds a crunchy contrast and coolness that enhances the experience, complementing every rich spoonful.
-
Sour Cream: A dollop on top creates a zesty, creamy finish, mellowing out the spices while adding a delightful tang.
-
Apple Pie: For dessert, this classic offers a sweet bite that perfectly balances the savory richness of your meal, leaving everyone satisfied.
Each pairing is designed to enhance the overall flavors and elevate your dinner experience!
Chili Mac Variations
Feel free to get creative with this versatile Chili Mac recipe and make it uniquely yours!
-
Dairy-Free: Substitute shredded dairy-free cheese and use plant-based milk to keep it creamy without the dairy.
-
Spicy Kick: Add chopped jalapeños or a dash of hot sauce to the mix for a fiery flavor that will excite your taste buds.
-
Vegetarian: Replace the ground beef with crumbled tempeh or lentils for a hearty, meatless version that doesn’t skimp on flavor.
-
Whole Wheat Pasta: Swap elbow macaroni for whole wheat pasta for added fiber without sacrificing taste.
-
Extra Veggies: Stir in chopped bell peppers, zucchini, or spinach to boost nutrients and add vibrant color to your dish.
-
Smoky Flavor: Replace smoked paprika with chipotle powder for an even deeper, smoky flavor that lingers in each bite.
-
Creamy Extension: Mix in a dollop of sour cream or Greek yogurt before serving for extra creaminess and tang.
-
Tex-Mex Twist: Incorporate black beans instead of kidney beans and top with avocado slices for a delightful Tex-Mex surprise!
Make Ahead Options
Chili Mac is a fantastic dish to prepare ahead of time, making busy weeknights a breeze! You can brown the ground beef and sauté the onion and garlic up to 24 hours before serving; just be sure to store them in an airtight container in the refrigerator to maintain freshness. Additionally, combine the diced tomatoes, tomato sauce, kidney beans, and spices in a separate bowl, and store them in the fridge for up to 3 days. When you’re ready to enjoy your meal, simply reheat the beef mixture and spices in a pot, add the beef broth and elbow macaroni, and cook until the pasta is tender. This way, you’ll still savor the comforting flavors of Chili Mac without the time commitment!
Expert Tips for Chili Mac
-
Browning Beef: Ensure you don’t overcrowd the pan when browning the ground beef. This helps create a nice sear and enhances the flavor of your Chili Mac.
-
Ingredient Freshness: Use fresh garlic and spices for the best flavor. Old spices can diminish the taste and aroma of your dish.
-
Consistent Simmer: Stir frequently while the macaroni cooks, ensuring even cooking and preventing it from sticking to the bottom of the pot.
-
Cheese Melting: When adding cheese, cover the pot to trap steam and melt the cheddar evenly and perfectly for a creamy texture.
-
Taste Testing: Always taste before serving! Adjust salt and spice levels as needed to enhance the flavors just right for your family’s preference.
-
Storage Tip: Leftovers can be stored in an airtight container in the fridge for up to 3 days, making for an easy lunch or dinner option later!

Chili Mac Recipe FAQs
How do I choose the best ground beef for Chili Mac?
Absolutely! Look for ground beef that has a moderate fat content, around 80/20 or 85/15. This ensures your Chili Mac will be juicy without being greasy. Additionally, choose beef that is bright red, with minimal discoloration, and a fresh smell. If you prefer a leaner dish, ground turkey or chicken can be great alternatives.
What is the best way to store leftover Chili Mac?
Very important! Allow your Chili Mac to cool completely before storing it in an airtight container. It can stay fresh in the fridge for up to 3 days. Be sure to label the container with the date for easy tracking! When ready to enjoy, just reheat on the stovetop or in the microwave.
Can I freeze Chili Mac, and how do I do it?
Absolutely! To freeze, let your Chili Mac cool completely. Portion it into freezer-safe containers or resealable bags, removing as much air as possible. You can keep it frozen for up to 3 months. When you’re ready to enjoy, thaw it in the fridge overnight and reheat gently on the stovetop, adding a splash of beef broth if needed to restore its creamy texture.
How can I adjust the spice level in my Chili Mac?
Very good question! To adjust the heat, start with less cayenne pepper and add more to taste after it’s cooked. For more flavor without extra heat, consider adding sweet bell peppers or jalapeños. Remember, you can always add more spice, but it’s tough to take it away, so add gradually!
Is this Chili Mac recipe suitable for people with food allergies?
Of course! This recipe can be easily modified to accommodate dietary restrictions. For a gluten-free version, simply replace the elbow macaroni with gluten-free pasta or zucchini noodles. If someone is allergic to dairy, you can leave out the cheese or substitute it with a dairy-free alternative. Always double-check ingredient labels to ensure safety.
How long can Chili Mac be left out at room temperature?
Great question! To ensure safety, Chili Mac should not be left out for more than 2 hours. If the temperature is above 90°F, like at an outdoor gathering, be sure to store it within 1 hour. Keeping it hot in a slow cooker can help maintain its temperature during serving!
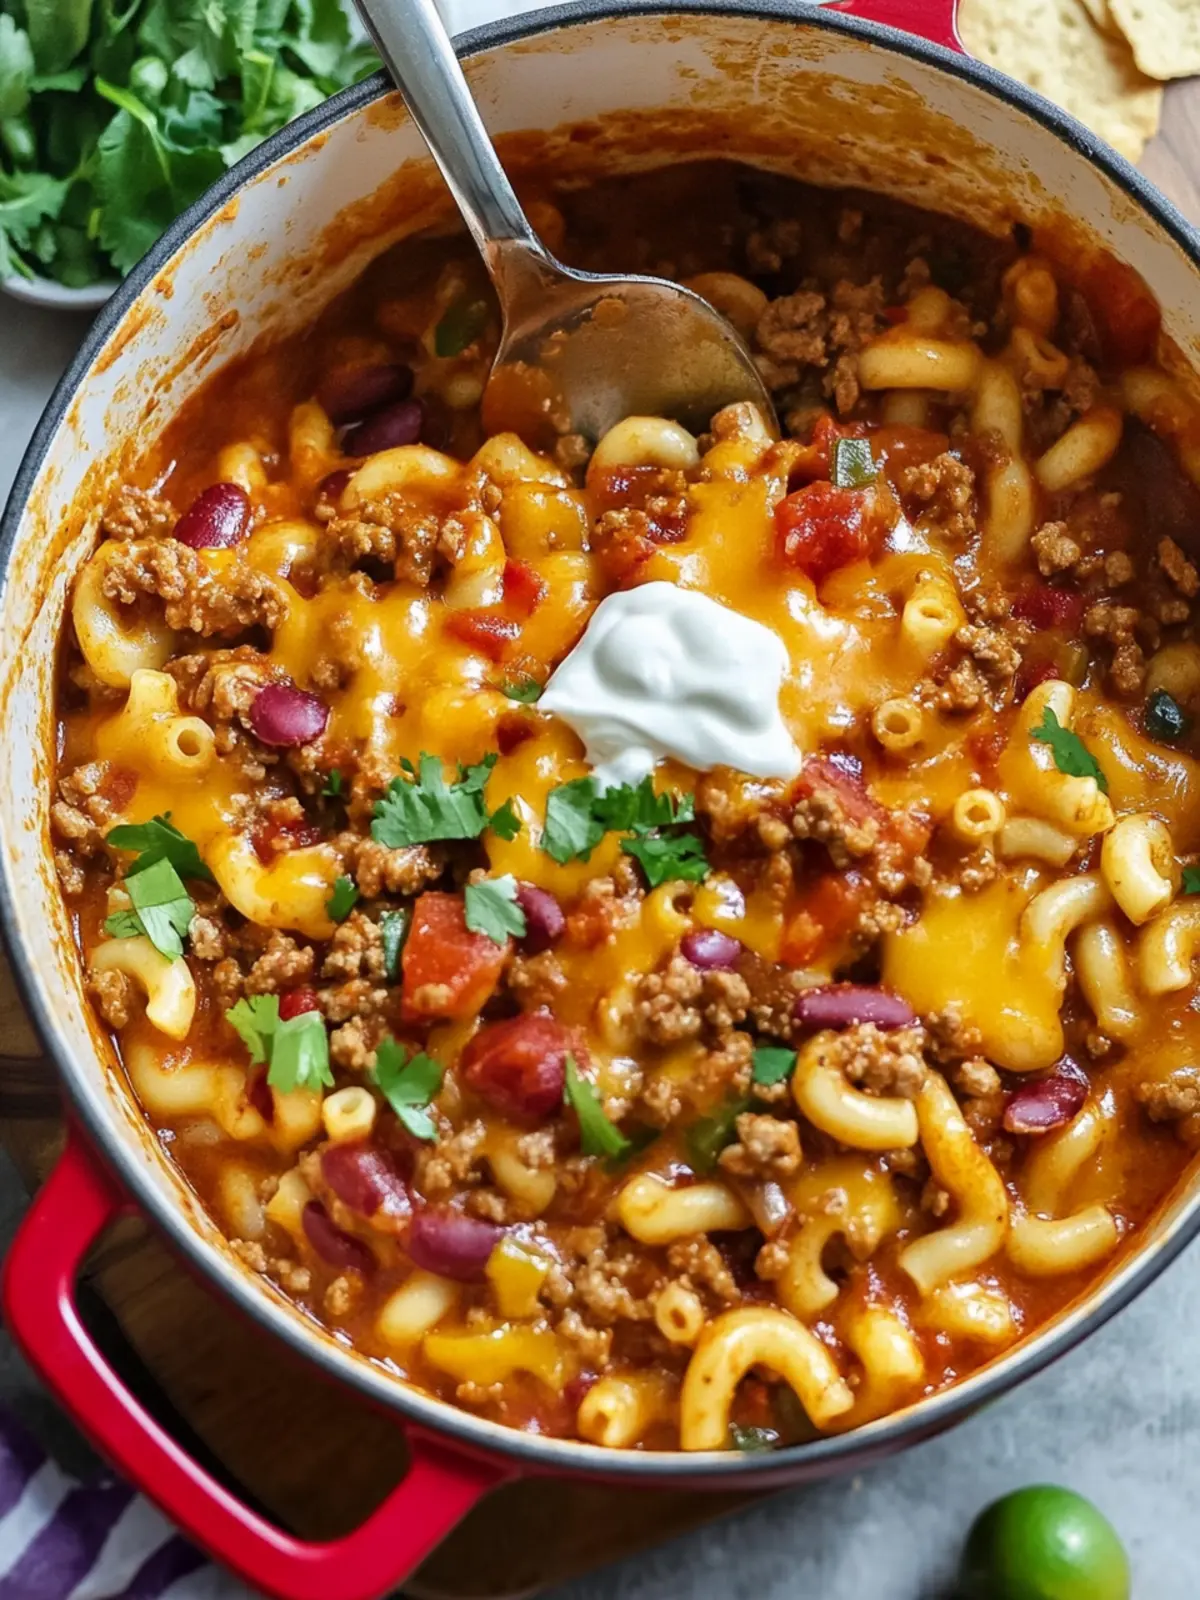
Savory Chili Mac: A Comforting Twist on Classic Pasta
Ingredients
Equipment
Method
- Brown the ground beef in a large pot or Dutch Oven over medium heat. About halfway through, add the finely chopped onion. Cook until the onion is soft and the beef is browned, about 5-7 minutes.
- Add the minced garlic and reduce the heat slightly. Sauté for about 1 minute, stirring frequently to avoid burning. Drain any excess grease from the pan into a heat-safe container.
- Stir in the diced tomatoes, tomato sauce, kidney beans, and beef broth. Sprinkle in the chili powder, ground cumin, smoked paprika, dried oregano, and cayenne pepper. Mix well to combine, letting the flavors meld.
- Bring the mixture to a low boil over medium-high heat. Once boiling, stir in the elbow macaroni. Reduce the heat to a simmer and cook until the noodles are tender, which should take about 10 minutes.
- Season with salt and fresh ground black pepper to taste. Top off with the shredded cheddar cheese, covering the pot to allow the cheese to melt fully, about 2-3 minutes. Garnish with chopped fresh parsley if desired.