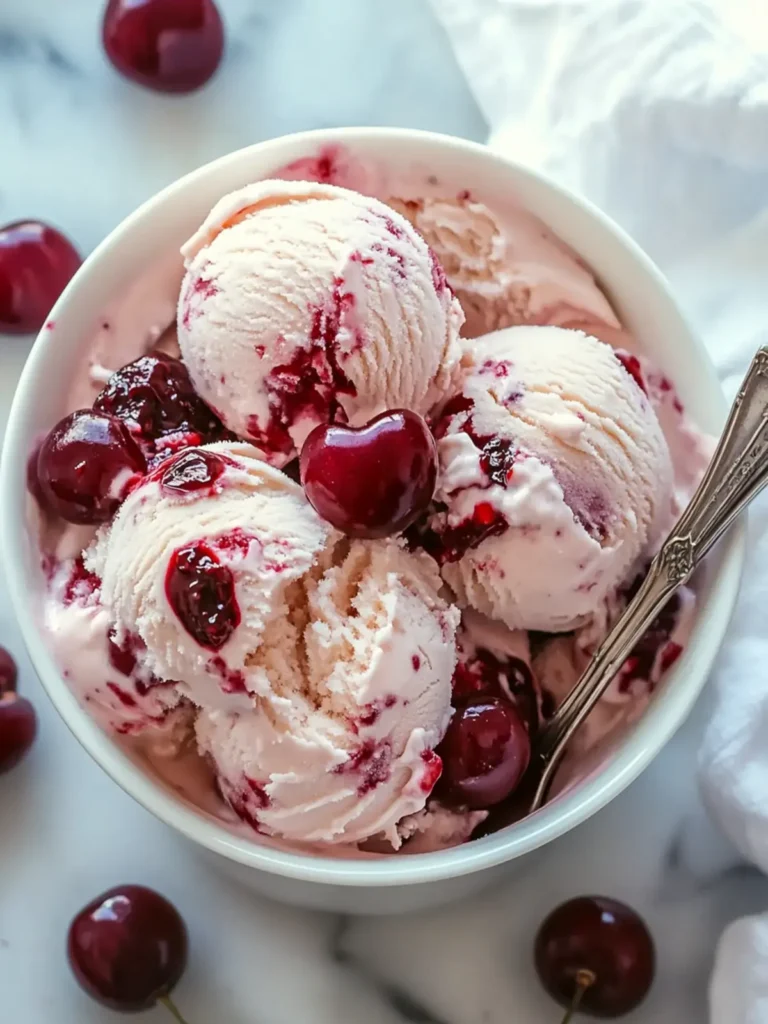
There’s something undeniably comforting about making ice cream at home, especially when it’s as delightful as this Easy Homemade Cherry Garcia Ice Cream Recipe. One hot summer afternoon, I found myself daydreaming about the lush sweetness of cherries swirled with rich chocolate—reminding me of carefree days spent enjoying ice cream cones at the local shop. But instead of running out for a scoop, I decided to recreate that joyful experience right in my kitchen.
Combining the creamy goodness of heavy cream and whole milk with fresh cherries and dark chocolate, this recipe is a sweet symphony of flavors that will transport you back to those sun-soaked days. Plus, it’s surprisingly simple! With just a handful of ingredients and an ice cream maker, you’ll have a luxurious dessert that’s perfect for impressing guests or treating yourself after a long day. So grab your cherries and let’s get churning—your homemade ice cream adventure awaits!

Why love this Easy Homemade Cherry Garcia Ice Cream Recipe?
Incredible taste: The combination of fresh cherries and dark chocolate creates a decadent flavor explosion that’s irresistible.
Super easy: Anyone can whip this up at home—just mix, churn, and freeze!
Versatile delight: Customize it to your liking by adding cherry liqueur or varying the chocolate content.
Crowd-pleaser: Perfect for gatherings—everyone will beg for the recipe!
Fulfilling fun: Making ice cream is a joyful process that brings the whole family together in the kitchen.
Time-saving: With minimal prep and quick churning time, you’ll have delicious ice cream ready in no time!
Easy Homemade Cherry Garcia Ice Cream Ingredients
• Get ready to create a delightful treat!
For the Ice Cream Base
• Heavy cream – provides the rich and creamy texture that makes this ice cream so indulgent.
• Whole milk – balances the creaminess for a smooth consistency.
• Granulated sugar – sweetens the mixture and enhances the cherry flavor.
• Pure vanilla extract – adds depth and warms the overall taste.
For the Cherry & Chocolate Mix-ins
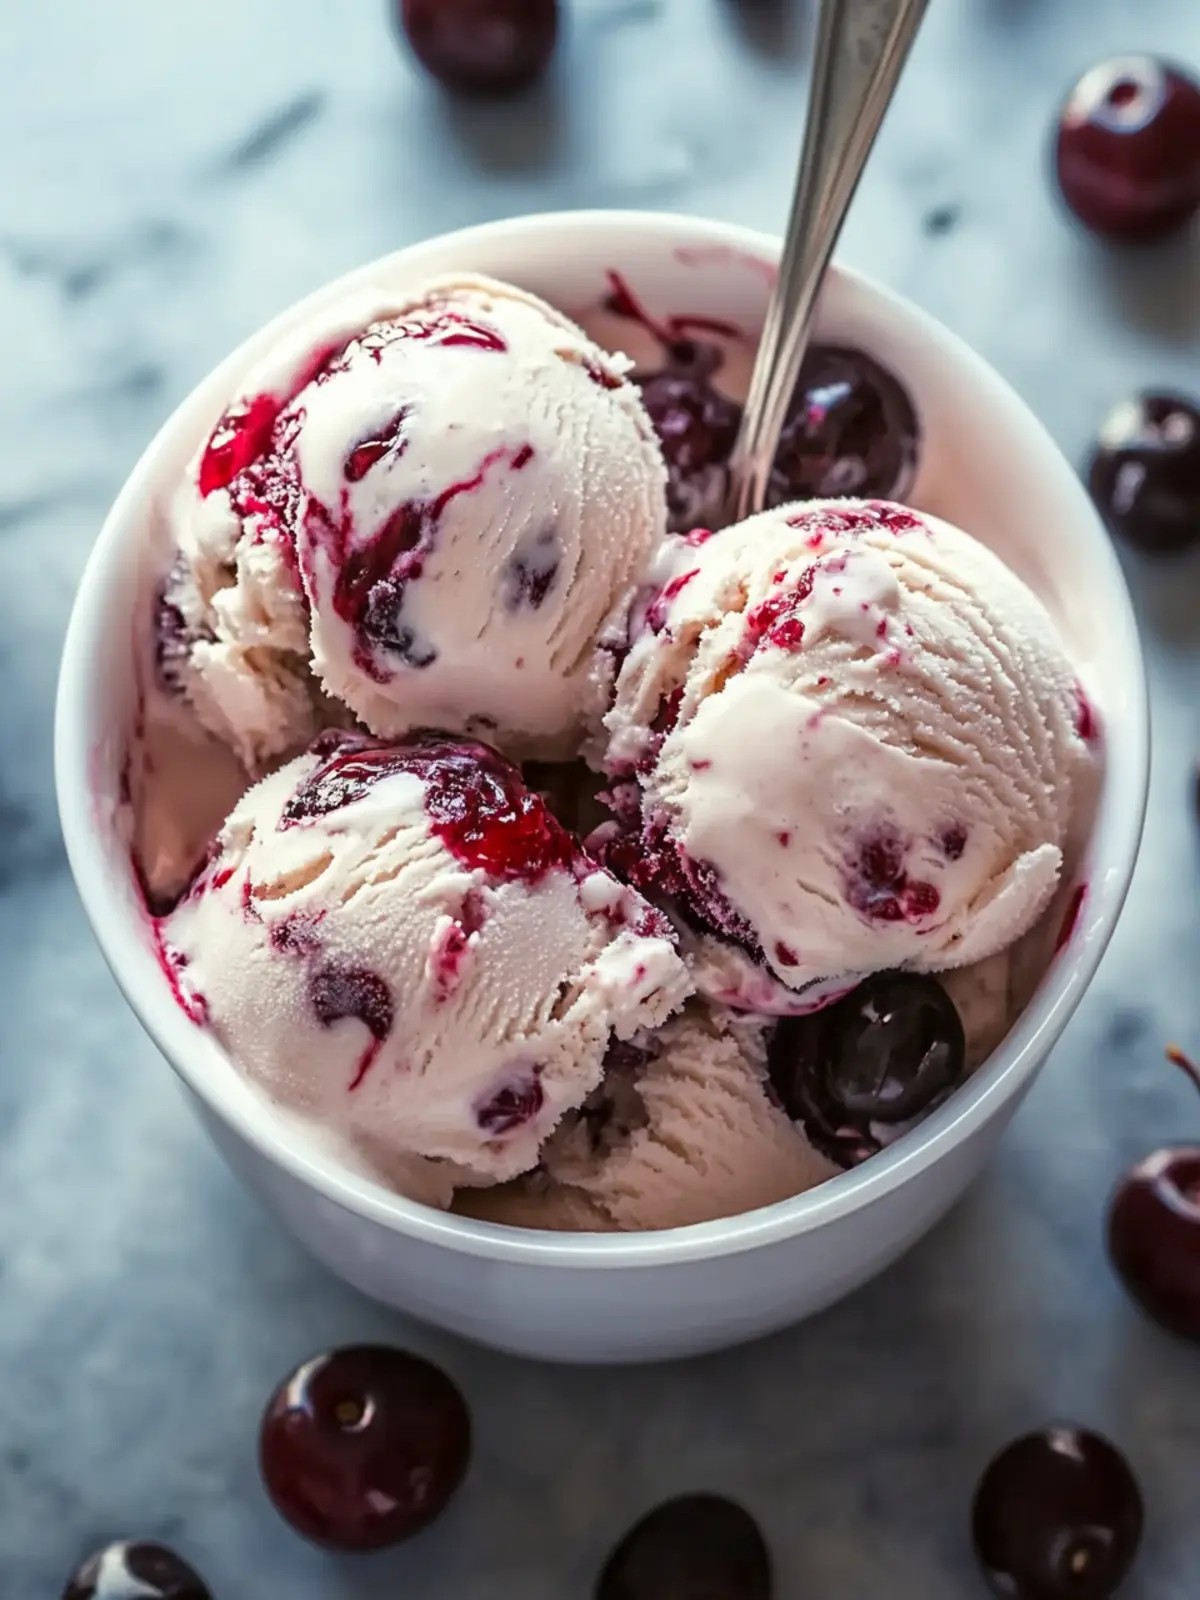
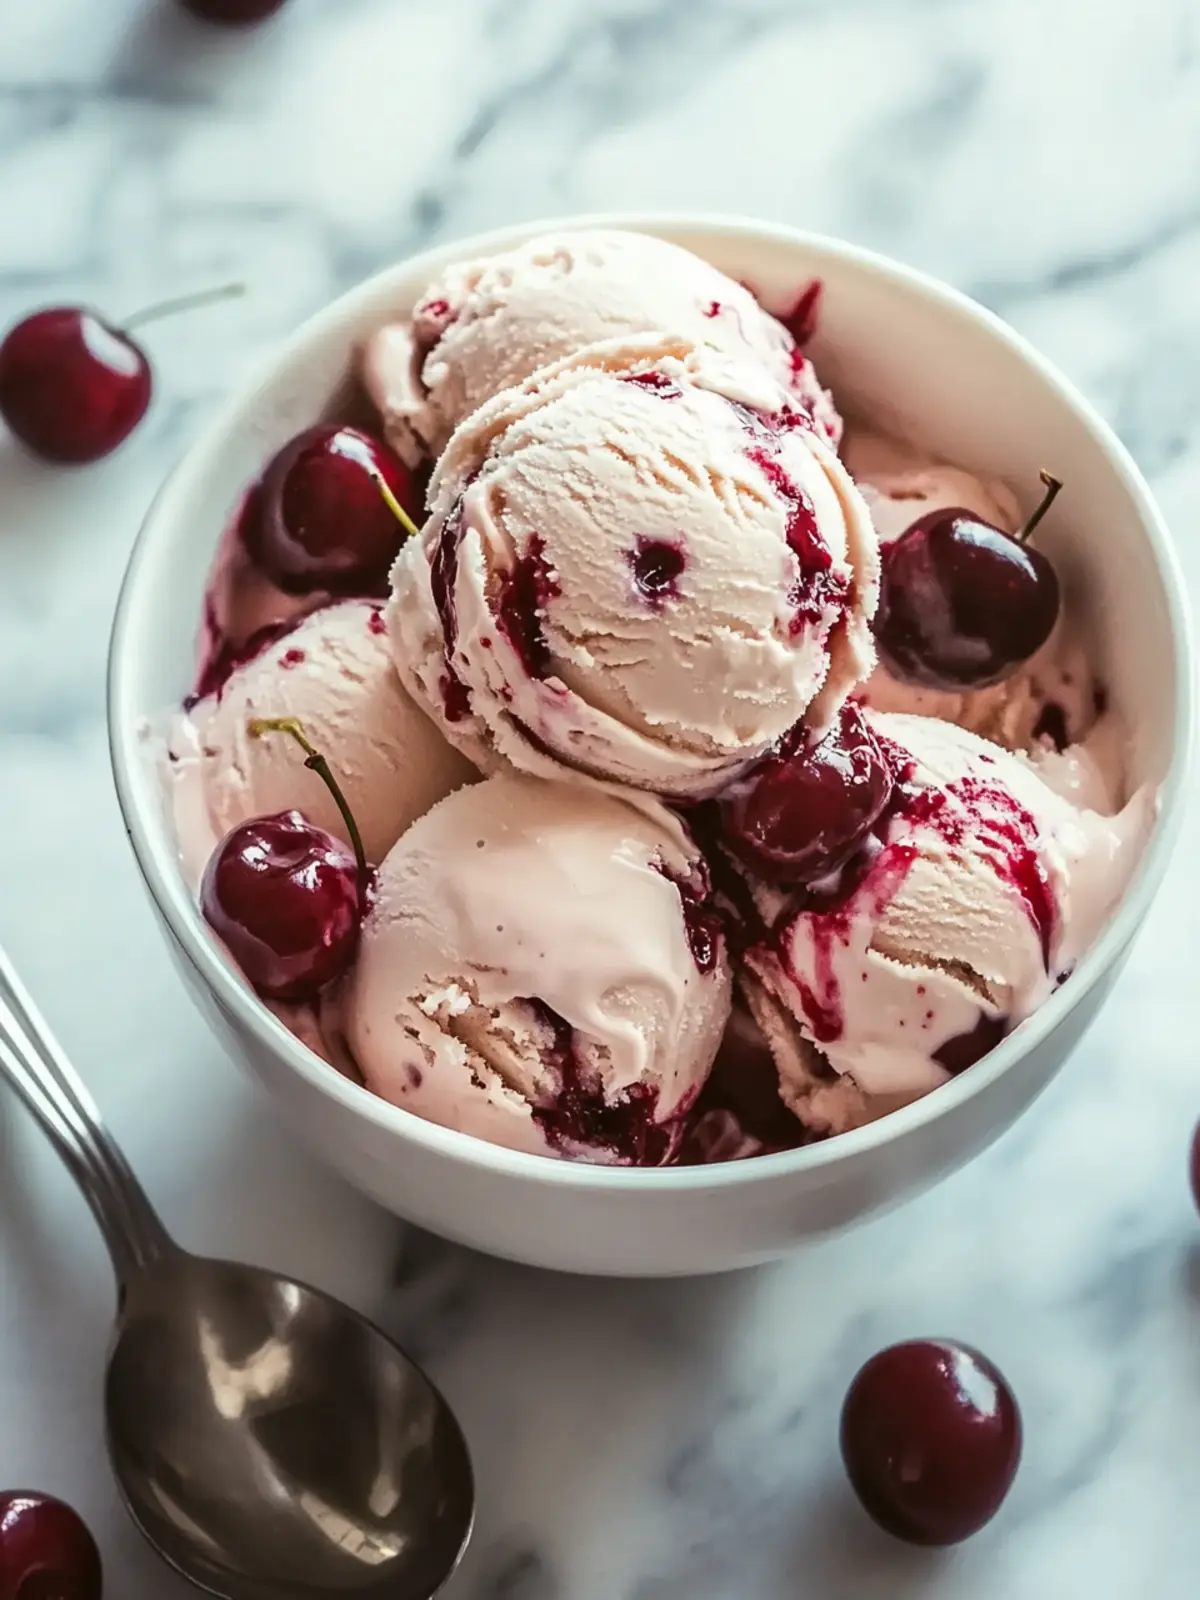
• Fresh or frozen pitted cherries – brings a burst of fruity flavor; frozen works well if fresh isn’t in season.
• Dark chocolate chunks – provide a delightful contrast with a touch of bitterness against the sweetness.
• Cherry liqueur or cherry syrup (optional) – elevates the cherry flavor for a more intense experience in your Easy Homemade Cherry Garcia Ice Cream recipe.
With these ingredients in hand, you’re just moments away from a sweet summer treat that will have everyone saying, “Wow, you made this?”
How to Make Easy Homemade Cherry Garcia Ice Cream
-
Combine ingredients: In a large mixing bowl, whisk together the heavy cream, whole milk, granulated sugar, and vanilla extract until the sugar is completely dissolved, creating a silky mixture.
-
Add flavor: If desired, stir in the cherry liqueur or cherry syrup to enhance that luscious cherry flavor, making your ice cream even more delightful.
-
Churn the base: Pour the chilled mixture into your ice cream maker and churn according to the manufacturer’s instructions, usually for about 20-25 minutes until it reaches a soft-serve consistency.
-
Mix in treats: During the last 5 minutes of churning, add the chopped cherries and dark chocolate chunks, ensuring an even distribution of flavor in every scoop.
-
Freeze the ice cream: Transfer the churned ice cream into a freezer-safe container and cover it tightly. This helps prevent ice crystals from forming, keeping your treat creamy.
-
Let it set: Place the container in the freezer and let it freeze for at least 4 hours or until it’s firm enough to scoop, allowing all flavors to meld beautifully.
-
Prepare to serve: Before serving, let the ice cream sit at room temperature for about 5-10 minutes, making scooping much easier and more enjoyable.
Optional: Drizzle with chocolate syrup just before serving for an extra touch of indulgence!
Exact quantities are listed in the recipe card below.
Expert Tips for Easy Homemade Cherry Garcia Ice Cream
• Chill the Ingredients: Always chill your heavy cream and milk before mixing. Cold ingredients help create a smoother texture in your Easy Homemade Cherry Garcia Ice Cream.
• Watch Your Churn: Don’t over-churn the mixture. Churning too long can result in a gummy texture, so keep an eye on it as it approaches soft-serve consistency.
• Avoid Ice Crystals: To prevent ice crystals, ensure you cover the container tightly and leave no air gaps when freezing your ice cream.
• Use Quality Chocolate: Opt for high-quality dark chocolate chunks—this boosts flavor and sweetness balance, enhancing your cherry ice cream experience.
• Experiment with Flavors: Feel free to play with the ingredients! Add a hint of almond extract for a unique flavor twist, or switch up the chocolate type for a fun variation.
• Let It Rest: Serve your ice cream after letting it sit for a few minutes at room temperature. This ensures easier scooping and a creamier bite!
Easy Homemade Cherry Garcia Ice Cream Variations
Feel free to get creative and customize this delightful ice cream to suit your taste buds!
- Dairy-Free: Swap the heavy cream and whole milk for coconut cream and almond milk for a plant-based treat.
- Fruity Twist: Substitute cherries with ripe raspberries or strawberries for a berry delight that’s equally refreshing.
- Nutty Addition: Stir in crushed walnuts or almonds for a delightful crunch that enhances the texture.
- Extra Sweetness: Add a swirl of caramel sauce along with the chocolate chunks for a rich, indulgent experience.
- Spicy Kick: Incorporate a dash of cayenne pepper or chili powder to the mixture for a surprising heat that complements the cherries beautifully.
- Syrup Options: Try using raspberry syrup instead of cherry syrup for a unique flavor profile that still tastes delightful.
- Chocolate Variants: Experiment with white chocolate chunks or milk chocolate for a sweeter, creamier variation that everyone will adore.
- Frozen Treats: Consider making popsicles with this mixture—fill molds with the ice cream and freeze for a summertime cool down!
With these variations, each scoop of your Easy Homemade Cherry Garcia Ice Cream can become a tantalizing new adventure!
What to Serve With Easy Homemade Cherry Garcia Ice Cream?
Picture a warm summer evening filled with laughter and the sweet scent of cherries—it’s the perfect occasion for sharing something special.
-
Chocolate Brownies: The rich, fudgy texture complements the cherry-chocolate blend, creating a decadent duo that is simply irresistible.
-
Fresh Berries: A mix of strawberries and blueberries adds a refreshing burst of flavor, balancing the sweetness of the ice cream with a touch of tartness.
-
Mint Chocolate Chip Cookies: These delightful cookies bring a refreshing minty kick, making each scoop feel light and exhilarating.
-
Almond Biscotti: Crunchy and nutty, biscotti offers a lovely contrast to the creamy ice cream, perfect for dipping and delighting your taste buds.
-
Espresso or Coffee: A rich cup of espresso enhances the flavors of the cherry and chocolate, making for a comforting after-dinner treat.
-
Whipped Cream: A dollop of freshly whipped cream adds an airy lightness that elevates every indulgent bite of your ice cream.
-
Chocolate Sauce: Drizzling warm chocolate sauce on top adds a luxurious touch that will have everyone spooning for more. Each pairing is a chance to explore flavors and make memories—treat yourself and your loved ones!
Make Ahead Options
Making this Easy Homemade Cherry Garcia Ice Cream Recipe ahead of time is a fantastic way to save yourself hassle, especially during busy summer gatherings! You can prepare the ice cream base (heavy cream, milk, sugar, and vanilla) and refrigerate it for up to 24 hours. This allows the flavors to meld and ensures a smooth texture. When you’re ready to churn, simply stir in the cherry liqueur or syrup, add the cherries and dark chocolate, and churn as directed. After freezing for at least 4 hours, your ice cream will be just as delicious and ready to impress. By prepping the base ahead of time, you’ll have a delightful homemade treat at your fingertips with minimal last-minute effort!
How to Store and Freeze Easy Homemade Cherry Garcia Ice Cream
Fridge: Store any leftover homemade ice cream in an airtight container in the fridge for up to 3 days. However, for best texture and flavor, it’s recommended to keep it frozen.
Freezer: For long-term storage, seal the ice cream in a freezer-safe container, making sure there’s no air inside, and it will stay fresh for up to 2 months.
Reheating: To enjoy your Easy Homemade Cherry Garcia Ice Cream again, allow it to soften in the refrigerator for 10-15 minutes before scooping—it’ll be creamy and delicious!
Serving Tip: For the perfect scoop, let the container sit at room temperature for about 5-10 minutes before serving; this makes it much easier to serve and enjoy!
Easy Homemade Cherry Garcia Ice Cream Recipe FAQs
How do I select ripe cherries for my ice cream?
Absolutely! Look for cherries that are plump, firm, and have a vibrant red color. Avoid any with dark spots or wrinkles, as these may indicate overripeness. If you’re using frozen cherries, make sure they are pitted and of good quality to ensure the best flavor in your Easy Homemade Cherry Garcia Ice Cream.
What’s the best way to store homemade cherry ice cream?
To keep your Easy Homemade Cherry Garcia Ice Cream fresh, store it in an airtight container in the freezer. This will prevent ice crystals from forming and maintain its creamy texture. Ideally, enjoy it within 2 months for peak flavor and texture.
Can I freeze leftovers of this ice cream?
Yes, you can! After making your cherry ice cream, ensure it’s frozen in a tightly sealed freezer-safe container. It should last up to 2 months in the freezer. When you’re ready to enjoy more, take it out and let it sit in the fridge for about 10-15 minutes to soften before scooping.
What should I do if my ice cream is too hard to scoop?
No worries! If your Easy Homemade Cherry Garcia Ice Cream is too hard out of the freezer, leave it out at room temperature for 5-10 minutes before serving. This will help soften it just enough to make scooping easier without compromising its creamy texture.
Are there any dietary considerations I should be aware of?
Absolutely! If you have a cherry allergy, avoid this recipe or use alternative fruits like strawberries or blueberries. Also, keep in mind that this ice cream contains dairy, which may not be suitable for lactose-intolerant individuals. You can try substituting the dairy with coconut cream and almond milk for a lactose-free version.
How can I enhance the flavor of my homemade cherry ice cream?
To elevate the flavor even more in your Easy Homemade Cherry Garcia Ice Cream, try adding a teaspoon of almond extract along with the vanilla, or incorporating some chopped nuts for extra texture. You could also experiment with different chocolate types, like milk or white chocolate, depending on your taste preferences.

Delicious Easy Homemade Cherry Garcia Ice Cream Recipe to Savor
Ingredients
Equipment
Method
- In a large mixing bowl, whisk together the heavy cream, whole milk, granulated sugar, and vanilla extract until the sugar is dissolved.
- If desired, stir in the cherry liqueur or cherry syrup to enhance the cherry flavor.
- Pour the mixture into your ice cream maker and churn according to manufacturer's instructions, usually for about 20-25 minutes until soft-serve consistency.
- During the last 5 minutes of churning, add the chopped cherries and dark chocolate chunks.
- Transfer the churned ice cream into a freezer-safe container and cover it tightly.
- Place the container in the freezer and let it freeze for at least 4 hours.
- Before serving, let the ice cream sit at room temperature for about 5-10 minutes.