
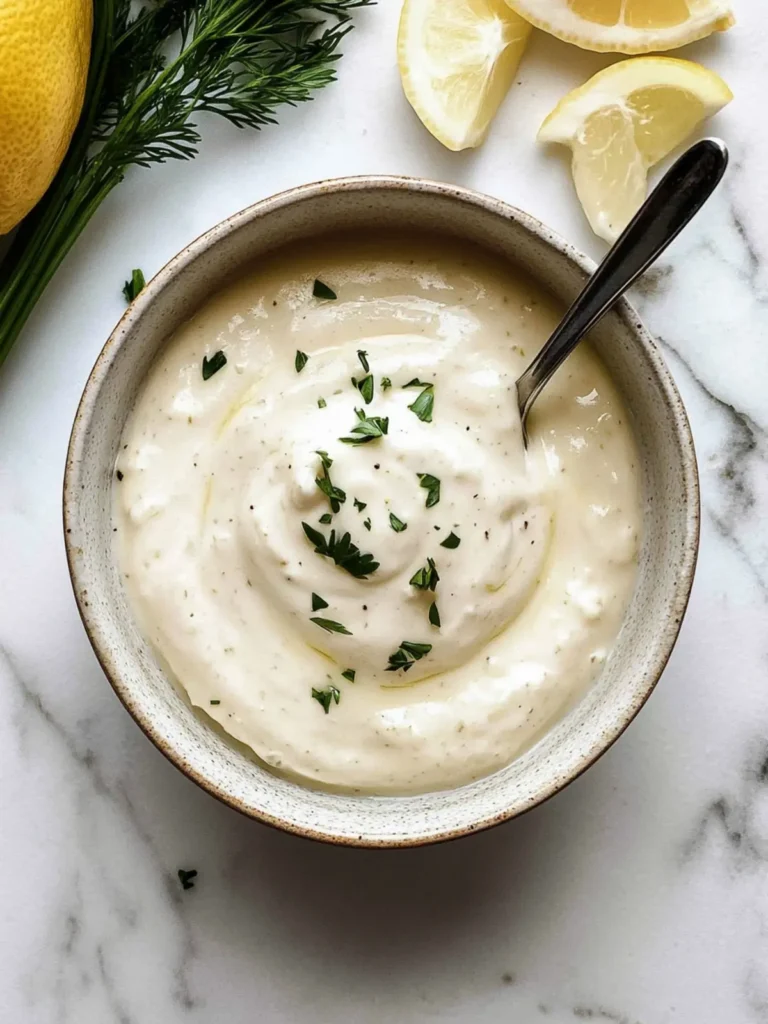
Picture this: a casual summer gathering with friends, the sun setting just right, and amid the laughter and clinking glasses, an irresistible aroma draws everyone closer. That’s the magic of creating your own garlic aioli. I discovered this delightful twist on traditional mayo while experimenting in my kitchen, and let me tell you—it’s a game changer!
Gone are those takeout nights when bland condiments reigned supreme. This creamy garlic aioli elevates everything it touches, from crispy fries to fresh veggie platters. With just a handful of ingredients, you can whip up a luscious dip that packs a flavor punch and impresses even the pickiest eaters. Plus, it’s ready in a snap!
So, the next time you’re longing for a garlicky delight that transforms any dish into something extraordinary, look no further. Join me as we dive into this simple yet sensational recipe, perfect for any occasion and sure to become a staple in your home. Let’s get started!

Why is Garlic Aioli a Must-Try?
Irresistible flavor: This creamy garlic aioli brings a bold, garlicky punch that transforms everyday dishes.
Quick and easy: With just a few simple ingredients, you can whip up this aioli in no time.
Versatile use: Perfect for dipping, spreading, or even drizzling on salads, your culinary creativity knows no bounds!
Crowd-pleaser: Impress your guests and family alike with this delightful condiment that makes everything taste better.
Homemade goodness: Say goodbye to store-bought options and embrace the freshness and richness of homemade flavors!
Add some excitement to your meals and enjoy the delightful taste of this homemade gem.
Garlic Aioli Ingredients
• Get ready to create something amazing!
For the Aioli
- ¾ cup mayonnaise – A creamy base that makes the aioli luscious.
- 3 cloves garlic – Fresh garlic adds that unmistakable bold flavor.
- 2 tablespoons fresh lemon juice – A splash of acidity to brighten up the aioli.
- ¾ teaspoon salt – Enhances the flavors and brings it all together.
- ½ teaspoon sugar – Balances the garlic’s intensity with a hint of sweetness.
- ½ teaspoon ground black pepper – Adds a touch of warmth and spice.
- ½ teaspoon garlic powder – Boosts the garlic flavor for an extra punch in this garlic aioli.
This creamy garlic aioli is the perfect game changer you never knew you needed!
How to Make Garlic Aioli
-
Combine ingredients: In a small bowl, add the ¾ cup mayonnaise, 3 cloves of minced garlic, 2 tablespoons fresh lemon juice, ¾ teaspoon salt, ½ teaspoon sugar, ½ teaspoon ground black pepper, and ½ teaspoon garlic powder.
-
Whisk together: Using a whisk, blend everything until smooth and creamy. You want the mixture to be well combined, showcasing that rich garlicky goodness.
-
Chill the aioli: Cover the bowl and refrigerate for at least 15 minutes. This chilling time allows the flavors to meld beautifully, resulting in a more intense taste.
-
Store leftovers: If you have any leftover garlic aioli, simply store it in the fridge. It keeps well for up to 5 days, ready to enhance your meals whenever you desire!
Optional: Serve with fresh veggies or crispy fries for a delightful flavor combination.
Exact quantities are listed in the recipe card below.
Garlic Aioli Variations & Substitutions
Feel free to get creative and tailor this garlic aioli to your taste buds and dietary needs!
-
Vegan: Replace mayonnaise with a vegan mayo for a plant-based option. You won’t lose any creaminess and can still savor that garlicky goodness.
-
Spicy Kick: Add a teaspoon of sriracha or your favorite hot sauce to infuse some heat and peppery flavor. It’s perfect for those who love a touch of spiciness in their dips!
-
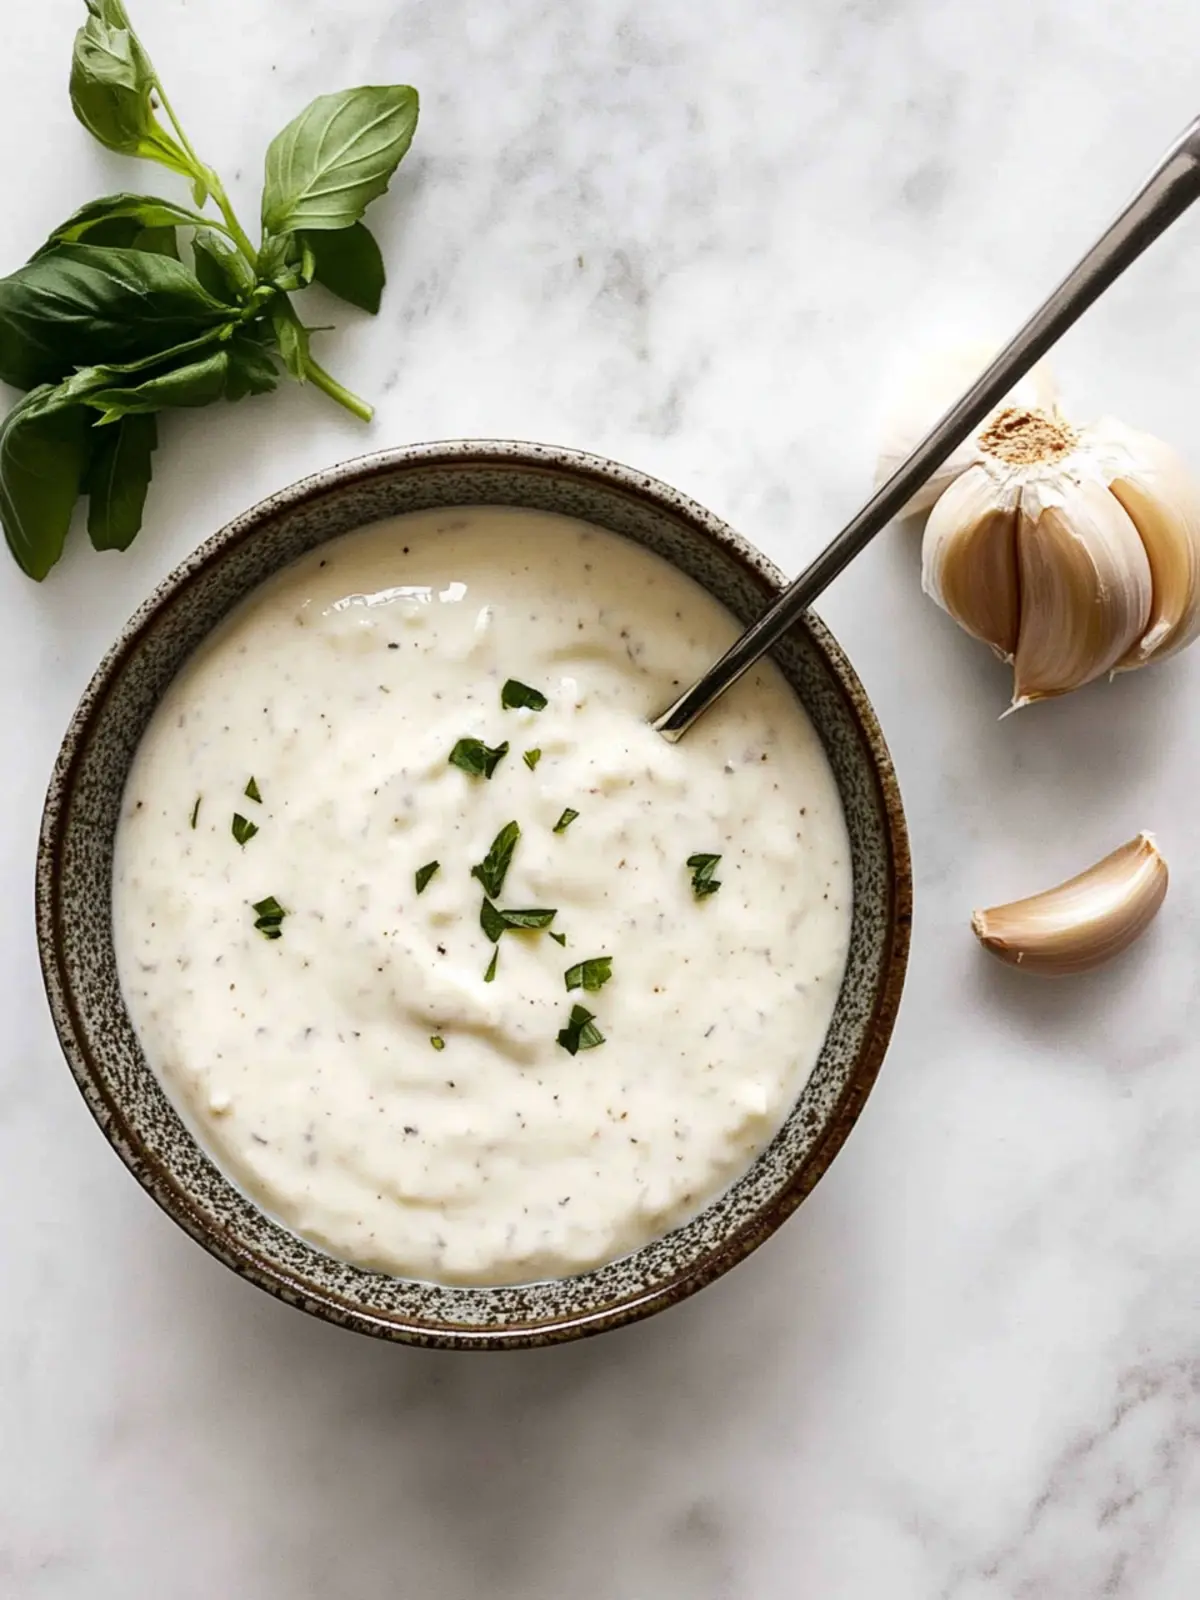
Herbed Delight: Stir in fresh chopped herbs like dill, parsley, or basil for a refreshing twist. The herbs add a vibrant taste, making this aioli even more delightful spread on sandwiches or served with veggies.
-
Smoky Flavor: Incorporate a pinch of smoked paprika to give your aioli a depth of flavor. This subtle smokiness pairs exceptionally well with grilled meats or roasted vegetables.
-
Lemon Zest: For an extra zing, add a teaspoon of fresh lemon zest. This will brighten up the aioli, making it a perfect companion for seafood dishes.
-
Creamier Texture: Swap in Greek yogurt for half of the mayonnaise to make it lighter and pack an additional protein punch. You’ll still get that creamy satisfaction with less fat!
-
Garlic Lover’s Delight: Use roasted garlic instead of fresh garlic for a sweeter, mellower flavor. Roasting brings out garlic’s natural sugars, creating a rich and luxurious dip.
-
Umami Boost: Fold in a teaspoon of Worcestershire sauce or soy sauce for an umami kick. This will enhance the savory flavor profile, turning your aioli into a standout condiment!
How to Store and Freeze Garlic Aioli
Fridge: Store your fresh garlic aioli in an airtight container in the refrigerator for up to 5 days. This keeps it tasting delicious while ready for your next meal.
Freezer: If you want to prolong its shelf life, you can freeze garlic aioli for up to 3 months. Just remember to use an ice cube tray to portion it out, ensuring easy thawing!
Thawing: When ready to enjoy, thaw your frozen garlic aioli overnight in the fridge. Stir well before serving, as the consistency might change slightly during freezing.
Serving Tip: Always give it a little whisk after refrigeration or thawing to restore its creamy texture before pairing it with your favorite dishes!
Expert Tips for Garlic Aioli
-
Fresh Ingredients: Use fresh garlic and real mayonnaise for the best flavor. Avoid pre-minced garlic, as it loses that potent punch essential for creamy garlic aioli.
-
Taste Test: After whisking, taste your aioli and adjust seasoning to your preference. A bit more lemon juice can enhance brightness, while salt levels can be fine-tuned to your liking.
-
Chill Time: Don’t rush the chilling process! Allowing at least 15 minutes for the garlic aioli to meld will significantly enhance the overall flavor.
-
Serving Options: This aioli is incredibly versatile. Try it not just as a dip, but also spread on sandwiches or drizzled over grilled shrimp for a mouthwatering twist.
-
Avoiding Separation: Ensure that your ingredients are at room temperature before combining. This helps avoid separation, ensuring a smooth and creamy garlic aioli texture.
What to Serve with Garlic Aioli?
Dip into a world of delightful pairings that will make your homemade aioli shine even brighter!
-
Crispy French Fries: Their golden crunch perfectly contrasts the creamy garlic delight, creating an irresistible duo. Dip them for a flavor explosion that takes each fry to the next level.
-
Fresh Veggie Platter: Carrots, cucumbers, and bell peppers add a fresh, vibrant crunch that enhances the rich flavor of your garlic aioli. This colorful spread not only looks great but also brings a refreshing balance to every bite.
-
Grilled Chicken: Juicy, smoky grilled chicken drizzled with garlic aioli transforms a simple dish into an elegant feast. The garlicky depth elevates the savory goodness, making it a family favorite.
-
Fish Tacos: Add a zingy touch to your fish tacos by spreading this aioli inside the tortilla. The creamy texture perfectly complements the flaky fish and zesty toppings, creating a flavor journey in every bite.
-
Baked Sweet Potato Fries: The sweetness of these fries contrasts beautifully with the sharpness of the aioli. Their natural flavors blend seamlessly, offering a sweet and savory experience that tantalizes your taste buds.
-
Roasted Vegetables: Caramelized veggies love a dip in garlic aioli, creating an incredible combination of flavors. This pairing speaks to comfort food while maintaining a fresh twist that everyone will adore.
-
Charcuterie Board: Add a dollop of garlic aioli to your charcuterie spread for an enticing dip that complements aged cheeses, cured meats, and olives. It ties all flavors together in a deliciously indulgent way.
-
Lemonade or Sparkling Water: Smooth, refreshing drinks are the perfect companions to your garlic aioli. Their bright, crisp flavors cleanse the palate between bites, keeping your taste journey exciting and lively.
Make Ahead Options
These Garlic Aioli options are perfect for busy home cooks who want to save time without sacrificing flavor! You can prepare the entire aioli up to 24 hours in advance and store it in an airtight container in the refrigerator. This allows the flavors to deepen and meld together, making it even more delicious. Simply whisk together all ingredients as instructed, cover, and refrigerate overnight. When you’re ready to serve, give it a quick stir to bring everything together before drizzling it over your favorite dishes or serving it as a dip. With this make-ahead strategy, you’ll always have a quick, gourmet condiment on hand, making meal times a breeze!
Garlic Aioli Recipe FAQs
How do I choose the best garlic for my aioli?
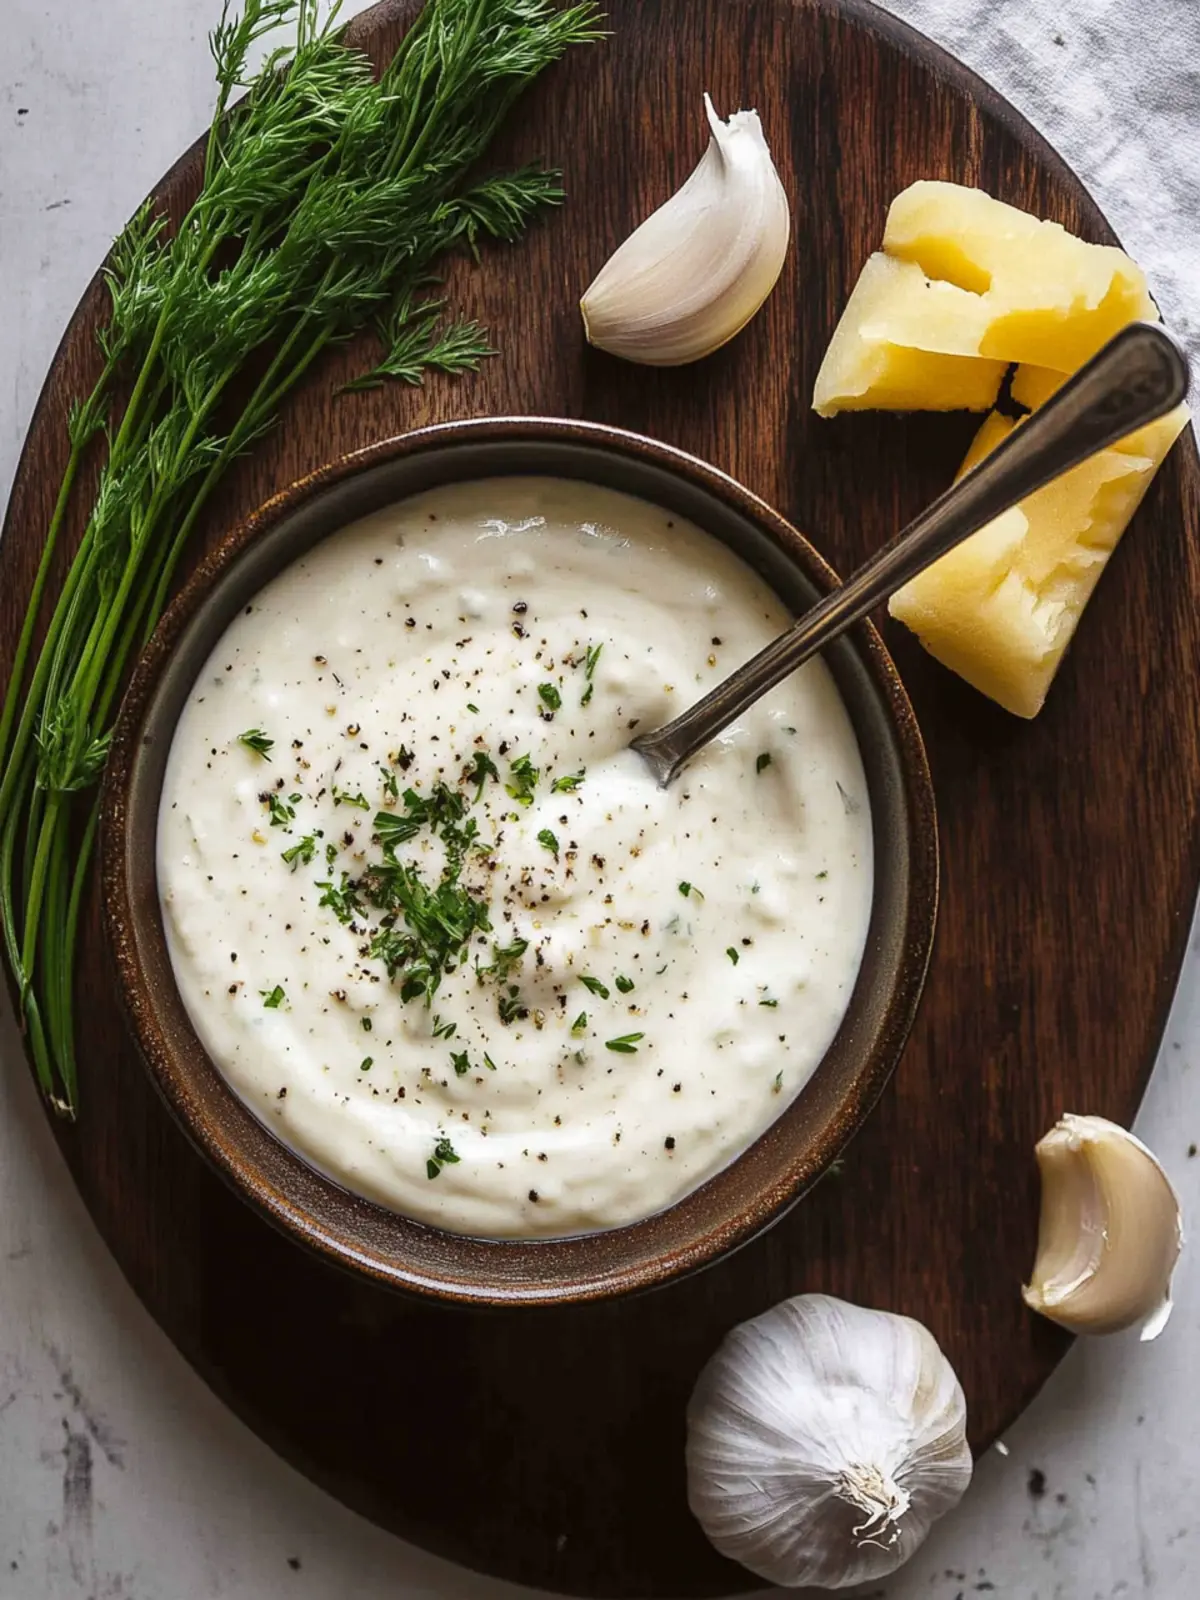
Absolutely! When selecting garlic, look for firm heads with dry, papery skins. Avoid any cloves with dark spots or signs of sprouting, as these can affect the flavor. Fresh garlic has a strong aroma and a vibrant, white color. Using fresh garlic will enhance your aioli’s taste dramatically!
How should I store leftovers of garlic aioli?
Very simple! After you’ve enjoyed your garlic aioli, transfer any leftovers into an airtight container and store it in the refrigerator. It will stay fresh for about 5 days. Just make sure to give it a good stir before serving again, as it may separate slightly during storage.
Can I freeze garlic aioli?
Absolutely! To freeze your garlic aioli, pour it into an ice cube tray, filling each compartment about three-quarters full. Cover the tray with plastic wrap and freeze for up to 3 months. Once frozen, pop out the cubes and store them in a freezer bag. When you’re ready to use, just thaw a cube overnight in the fridge and stir well before serving!
What if my garlic aioli is too salty or sweet?
No worries! If your garlic aioli turns out too salty, you can balance it by adding a little more mayonnaise to dilute the flavor. For sweetness, a touch of more lemon juice can help cut through the excess. Just remember to taste as you adjust, making sure each ingredient shines through harmoniously.
Is garlic aioli safe for pets or allergy sufferers?
Great question! Garlic can be harmful to pets, particularly dogs, so it’s best to keep garlic aioli away from them. If you’re preparing it for someone with allergies, ensure your mayonnaise is free from any allergens they may have. Always check the labels of your ingredients to keep your loved ones safe while enjoying this delicious condiment!
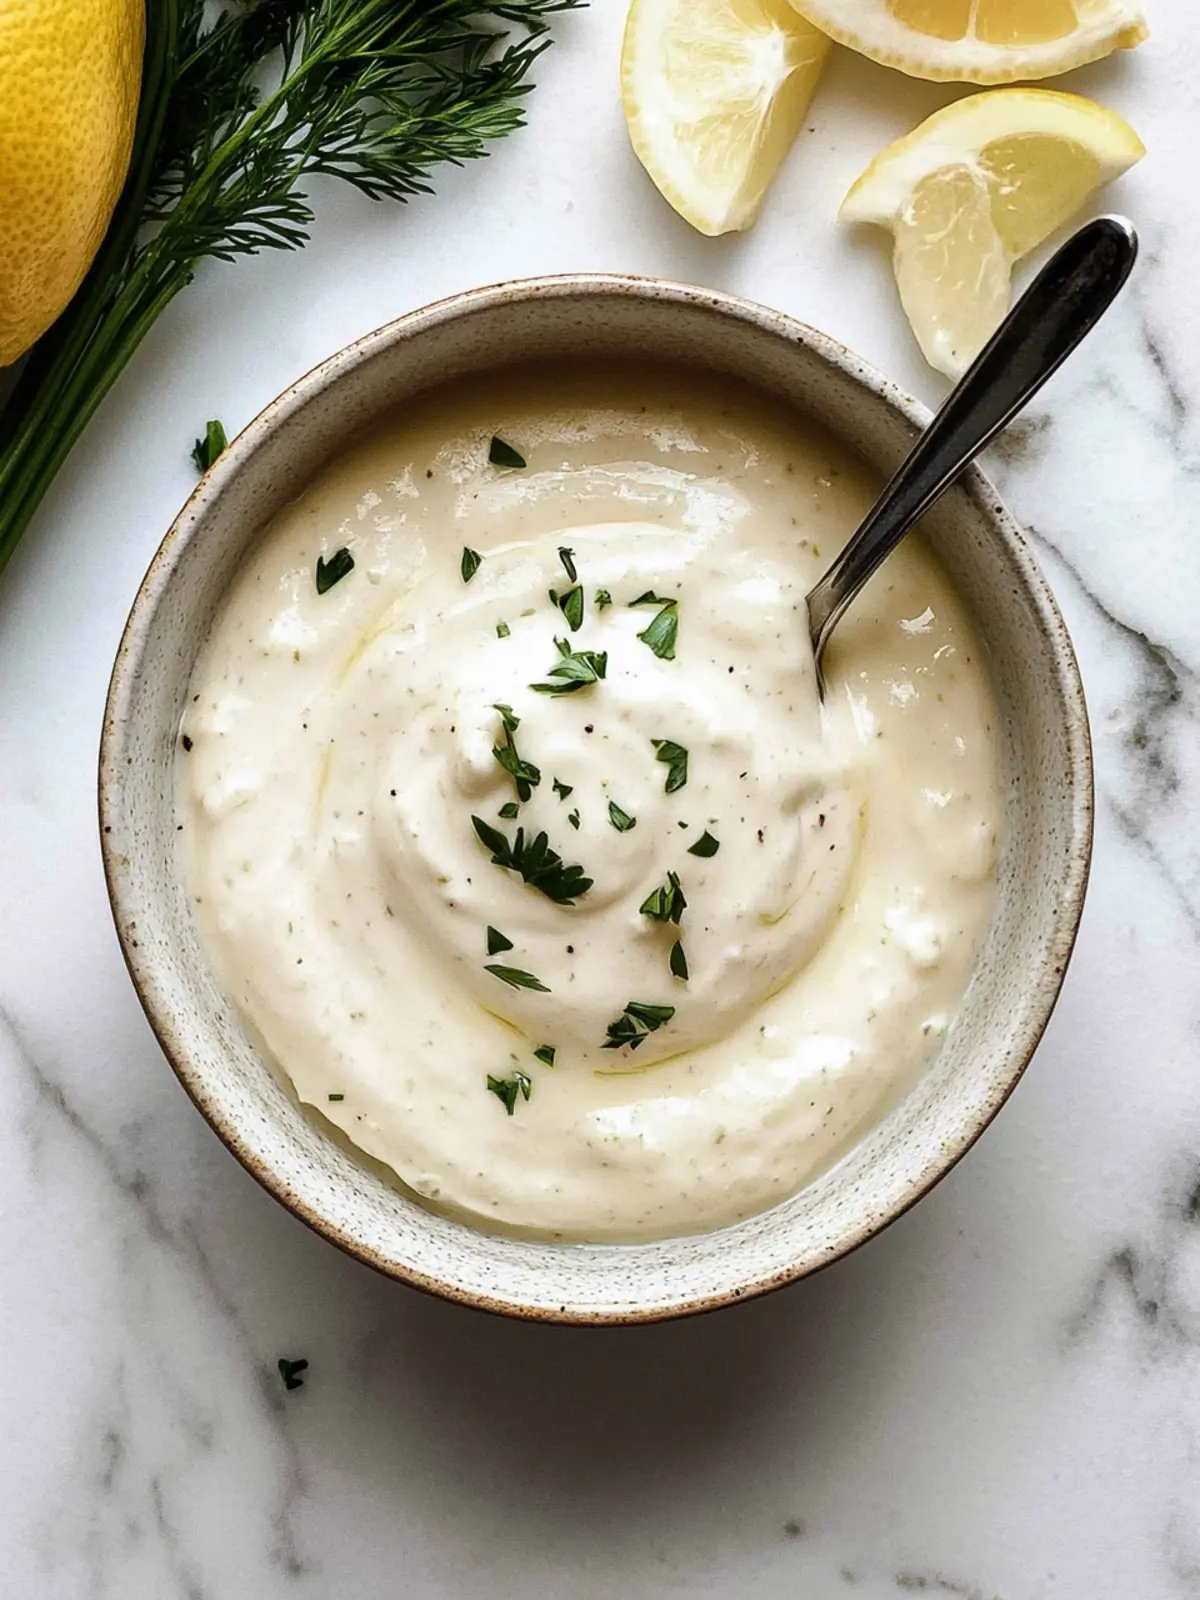
Creamy Garlic Aioli: Elevate Your Dishes Today
Ingredients
Equipment
Method
- In a small bowl, add the mayo, minced garlic, lemon juice, salt, sugar, black pepper, and garlic powder.
- Using a whisk, blend everything until smooth and creamy.
- Cover the bowl and refrigerate for at least 15 minutes.
- Store any leftovers in the fridge, where it keeps well for up to 5 days.