
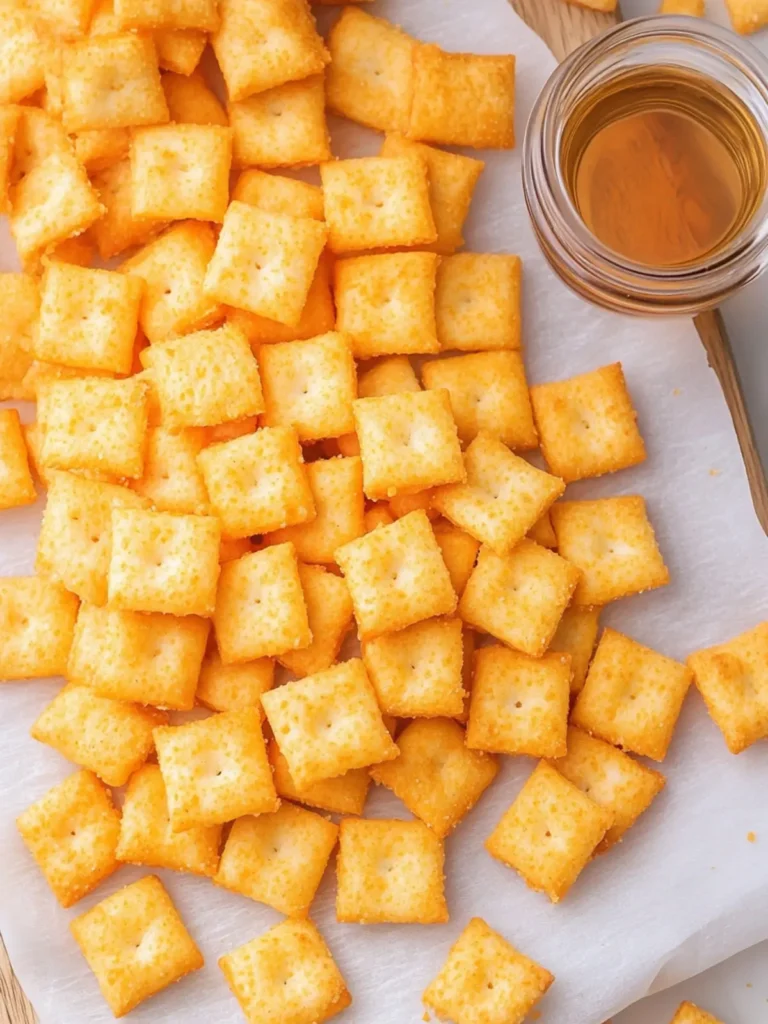
As I was rummaging through my pantry looking for a snack, the thought of store-bought crackers just didn’t feel right. The all-too-familiar flavor of processed snacks felt dull compared to the comfort of homemade goodness. That’s when I decided to create my own version of those beloved Cheez-Its, but with a twist that would make them even more delicious. Imagine the satisfying crunch of cheddar crackers made from scratch, bursting with sharp cheese and garlic that fills your kitchen with a mouthwatering aroma.
What I love most about this homemade Cheez-Its recipe is not just how easy it is, but also the sheer joy of knowing exactly what goes into every bite. These little squares are perfect for snacking, entertaining, or even pairing with dips. Plus, they offer a fun opportunity to get creative in the kitchen, making them a delightful project for anyone tired of the same routine. So, grab your ingredients, and let’s turn that pantry search into a savory adventure!

Why You’ll Love Homemade Cheez-Its
Simplicity at Its Best: This recipe requires minimal ingredients and kitchen skills, making it an accessible project for everyone.
Irresistibly Flavorful: The rich cheddar combined with a hint of garlic creates a taste that far surpasses store-bought options.
Creative Fun: You can customize your crackers by experimenting with different seasonings to suit your palate.
Perfect Snack for Any Occasion: Whether it’s movie night or a gathering with friends, these crispy bites will be the star of the show.
Quick to Make: With a total time of just over an hour, you’ll have fresh, homemade crackers ready to enjoy in no time.
Elevate your snacking game and check out these healthier snack ideas to keep your pantry stocked!
Homemade Cheez-Its Ingredients
For the Dough
• Shredded sharp cheddar cheese — This is the star of the show, giving your homemade Cheez-Its that signature taste.
• Salted butter — Use softened butter to help bind the ingredients together and create a rich flavor.
• Seasoning salt — Adds a flavorful kick; you can also substitute with regular salt if needed.
• Garlic powder — Provides a hint of garlic flavor that elevates these crackers to another level.
• All-purpose flour — The foundation of your dough; ensure it’s spooned and leveled for accuracy.
• Ice water — Just the right amount helps bring the dough together without making it sticky.
For Baking
• Parchment paper — Line your baking sheet to prevent sticking and ensure easy removal of your delicious homemade Cheez-Its.
Enjoy the simple yet delightful process of creating your own chewy, cheesy crackers, perfect for satisfying those snacking cravings!
How to Make Homemade Cheez-Its
-
Pulse Together: Start by placing the shredded sharp cheddar cheese, softened butter, seasoning salt, and garlic powder into a food processor. Blend until the mixture becomes crumbly and combined, about 30 seconds.
-
Add Flour: Next, incorporate the all-purpose flour into the crumbly mixture. Pulse until it resembles coarse sand, ensuring everything is well mixed for an even texture.
-
Drizzle Ice Water: Gently drizzle in the ice water, one tablespoon at a time. Continue pulsing until the dough begins to form a ball; don’t hesitate to add one more tablespoon if it seems too dry.
-
Chill the Dough: Transfer the dough onto a sheet of plastic wrap and shape it into a disc. Wrap it tightly and refrigerate for at least one hour to firm up the dough.
-
Preheat the Oven: Once the dough is chilled, preheat your oven to 350°F. Prepare a baking sheet by lining it with parchment paper for easy cleanup.
-
Roll Out the Dough: Cut the chilled dough in half and roll each half out on a lightly floured surface until it’s about ⅛ to ¼ inch thick. This thickness ensures a crispy cracker!
-
Cut the Squares: Use a sharp knife or pastry cutter to slice the rolled dough into small squares, approximately 1 inch each.
-
Poke Holes: With a skewer or toothpick, poke a small hole in the center of each square. This will help them cook evenly and add a classic look.
-
Arrange and Bake: Carefully arrange the squares on your prepared baking sheet, leaving a bit of space between each to allow for spreading while baking.
-
Bake Until Golden: Place the baking sheet in the preheated oven and bake for 12-16 minutes. Watch them closely until they are crisp and lightly golden around the edges.
-
Cool and Enjoy: Once baked, remove your crackers from the oven and let them cool completely on the baking sheet. Then, store them in an airtight container or serve right away!
Optional: Serve these delightful homemade Cheez-Its with a side of your favorite dip for an extra treat!
Exact quantities are listed in the recipe card below.
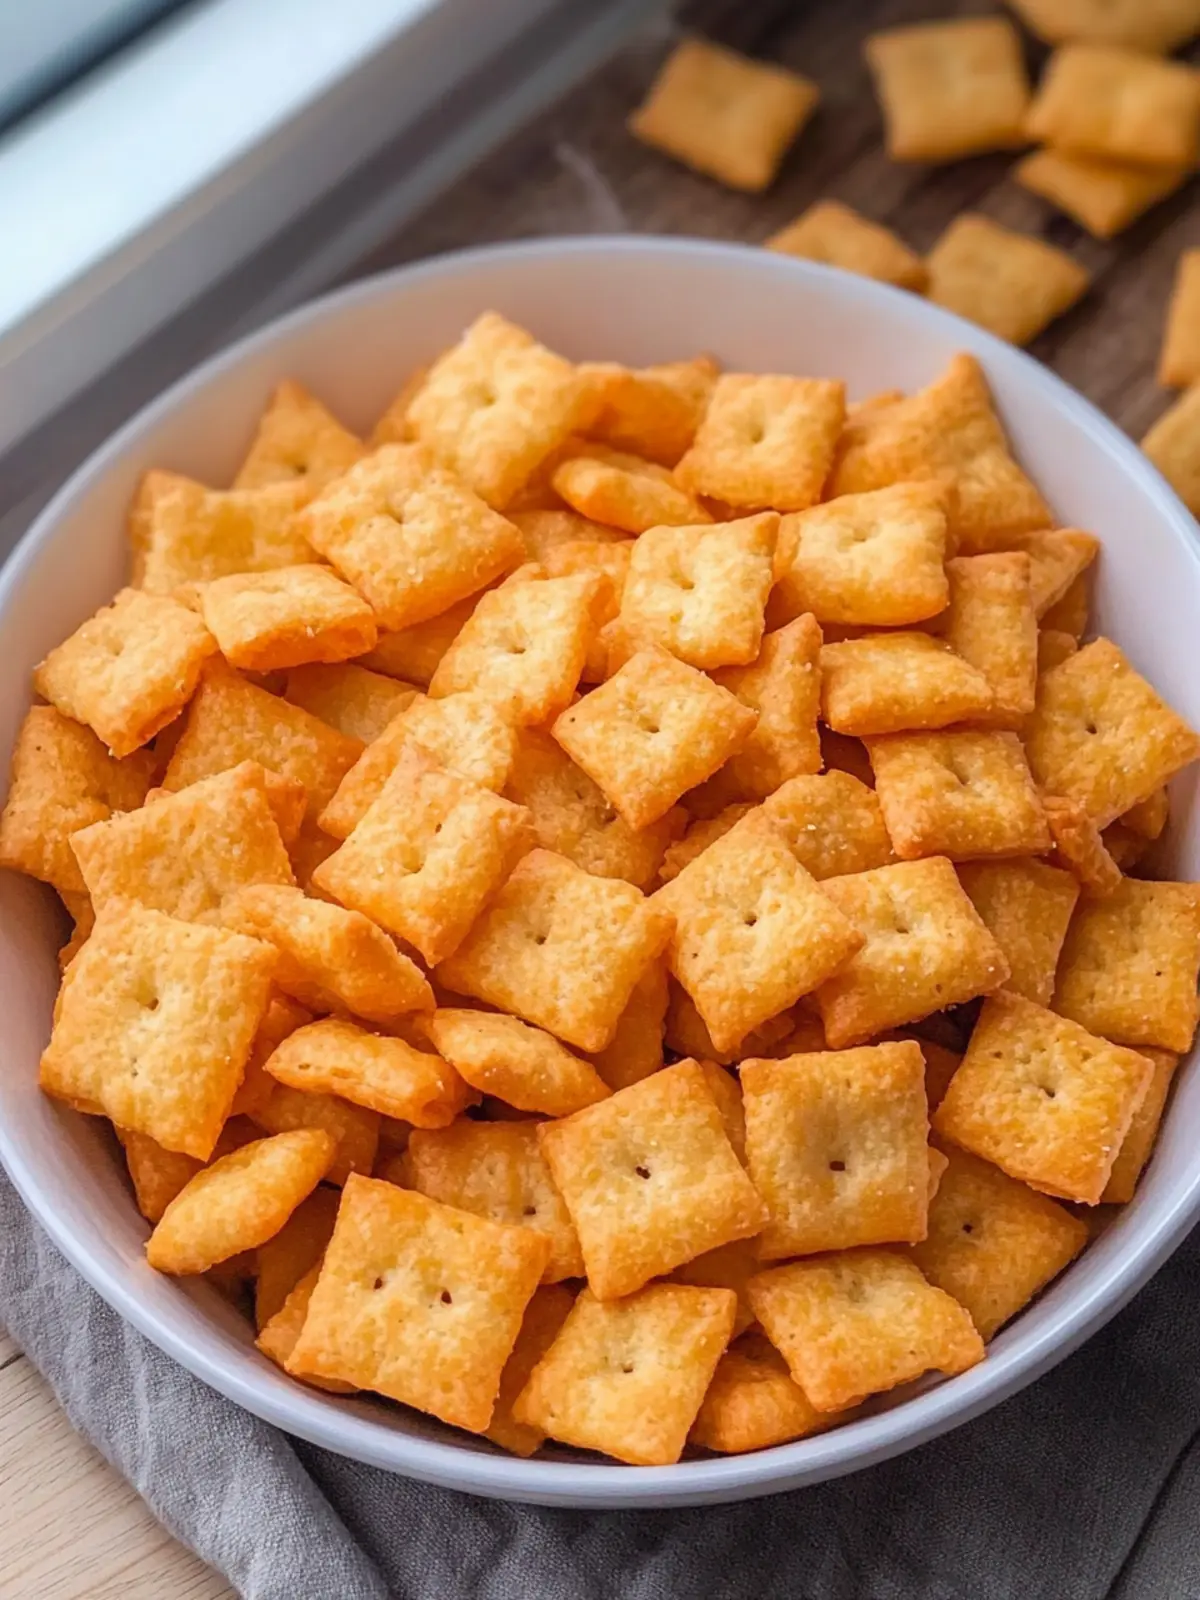
Expert Tips for Homemade Cheez-Its
• Cheese Quality Matters: Use sharp cheddar for maximum flavor; higher quality cheese yields a richer taste in your homemade Cheez-Its.
• Don’t Skip the Chill: Refrigerating the dough is essential! It helps solidify the butter, resulting in a flakier texture that enhances the crunch.
• Mind the Water: Add ice water slowly; too much can make your dough sticky. It’s a delicate balance that ensures perfectly crisp crackers.
• Watch the Bake Time: Ovens can vary; keep an eye on your crackers during baking. Remove them when they’re just golden for the best texture.
• Experiment with Flavors: Feel free to get creative with spices! Adding herbs like rosemary or smoked paprika can elevate your homemade Cheez-Its to new heights.
Homemade Cheez-Its Variations & Substitutions
Feel free to add your own spin to these delightful crackers for a personalized touch that will make them your own!
-
Gluten-Free: Substitute all-purpose flour with a gluten-free blend. Enjoy the same crunch without the gluten!
-
Spicy Kick: Add 1 teaspoon of cayenne pepper or red pepper flakes to the dough for a delightful heat that lingers.
-
Herbed: Incorporate dried herbs like rosemary or thyme for a fragrant twist that brings an aromatic layer to your Cheez-Its.
-
Cheese Combo: Blend sharp cheddar with Monterey Jack or pepper jack for a creamy, rich flavor explosion.
-
Nutritional Yeast: Stir in 2 tablespoons of nutritional yeast for a cheesy flavor without using more dairy, perfect for vegan options.
-
Smoky Flavor: Mix in 1 teaspoon of smoked paprika for a smoky depth that complements the cheese beautifully.
-
Seeds and Grains: Add sesame seeds or poppy seeds to the dough before baking for an extra crunchy texture and visual appeal.
-
Zesty: Incorporate a teaspoon of lemon zest into the dough for a refreshing citrus flavor that brightens up each bite!
How to Store and Freeze Homemade Cheez-Its
Room Temperature: Store your homemade Cheez-Its in an airtight container at room temperature for up to 3 days to retain their crunchiness.
Fridge: If you want them to last longer, you can keep them in the refrigerator for up to a week, but allow them to come to room temperature before enjoying for optimal taste.
Freezer: For longer storage, freeze the crackers for up to 3 months in a freezer-safe bag or container. Make sure to label them for easy identification!
Reheating: When ready to eat frozen Cheez-Its, simply reheat them in a preheated oven at 350°F for 5-10 minutes to restore their crispy texture.
What to Serve with Homemade Cheez-Its?
Looking to create a delightful snack spread that complements the irresistible crunch of homemade cheddar crackers?
- Creamy Spinach Dip: This rich dip adds a creamy contrast, perfect for scooping or spreading on each crisp square.
- Savory Tomato Salsa: A fresh, zesty salsa packed with tomatoes and cilantro brings an exciting pop of flavor that pairs beautifully with the cheesy biscuits.
- Roasted Garlic Hummus: Its smooth and earthy taste enhances the flavor of the crackers while adding a dose of warmth and depth.
- Cheese Platter: Serve with a selection of cheeses for a savory adventure that delights the palate, encouraging a cheese-centered feast.
- Fresh Veggies: Crunchy carrots, cucumber slices, and bell peppers provide a refreshing, crunchy counterpoint that balances out the rich flavors.
- Fruit Chutney: The sweet and tangy notes of fruit chutney can elevate your cheese crackers, creating a delightful contrast of flavors.
- Herbal Iced Tea: A refreshing drink infused with herbs complements the snacks without overpowering their flavors, making it a perfect pairing.
- Chocolate Dipped Fruit: For dessert, consider dark chocolate-covered strawberries or bananas to satisfy the sweet tooth after the savory delight.
- Sparkling Water: A bubbly drink not only cleanses the palate but adds a fun touch to your gathering, making every nibble even more enjoyable.
Make Ahead Options
Preparing homemade Cheez-Its in advance is a fantastic way to save time during your busy week! You can make the dough up to 24 hours ahead of time; simply follow the initial steps and refrigerate the wrapped disc. This helps the flavors meld beautifully while keeping the dough fresh. If you prefer, you can also cut the squares and chill them on the baking sheet, covered with plastic wrap, for up to 3 days. To maintain their crispness, bake them straight from the refrigerator when you’re ready to enjoy. Simply roll, cut, and bake as directed, and your homemade Cheez-Its will be just as delicious as if they were made fresh!
Homemade Cheez-Its Recipe FAQs
How do I choose the right cheddar cheese?
Absolutely! Opt for sharp cheddar cheese for the best flavor in your homemade Cheez-Its. The sharper the cheese, the richer the taste, making your crackers burst with that beloved cheesy goodness. Avoid any cheese that has dark spots or seems crumbly, as these may affect the final texture.
How should I store my homemade Cheez-Its?
For optimal freshness, keep your homemade Cheez-Its in an airtight container at room temperature for up to 3 days. If you want to extend their life, they can be stored in the refrigerator for up to a week. Just let them come to room temperature before munching for the best taste!
Can I freeze the crackers for later use?
Yes, definitely! To freeze your homemade Cheez-Its, allow them to cool completely after baking. Place them in a single layer on a baking sheet and freeze for 1-2 hours until firm. Then, transfer them to a freezer-safe bag or container and label with the date. They can be frozen for up to 3 months! When ready to eat, reheat them in a preheated oven at 350°F for 5-10 minutes.
What if my dough is too sticky?
If your dough turns out too sticky, no need to worry! You can gradually add a bit more all-purpose flour, one tablespoon at a time, while pulsing in the food processor until the dough reaches a more manageable consistency. Just be careful not to overmix it!
Are these crackers safe for pets?
While the ingredients in homemade Cheez-Its are generally safe for humans, they may not be suitable for pets. The seasoning salt and garlic powder can be harmful to dogs and cats in larger quantities, so it’s best to keep these tasty crackers as a human-exclusive treat. Always consult your vet if you have any concerns about your pet’s diet.
How long does it take to make these homemade Cheez-Its?
The total time for making these delicious homemade Cheez-Its is about 1 hour and 12-16 minutes. This includes 1 hour of refrigerator time to chill the dough, making it a delightful and fairly quick project for snacking or entertaining!
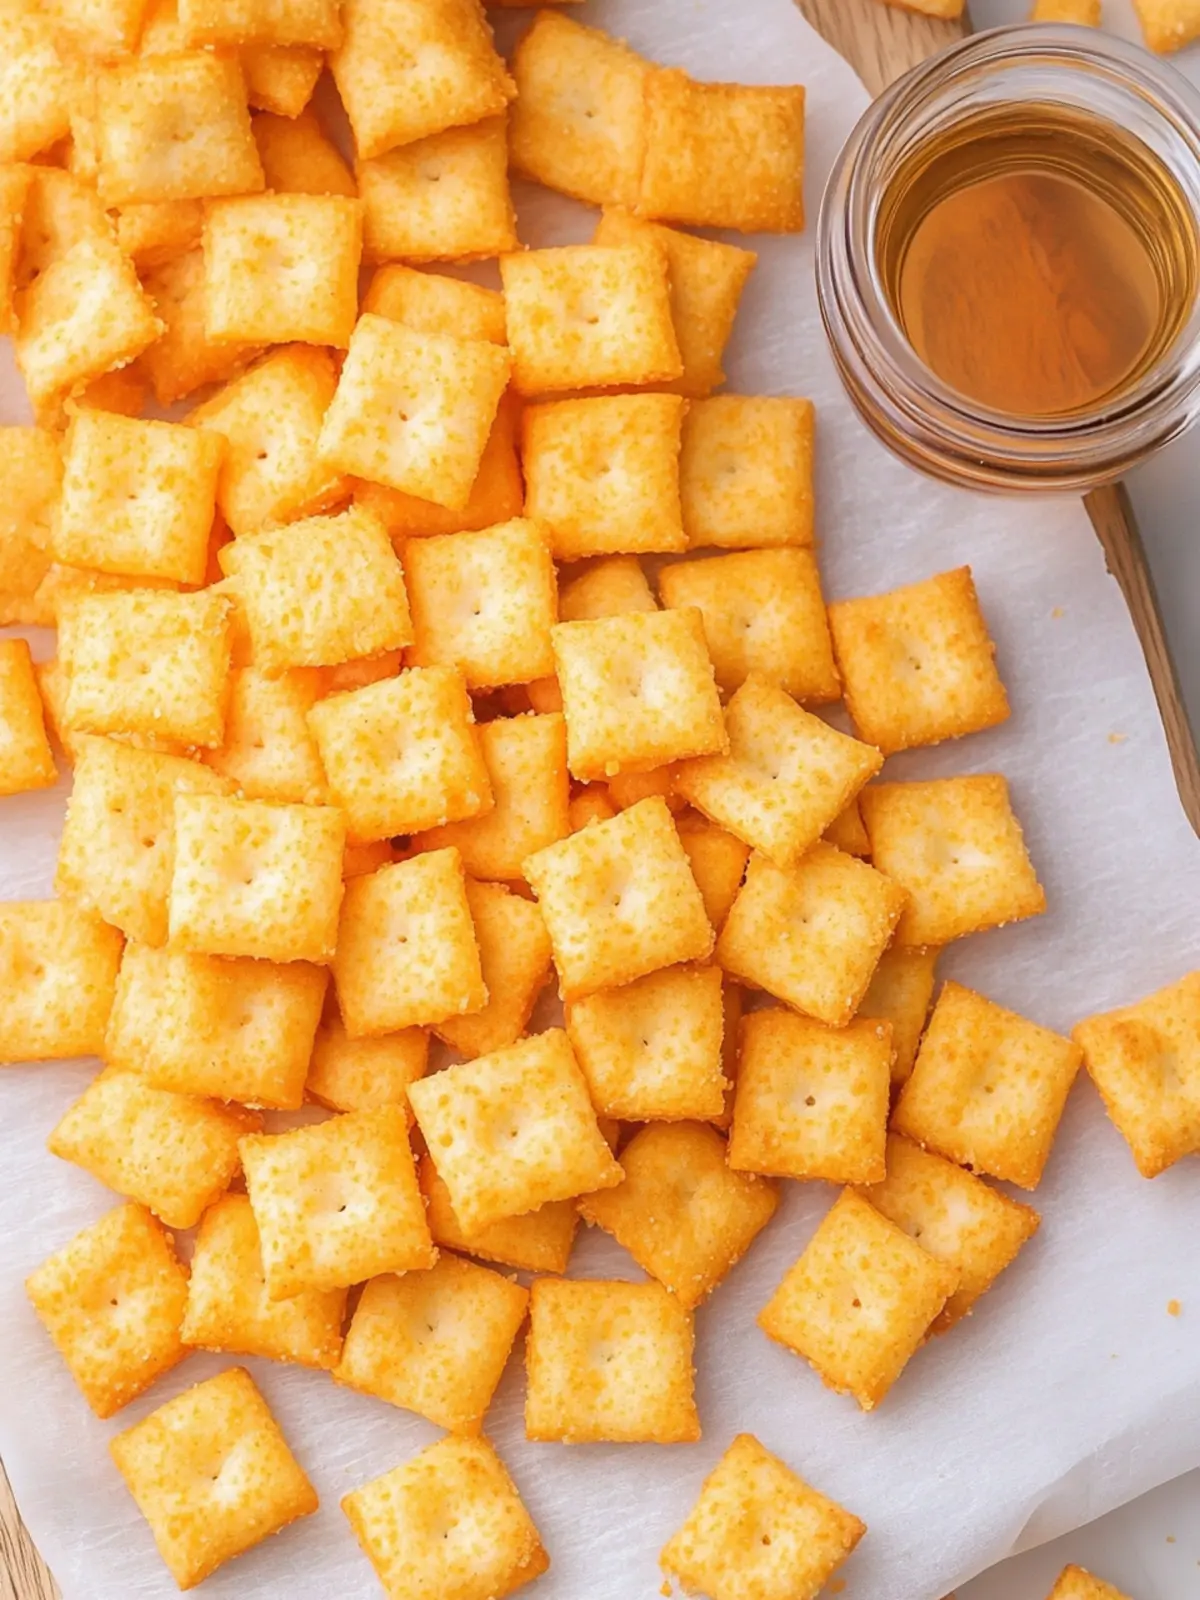
Delicious Homemade Cheez-Its That Outshine Store-Bought
Ingredients
Equipment
Method
- Pulse Together: Start by placing the shredded sharp cheddar cheese, softened butter, seasoning salt, and garlic powder into a food processor. Blend until the mixture becomes crumbly and combined, about 30 seconds.
- Add Flour: Next, incorporate the all-purpose flour into the crumbly mixture. Pulse until it resembles coarse sand, ensuring everything is well mixed for an even texture.
- Drizzle Ice Water: Gently drizzle in the ice water, one tablespoon at a time. Continue pulsing until the dough begins to form a ball; don’t hesitate to add one more tablespoon if it seems too dry.
- Chill the Dough: Transfer the dough onto a sheet of plastic wrap and shape it into a disc. Wrap it tightly and refrigerate for at least one hour to firm up the dough.
- Preheat the Oven: Once the dough is chilled, preheat your oven to 350°F. Prepare a baking sheet by lining it with parchment paper for easy cleanup.
- Roll Out the Dough: Cut the chilled dough in half and roll each half out on a lightly floured surface until it’s about ⅛ to ¼ inch thick.
- Cut the Squares: Use a sharp knife or pastry cutter to slice the rolled dough into small squares, approximately 1 inch each.
- Poke Holes: With a skewer or toothpick, poke a small hole in the center of each square.
- Arrange and Bake: Carefully arrange the squares on your prepared baking sheet, leaving a bit of space between each to allow for spreading while baking.
- Bake Until Golden: Place the baking sheet in the preheated oven and bake for 12-16 minutes. Watch them closely until they are crisp and lightly golden around the edges.
- Cool and Enjoy: Once baked, remove your crackers from the oven and let them cool completely on the baking sheet. Then, store them in an airtight container or serve right away!