
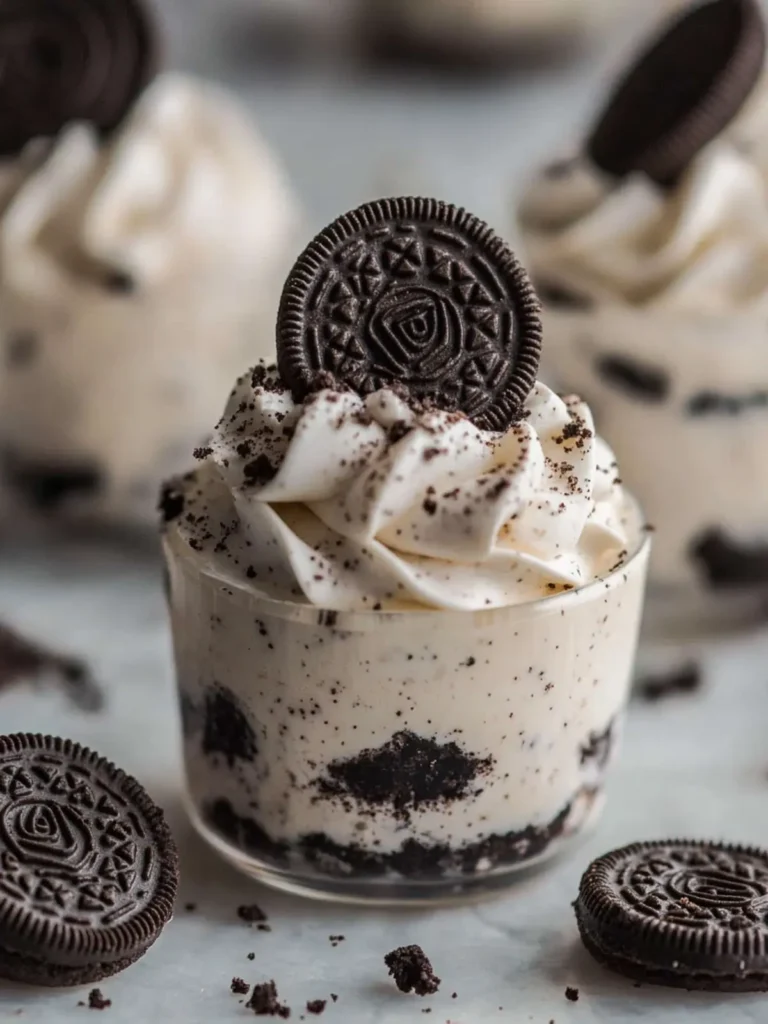
There’s a certain delight that comes from the simple combination of cream cheese and crushed Oreos. As I was standing in my kitchen, I couldn’t help but think how perfect a No-Bake Oreo Cheesecake Cup would be for an impromptu gathering—it’s creamy, dreamy, and so easy to whip up! A few crushed Oreos, some fluffy whipped cream, and a generous dollop of sweetness are all you need to create something that dazzles.
Just the thought of my friends’ faces lighting up as they take the first bite is enough motivation to dive into this no-bake wonder. Plus, with just a little time in the fridge, these individual cheesecake cups are the perfect make-ahead dessert for any occasion, whether it’s a summer barbecue or a cozy movie night at home. So let’s grab those Oreos and cream cheese and create a dessert that’s sure to impress without keeping us in the kitchen for hours!

Why choose No-Bake Oreo Cheesecake Cups?
Irresistible Combination: The classic duo of Oreo cookies and cream cheese creates a rich, luscious dessert that everyone will love.
Zero Baking Required: Save time and effort; there’s no oven involved—just mix, chill, and serve!
Crowd-Pleasing Treat: Perfect for any occasion, whether you’re hosting a gathering or treating yourself.
Versatile Serving Options: Individual cups can easily be customized for any guest—just add toppings or layers as desired.
Make Ahead Magic: Prepare these delightful cups in advance and store them in the fridge for an effortless dessert on game day or movie night.
No-Bake Oreo Cheesecake Cups Ingredients
Here’s what you need to whip up these delightful treats!
For the Cheesecake Filling
• 8 oz cream cheese – soften it first for a smooth and creamy texture.
• 8 oz Cool Whip – this adds a light, fluffy balance to the rich cream cheese.
• 2/3 c powdered sugar – sweetens the filling; can be adjusted based on taste.
• 1 tsp vanilla extract – enhances the overall flavor, making it more aromatic.
For the Base
• 24-26 Oreo cookies – the star of this dessert; crush them for that classic cookie crunch.
For Topping
• Extra crushed Oreos – sprinkle on top for added texture and visual appeal.
• Whipped cream – a dollop on top makes each cup irresistible!
Now that you have all your ingredients gathered, let’s get ready to create some unforgettable No-Bake Oreo Cheesecake Cups!
How to Make No-Bake Oreo Cheesecake Cups
-
Crush the Oreos: Place the Oreo cookies in a sturdy plastic bag and seal it tight. Using a rolling pin or a wooden spoon, crush them until you have fine crumbs. Spoon 1 ½ to 2 tablespoons of the crumbs into the bottom of 6 small dessert dishes (ensure they hold at least 3/4 to 1 cup). Set aside.
-
Blend the filling: In a mixing bowl, use a hand or standing mixer to combine the softened cream cheese and powdered sugar until creamy and smooth. Add the vanilla extract and continue mixing until fully incorporated.
-
Fold in the Cool Whip: Gently add the Cool Whip to the cream cheese mixture, folding it in carefully to keep the mix light and airy. Then, fold in the remaining crushed Oreos for that delicious cookie flavor throughout.
-
Divide the mixture: Evenly scoop the cheesecake filling into the prepared dessert dishes, gently pressing it down onto the crushed Oreo base. Cover and chill in the refrigerator for about 1 hour or until ready to serve.
-
Top and enjoy: Before serving, add a generous dollop of whipped cream on top of each cup, finishing with a sprinkle of extra crushed Oreos for that perfect touch.
Optional: Garnish with a drizzle of chocolate sauce for added decadence.
Exact quantities are listed in the recipe card below.
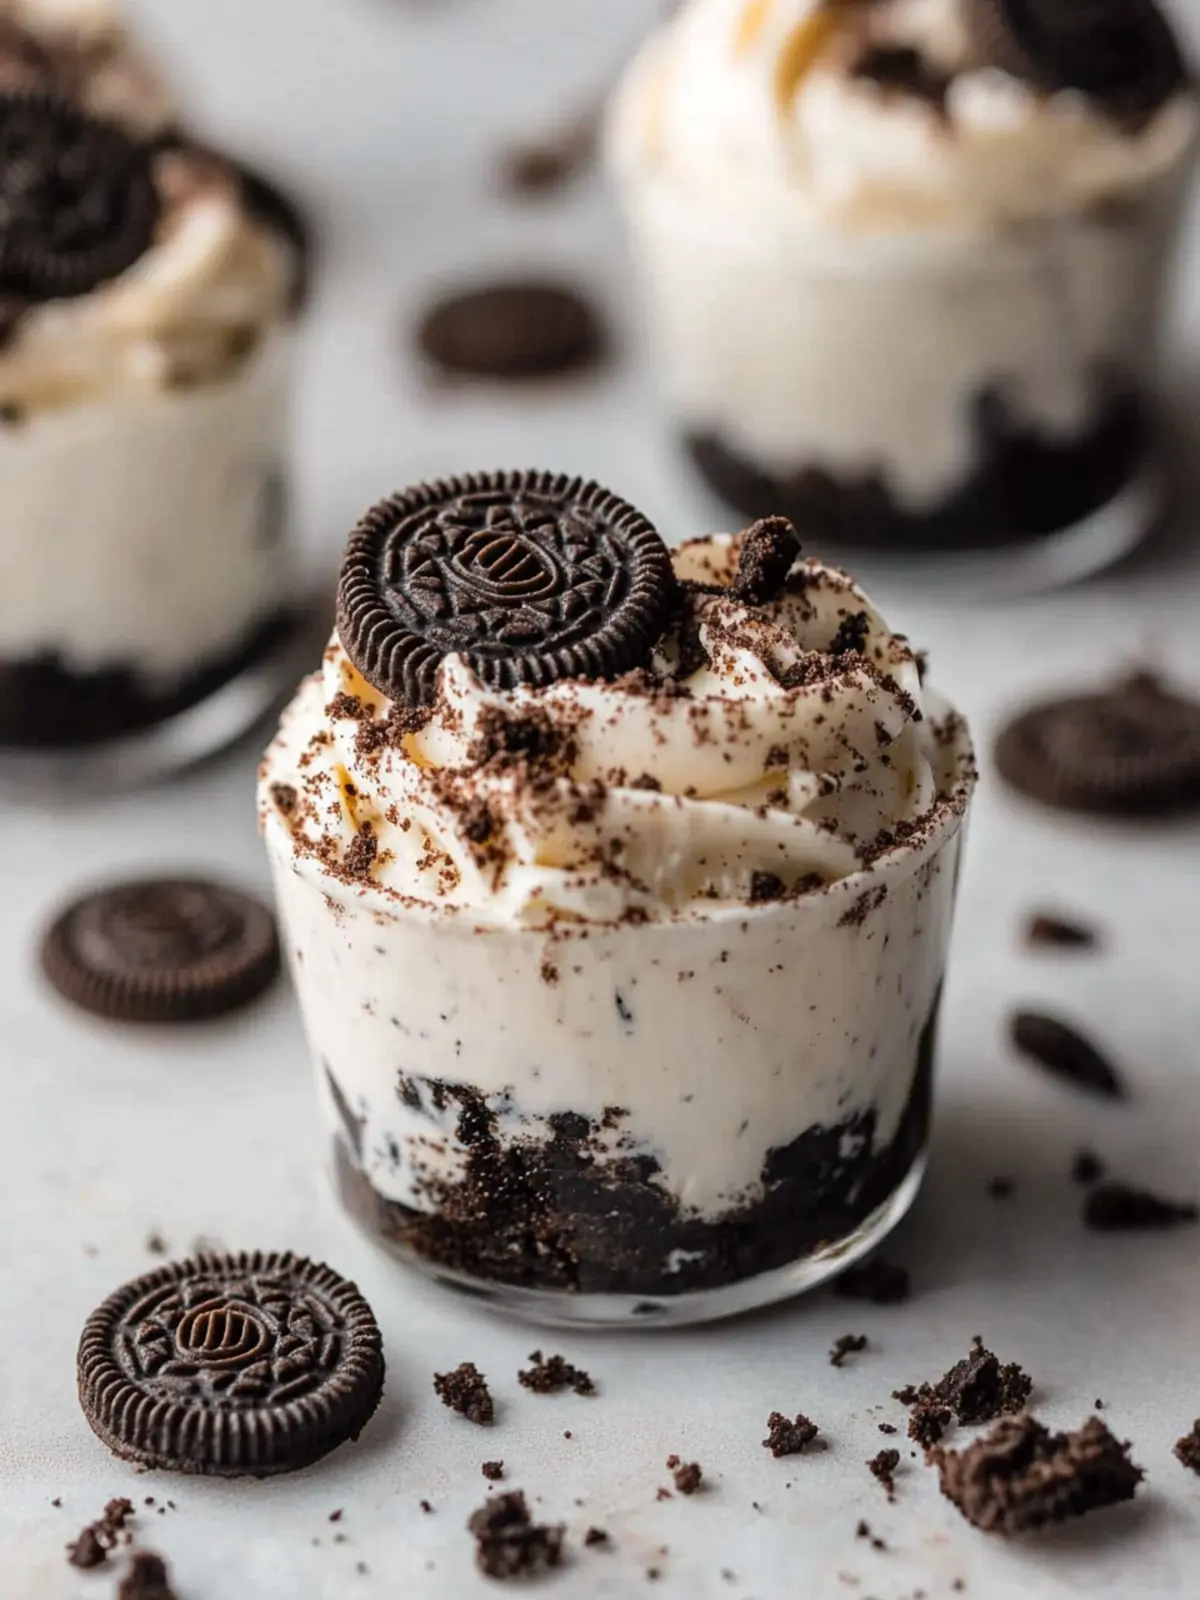
What to Serve with Oreo No-Bake Cheesecake Cups?
Imagine the delightful moment when your loved ones take their first bite of these creamy, dreamy cheesecake cups, leaving them wanting more.
-
Fresh Berries: The tartness of strawberries or raspberries balances the sweetness of the cheesecake, adding a refreshing burst in every bite. A simple mixed berry compote can elevate the dessert experience even further.
-
Chocolate Sauce: A rich, warm drizzle of chocolate sauce brings out the cookie flavors and adds an extra layer of indulgence. It’s that decadent touch everyone will appreciate!
-
Coffee or Espresso: A steaming cup complements the sweetness beautifully, providing a cozy vibe perfect for a dessert gathering. Plus, the caffeine kick enhances the rich chocolate flavors of the cheesecake.
-
Whipped Cream Topping: While already included, an extra dollop on the side brings even more fluffiness. Consider adding flavored whipped cream, like vanilla or hazelnut, for an interesting twist.
-
Mint Sprig Garnish: This vibrant herb adds a pop of color and a fresh note that brightens the dessert visually and on the palate. Just a single leaf can transform the presentation!
-
Ice Cream Scoops: Pairing each cheesecake cup with a scoop of vanilla or cookies-and-cream ice cream takes the experience to a new level of lusciousness. This combo is a nostalgic nod to classic dessert moments.
-
Nutty Crust Bites: Serve alongside small bites of almond or hazelnut crusts to contrast the creamy texture of the cheesecake. The crunch provides a delightful variation that your guests will love!
-
Sweet Iced Tea or Lemonade: For a refreshing drink duo, opt for sweet iced tea or a zesty homemade lemonade. The sweetness of the drinks pairs nicely to balance out the rich cheesecake.
-
Caramel Drizzle: A light caramel drizzle on top or around the plates adds a sweet, buttery flavor that complements the chocolatey Oreo base seamlessly. It’s a delightful surprise with each bite!
Make Ahead Options
These delightful No-Bake Oreo Cheesecake Cups are an absolute game-changer for meal prep! You can prepare the cheesecake filling up to 3 days in advance; simply follow the first three steps in the recipe and store the mixture in an airtight container in the refrigerator. To maintain the creamy texture, avoid folding in the crushed Oreos until you’re ready to serve. When it’s time to enjoy, just spoon the refrigerated filling into your prepared dessert dishes, gently press down, and chill for about an hour. Top with whipped cream and extra Oreos right before serving to keep everything fresh and delicious. This way, you’ll have a show-stopping dessert ready to impress your guests with minimal last-minute effort!
No-Bake Oreo Cheesecake Cups Variations
Feel free to get creative and customize your No-Bake Oreo Cheesecake Cups with these delightful variations!
-
Gluten-Free: Substitute regular Oreos with gluten-free alternatives to make these delicious cups suitable for gluten-sensitive guests.
-
Dairy-Free: Use dairy-free cream cheese and coconut whipped cream for a creamy, dairy-free delight that everyone can enjoy!
-
Minty Fresh: Add ½ teaspoon of mint extract to the cheesecake filling for a refreshing, mint-chocolate twist that’s perfect for the chocolate lovers in your life.
-
Peanut Butter Bliss: Swirl in some creamy peanut butter into the filling for a luscious flavor boost that pairs perfectly with Oreos.
-
Chocolate Lovers: Use chocolate-flavored Oreos instead of regular ones to amplify the chocolate experience.
-
Extra Crunchy: Mix in chopped nuts or crumbled chocolate-covered pretzels to the Oreo base for added texture and surprise!
-
Berry Swirl: Top with fresh berry compote or layer in some strawberry or raspberry puree for a fruity contrast that beautifully balances the richness.
-
Spicy Kick: Incorporate a dash of cayenne pepper into the cheesecake filling for a surprising kick of heat that pairs well with the sweet flavors.
With these variations, each bite can become a delightful adventure! Enjoy experimenting and discovering your perfect combination.
How to Store and Freeze No-Bake Oreo Cheesecake Cups
Fridge: Store the cheesecake cups in an airtight container in the refrigerator for up to 3 days. This keeps them fresh and ready to enjoy!
Freezer: For longer storage, wrap the individual cups tightly in plastic wrap or foil and freeze for up to 2 months. Thaw in the fridge overnight before serving.
Serving: Always top with whipped cream and additional crushed Oreos just before serving to maintain their texture and flavor.
Make-Ahead: Preparing in advance? These No-Bake Oreo Cheesecake Cups are perfect for storing in the fridge and serving when company arrives!
Tips for the Best No-Bake Oreo Cheesecake Cups
-
Perfectly Soften Cream Cheese: Make sure your cream cheese is fully softened before mixing. This prevents lumps and ensures a smooth filling.
-
Gently Fold Cool Whip: When incorporating Cool Whip into the mix, fold delicately to maintain that light and airy texture that balances the rich cheesecake.
-
Crush Oreos Properly: Aim for fine crumbs, but avoid turning them into dust. Larger pieces help give texture while still providing that delicious Oreo flavor.
-
Chill Time Matters: Don’t skip the chilling step—allowing the cups to rest in the fridge helps the flavors meld together and the filling to set properly.
-
Customize Your Toppings: Get creative! Add different toppings like chocolate chips, crushed nuts, or a drizzle of caramel sauce to personalize each cup.
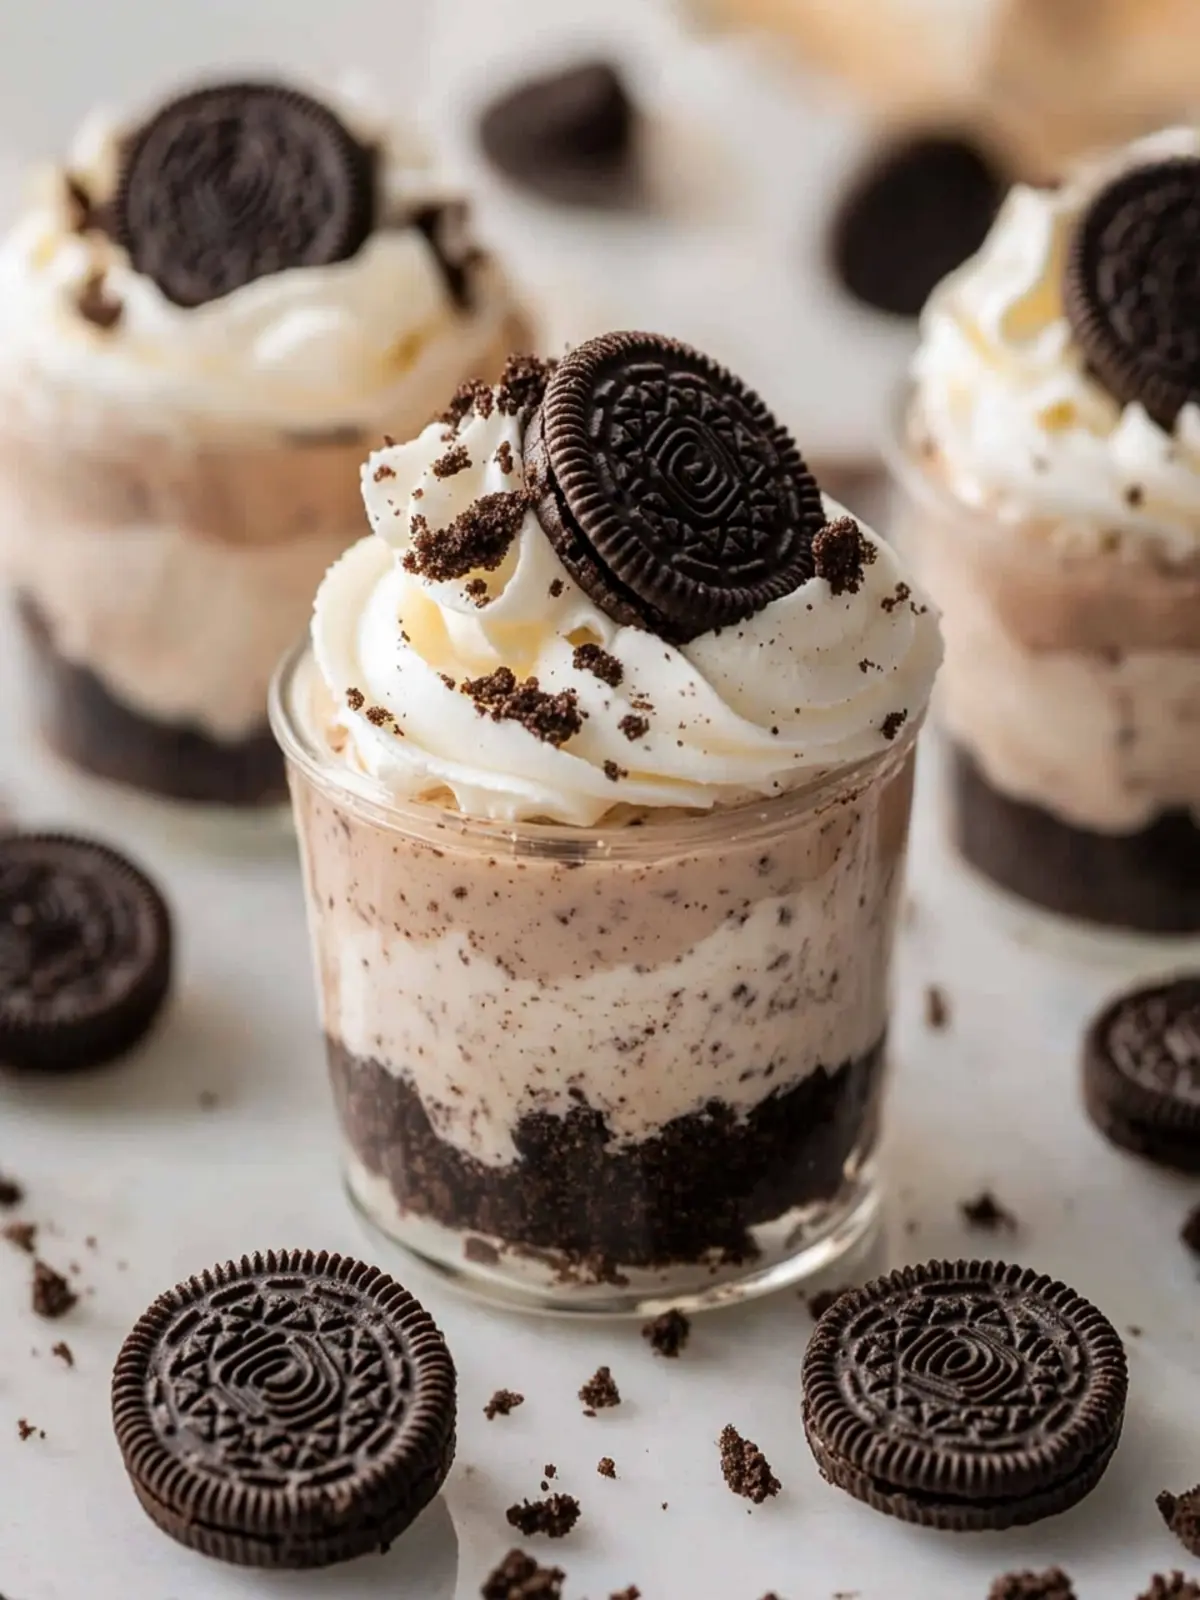
No-Bake Oreo Cheesecake Cups Recipe FAQs
How do I choose the best Oreos for the recipe?
Absolutely! Look for Oreos that are fresh and have no dark spots or broken packaging. It’s also fun to experiment with different Oreo flavors, like Double Stuf or Mint, to add a unique twist to your cheesecake cups!
What’s the best way to store No-Bake Oreo Cheesecake Cups?
You can store the cheesecake cups in an airtight container in the refrigerator for up to 3 days. This keeps them fresh and tasty, ready for your next craving! If you’re planning ahead, you can also place them in the freezer, wrapped tightly in plastic wrap or foil, for up to 2 months. Just remember to thaw them in the fridge overnight before serving.
Can I freeze the No-Bake Oreo Cheesecake Cups?
Yes, you can definitely freeze them! To freeze, wrap each individual cup tightly in plastic wrap or aluminum foil. They can last in the freezer for up to 2 months. When you’re ready to enjoy, simply transfer them to the refrigerator to thaw overnight, and make sure to top them with whipped cream and extra crushed Oreos right before serving!
What should I do if my cheesecake mixture is too lumpy?
If your cheesecake mixture turns out lumpy, it’s usually because the cream cheese wasn’t softened enough. Make sure to leave it out at room temperature for at least 30 minutes before mixing. If lumps persist, try mixing it for a bit longer or use a whisk to help break them down. Adding the Cool Whip gradually can also help in achieving that creamy consistency.
Are these Oreo cheesecake cups safe for those with allergies?
While these No-Bake Oreo Cheesecake Cups are heavenly, they do contain dairy (cream cheese and Cool Whip) and gluten (Oreos). If you’re preparing for guests with allergies, consider gluten-free Oreos or dairy-free cream cheese alternatives. Always check the ingredient labels to ensure they meet dietary needs.
Can I make these cheesecake cups ahead of time?
Very much so! These no-bake delights are perfect for making in advance. You can whip them up a day or two before your gathering, store them in the refrigerator, and they will still taste amazing. Just make sure to add your whipped cream and crushed Oreo topping just before serving for that fresh look and taste!
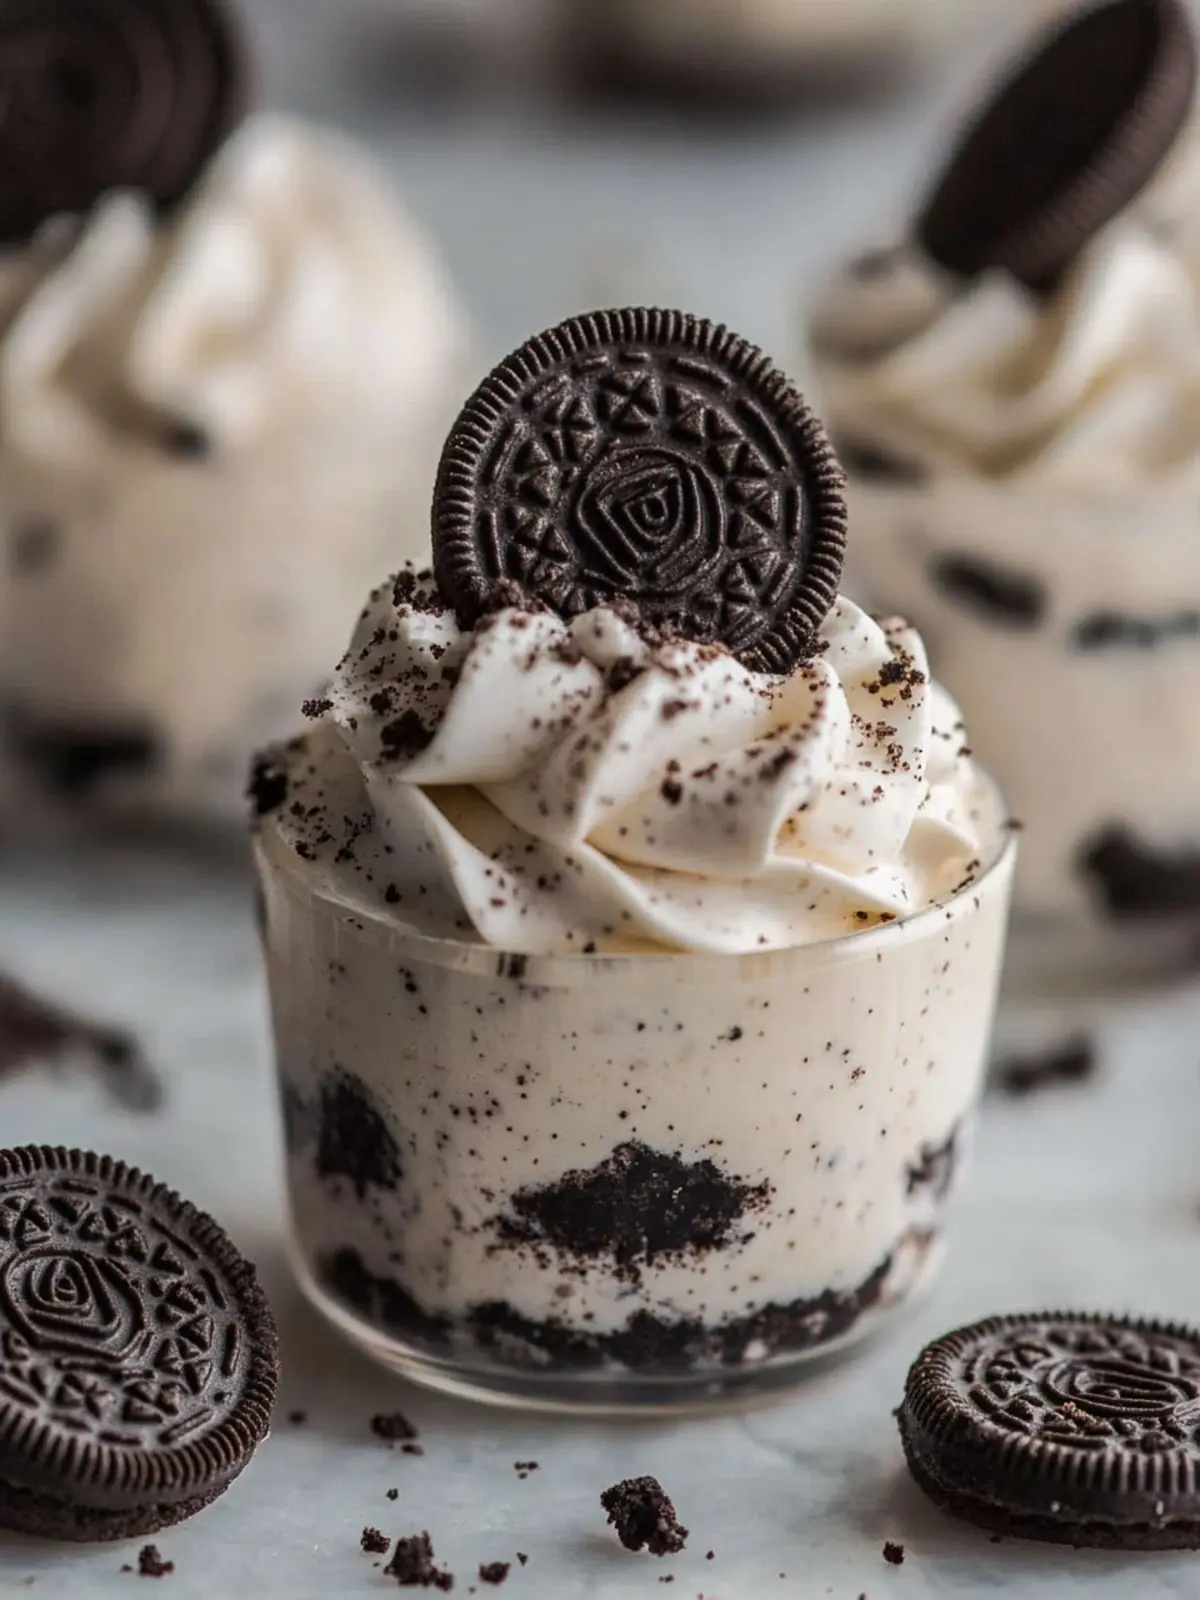
Decadent No-Bake Oreo Cheesecake Cups You’ll Crave!
Ingredients
Equipment
Method
- Crush the Oreos: Place the Oreo cookies in a sturdy plastic bag and seal it tight. Using a rolling pin or a wooden spoon, crush them until you have fine crumbs. Spoon 1 ½ to 2 tablespoons of the crumbs into the bottom of 6 small dessert dishes (ensure they hold at least 3/4 to 1 cup). Set aside.
- Blend the filling: In a mixing bowl, use a hand or standing mixer to combine the softened cream cheese and powdered sugar until creamy and smooth. Add the vanilla extract and continue mixing until fully incorporated.
- Fold in the Cool Whip: Gently add the Cool Whip to the cream cheese mixture, folding it in carefully to keep the mix light and airy. Then, fold in the remaining crushed Oreos for that delicious cookie flavor throughout.
- Divide the mixture: Evenly scoop the cheesecake filling into the prepared dessert dishes, gently pressing it down onto the crushed Oreo base. Cover and chill in the refrigerator for about 1 hour or until ready to serve.
- Top and enjoy: Before serving, add a generous dollop of whipped cream on top of each cup, finishing with a sprinkle of extra crushed Oreos for that perfect touch.